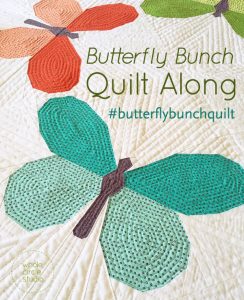
New to the Butterfly Bunch Quilt Along? Start here or get the pattern here.
We’re in the home stretch…
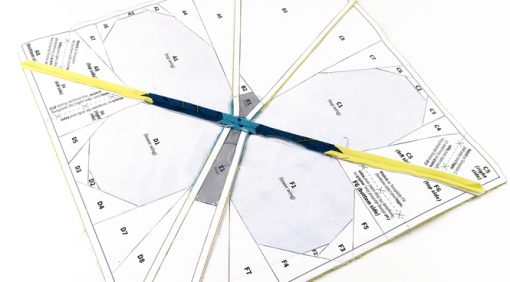
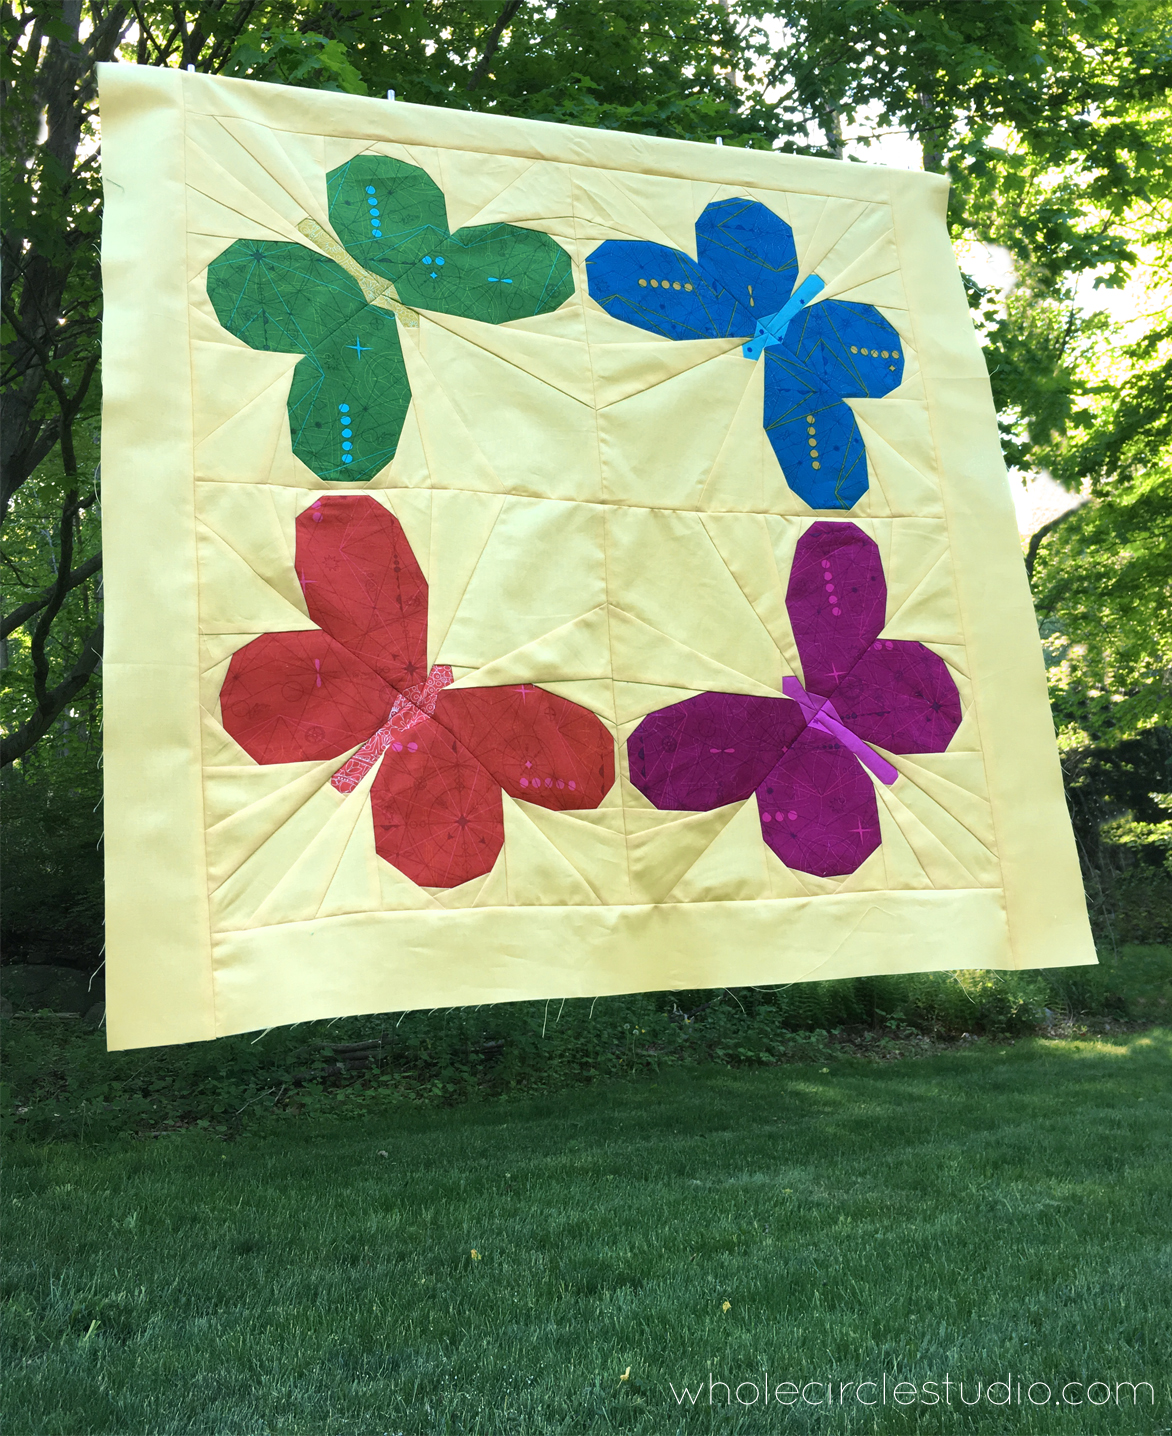
Last week our beautiful butterflies started to come together. This week, we’re going to assemble them into bunches and remove the foundation paper.
Check out my tips for removing the paper and joining the butterfly blocks in the video below:
Joining blocks:
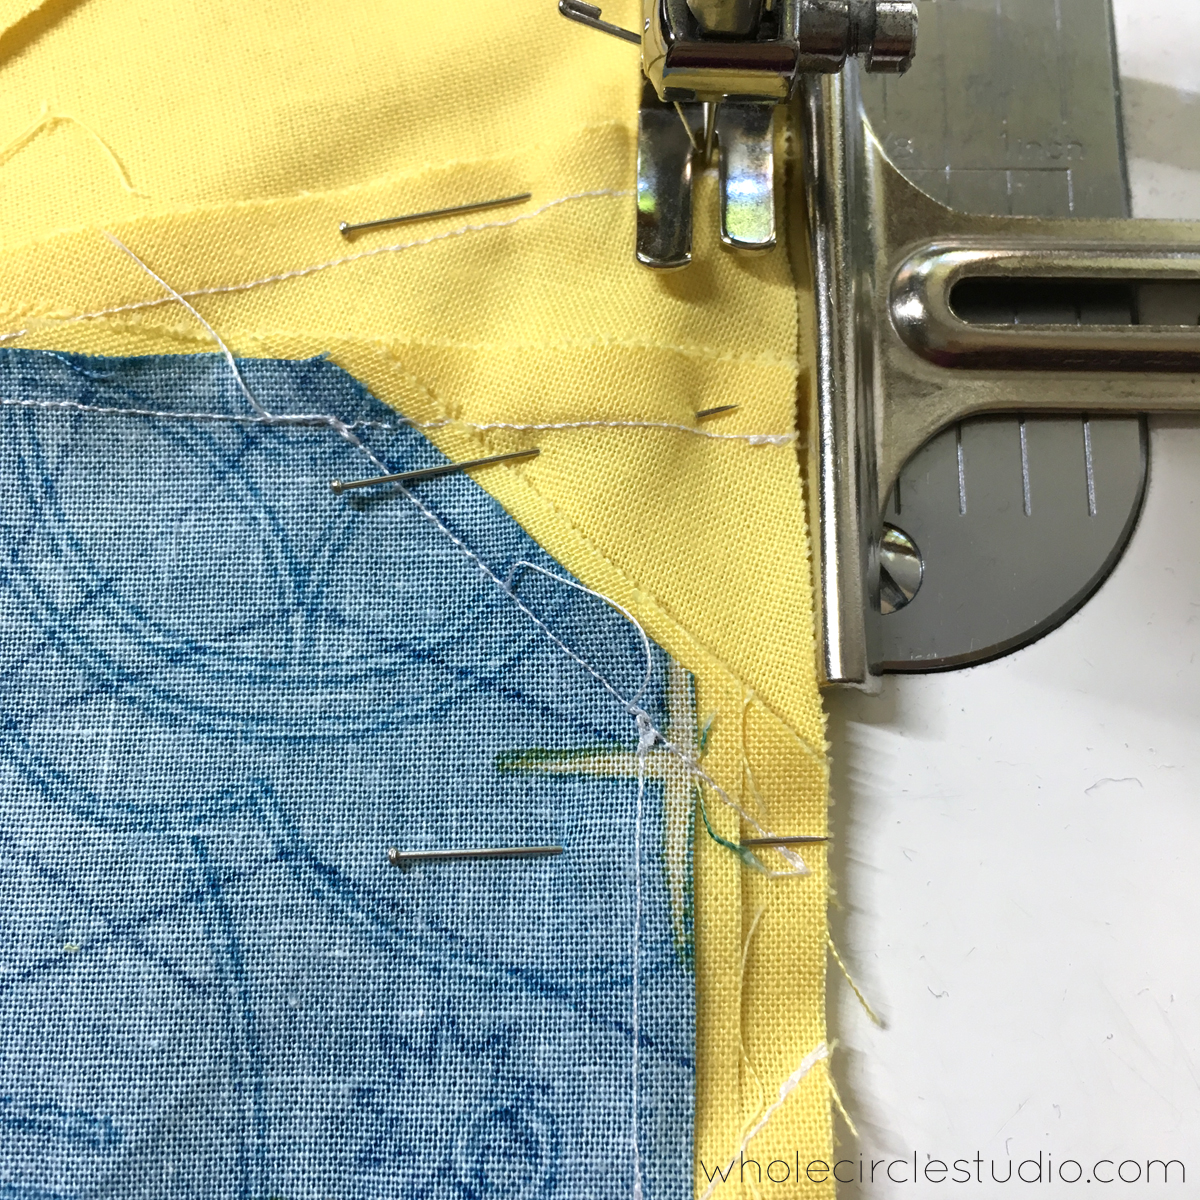
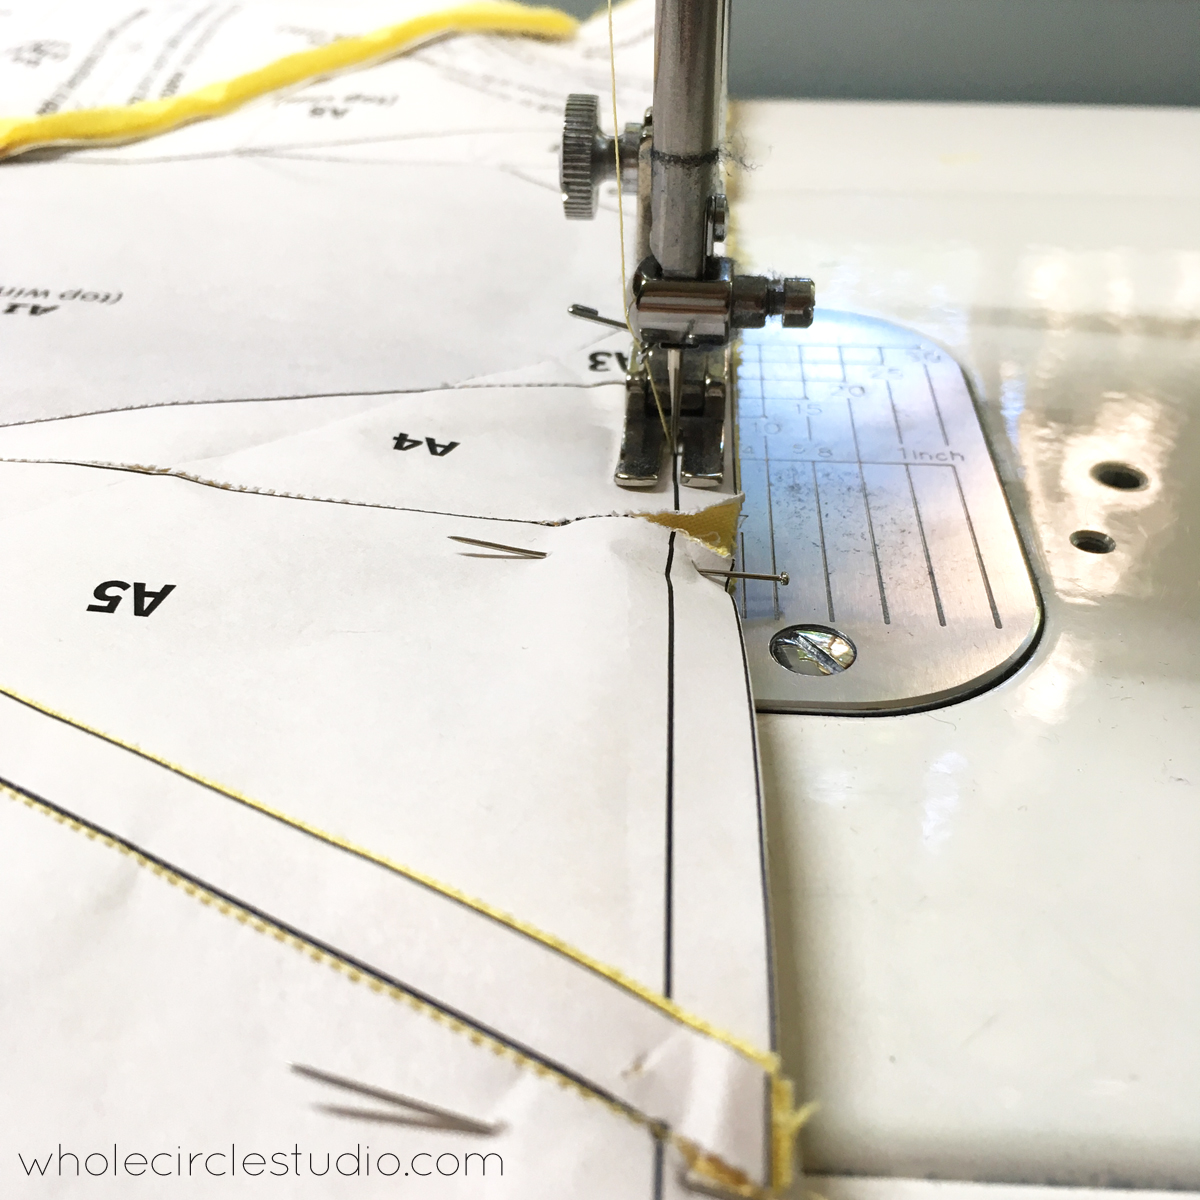
For many paper piecing patterns, you’ll need to join all of your blocks before you take the paper off of your block. Since this pattern produces a square block (your completed butterfly), you don’t necessarily need the lines on the paper to join blocks. That said, if you are challenged with sewing a 1/4″ seam allowance you may choose to join your blocks with the paper on. Just pin your blocks together according to the diagrams in the pattern and sew. If aligning seams is important to you, be sure to use the positioning pin technique described in Week 3.
It is a bit more challenging and cumbersome (but not impossible) to remove the paper after all of the blocks are assembled. Since the blocks are squared up in this pattern, I typically choose to take the paper off before joining my butterflies (see my tips for removing paper in the video and in the next section below). I use my 1/4″ seam guide to get a perfect seam allowance. I like this adjustable seam gauge that works on my Juki 2010q.
Removing paper:
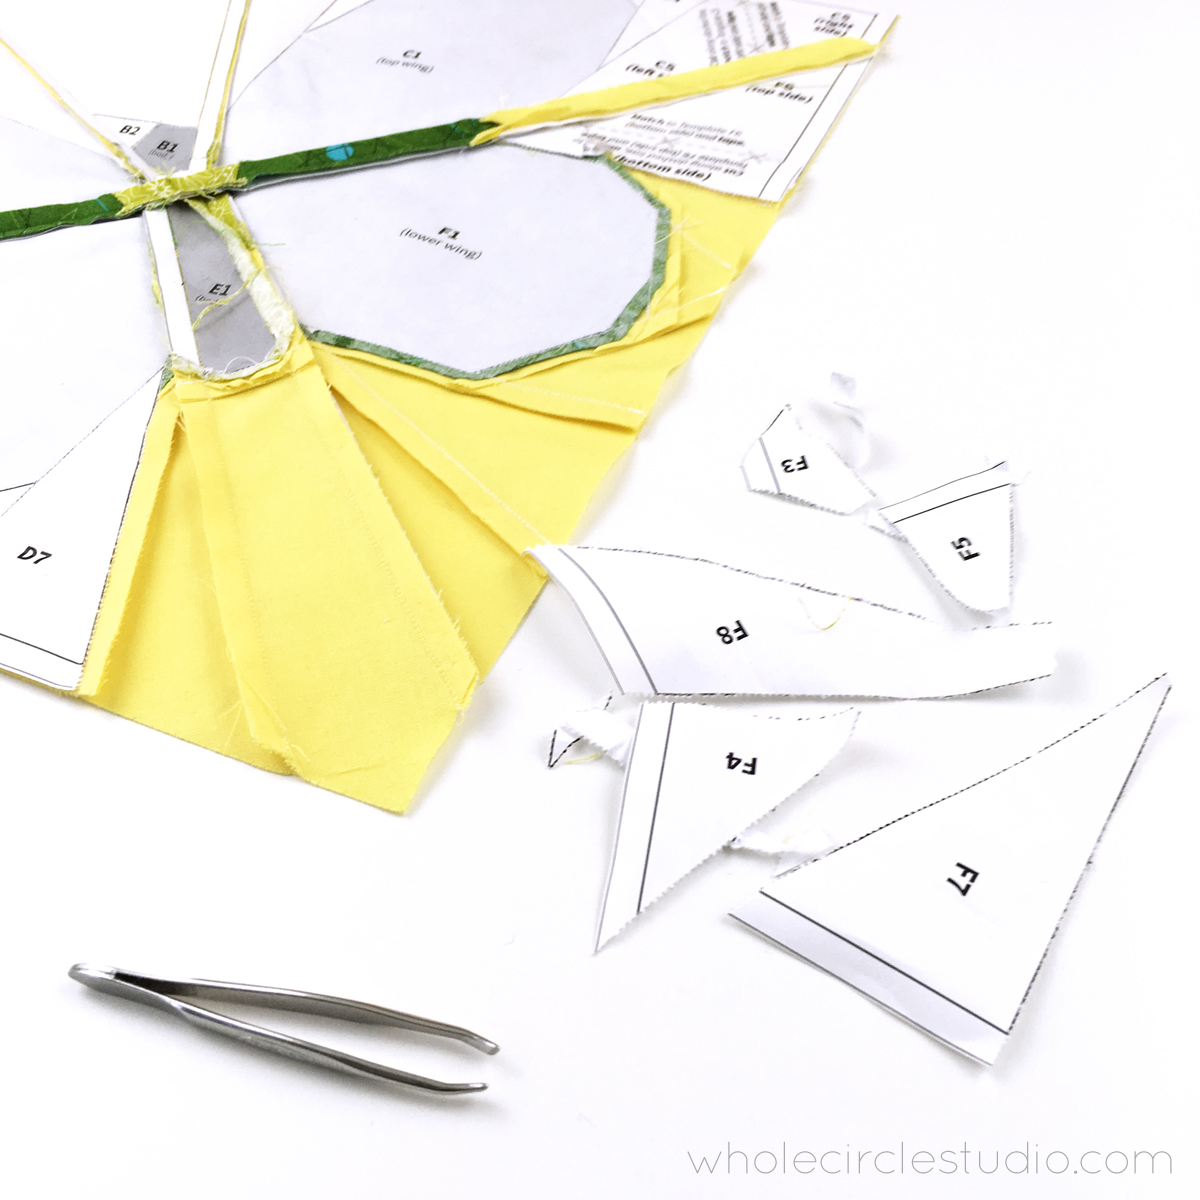
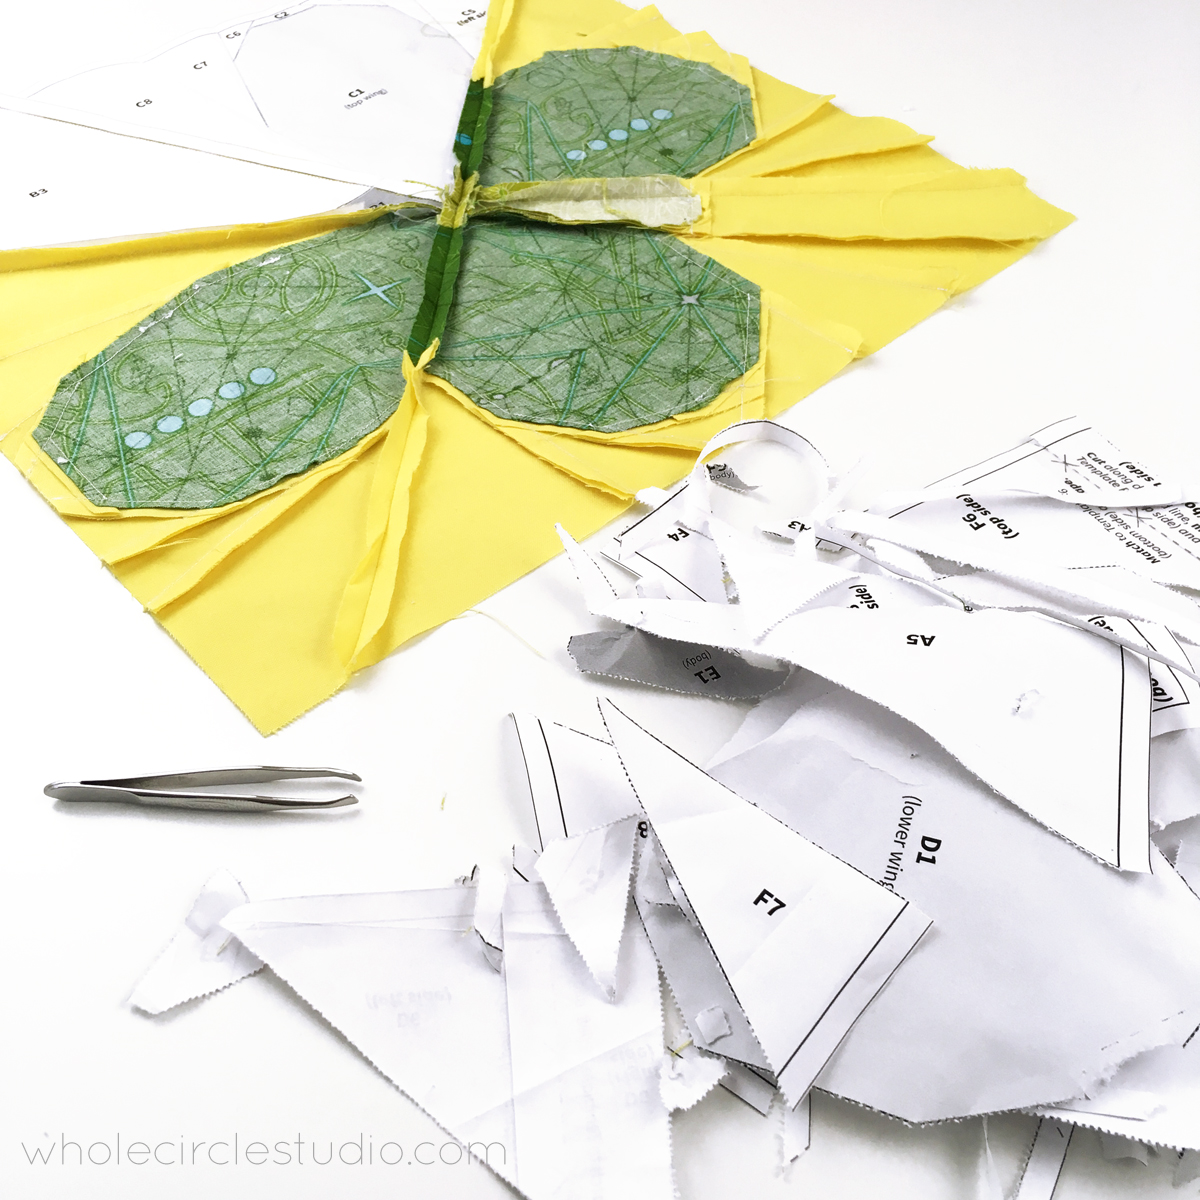
I find this part oddly satisfying! It’s a great task to do while watching television. For those tiny pieces, use a pair of regular tweezers. Start with the larger paper sections at the perimeter and work your way around and to the center. Since we sewed with a very short stitch length (1.5), the paper will be perforated and easy to remove. I find that I can pick the paper out fairly aggressively if I use the tight stitch and a good quality thread. If you find that your stitches are coming out:
• confirm that you backstitched at the beginning and end of every seam
• change the thread that you use. Again, you’ll want to make sure you use a good quality thread. The weight may also make a difference. I wouldn’t go much thinner or thicker than 50 weight. I prefer Aurifil 50wt cotton thread.
• try being a bit more gentle removing the paper
Enjoy the process of connecting your butterflies.
If you choose to put a border around the butterflies once they’re connected (suggestions given in the pattern), go ahead and do so. Next week we’ll wrap things up and I’ll show you some of my quilting design strategies.
Remember to share photos of your progress!
I can’t wait to see your Butterfly Bunch quilt tops come together!
Let’s make something awesome together,
Sheri
p.s. If you missed it, be sure to check out behind the scenes: designing Butterfly Bunch and the introduction of the Butterfly Bunch Quilt Along and check out Butterfly Bunch Week 4 here.

Links to specific products are selected by me and are only products that I use, love and endorse. This post contains affiliate links.

1 Comment