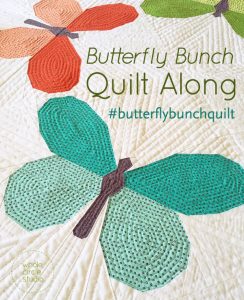
New to the Butterfly Bunch Quilt Along? Start here or get the pattern here.
Are you ready to get quilting?
Last week we finished piecing our Butterfly Bunch quilt top. Are you excited to dig in and start quilting?!?!?
making a quilt sandwich and basting your quilt
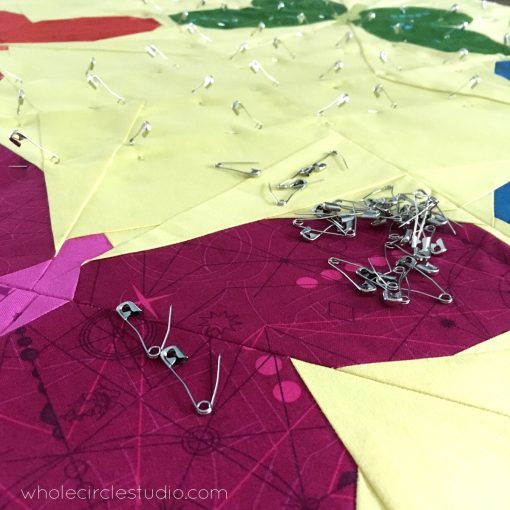
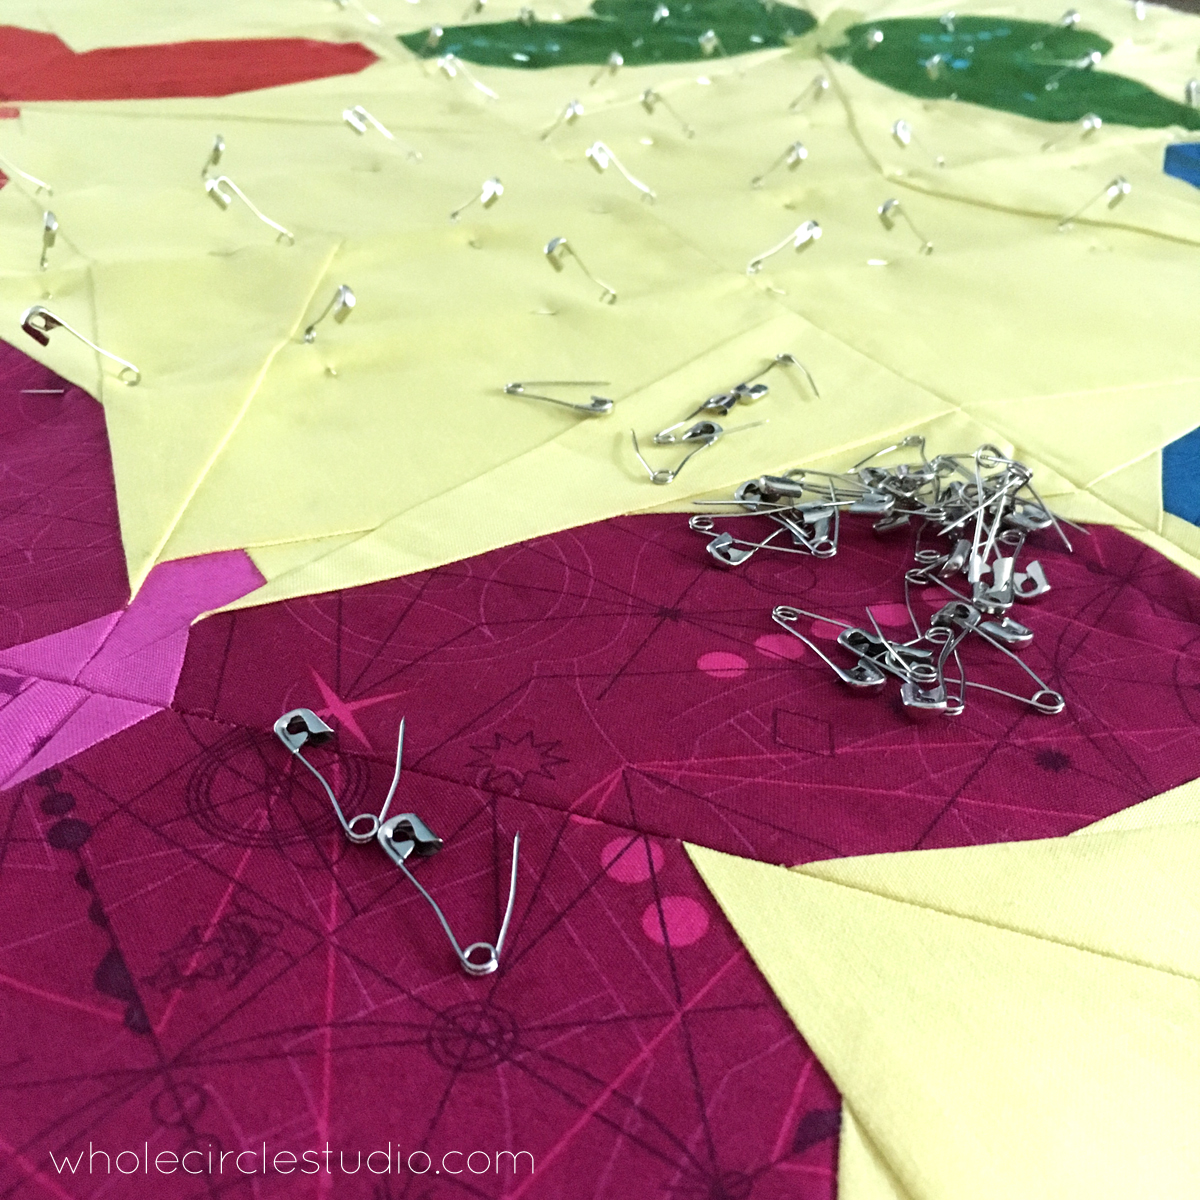
I like to pin baste fairly densely—about 2″–3″ apart (the width of 3 of my fingers). While this step is tedious, I find this amount of pinning provides good results. I place my pins in a grid and alternate directions. By using these methods, I eliminate the likelihood that I will have puckers and folds in my quilt.
Need some extra help? Be sure to check out my Pin Basting Made Easy video tutorial.
Here are some of my favorite tools that I use while basting:
Dritz Curved Basting Pins
Kwik Klip (makes it easier on your fingers when closing your basting pins)
planning your quilting design strategy
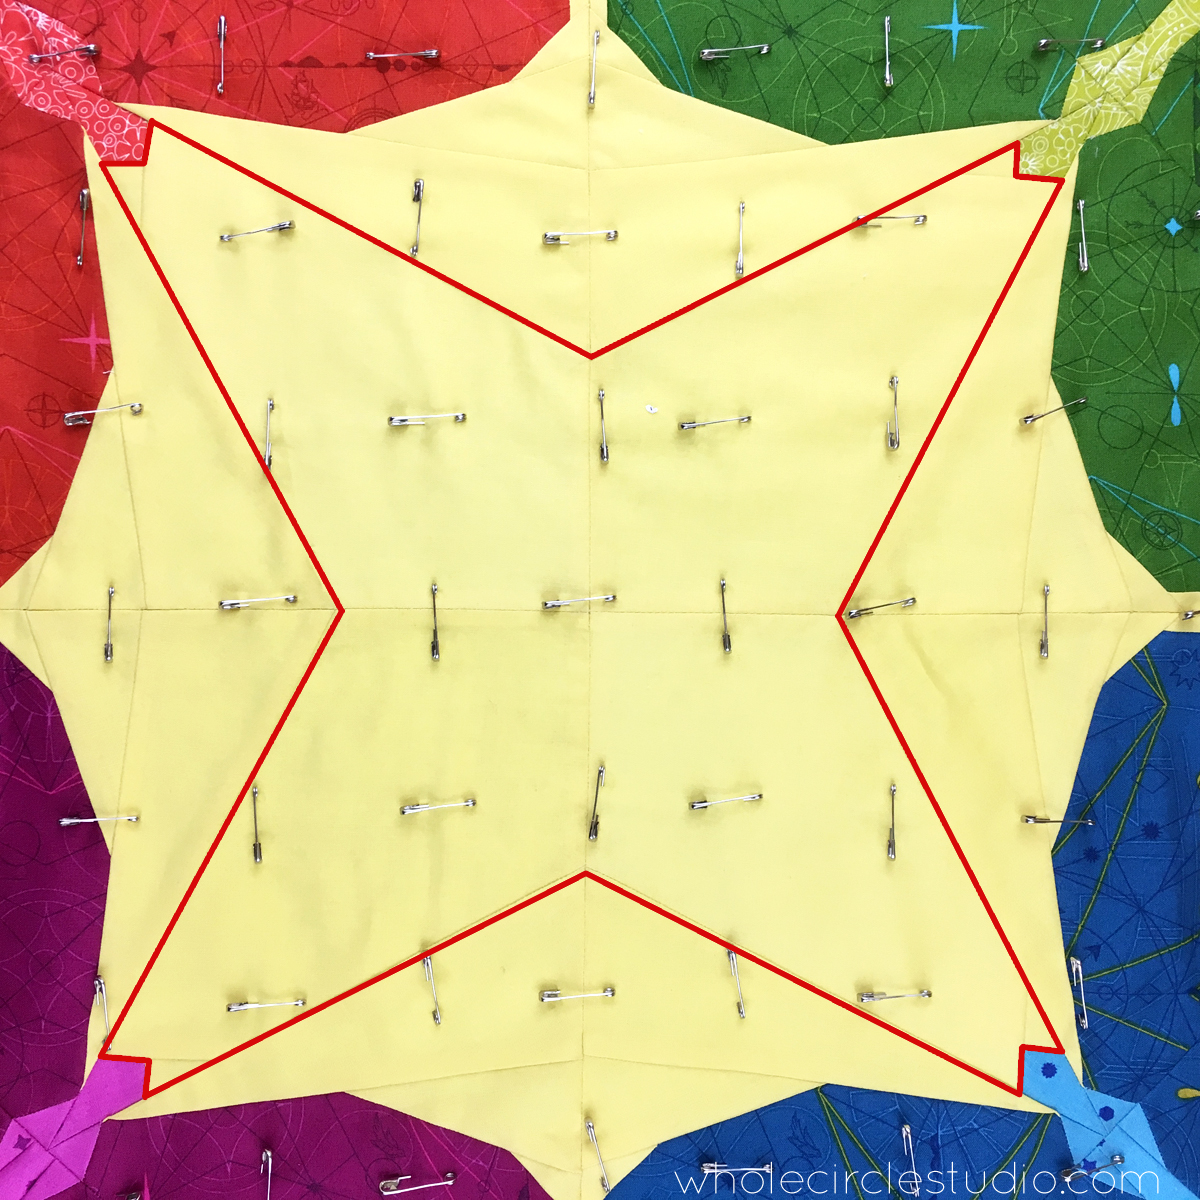
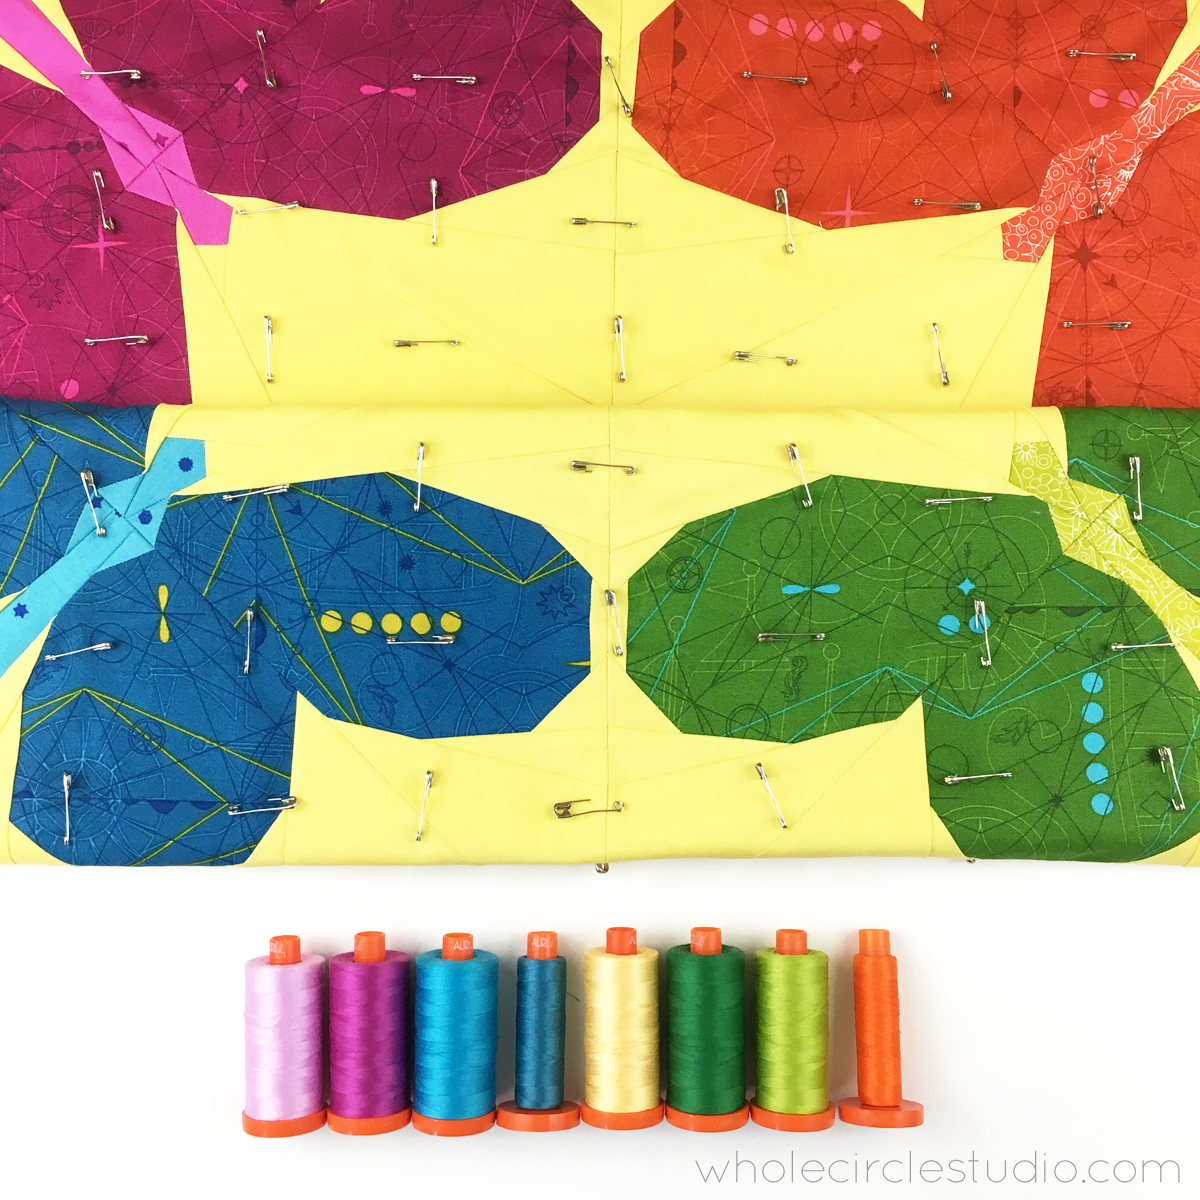
I often study the seams in my quilt top and use them as a guide. By using this strategy, you can emphasize your quilt top design and make it, sometimes literally, the star of the quilt. Once your four butterflies are pieced together, you’ll notice that the seams create a 4 pointed star shape, as outlined in red below.
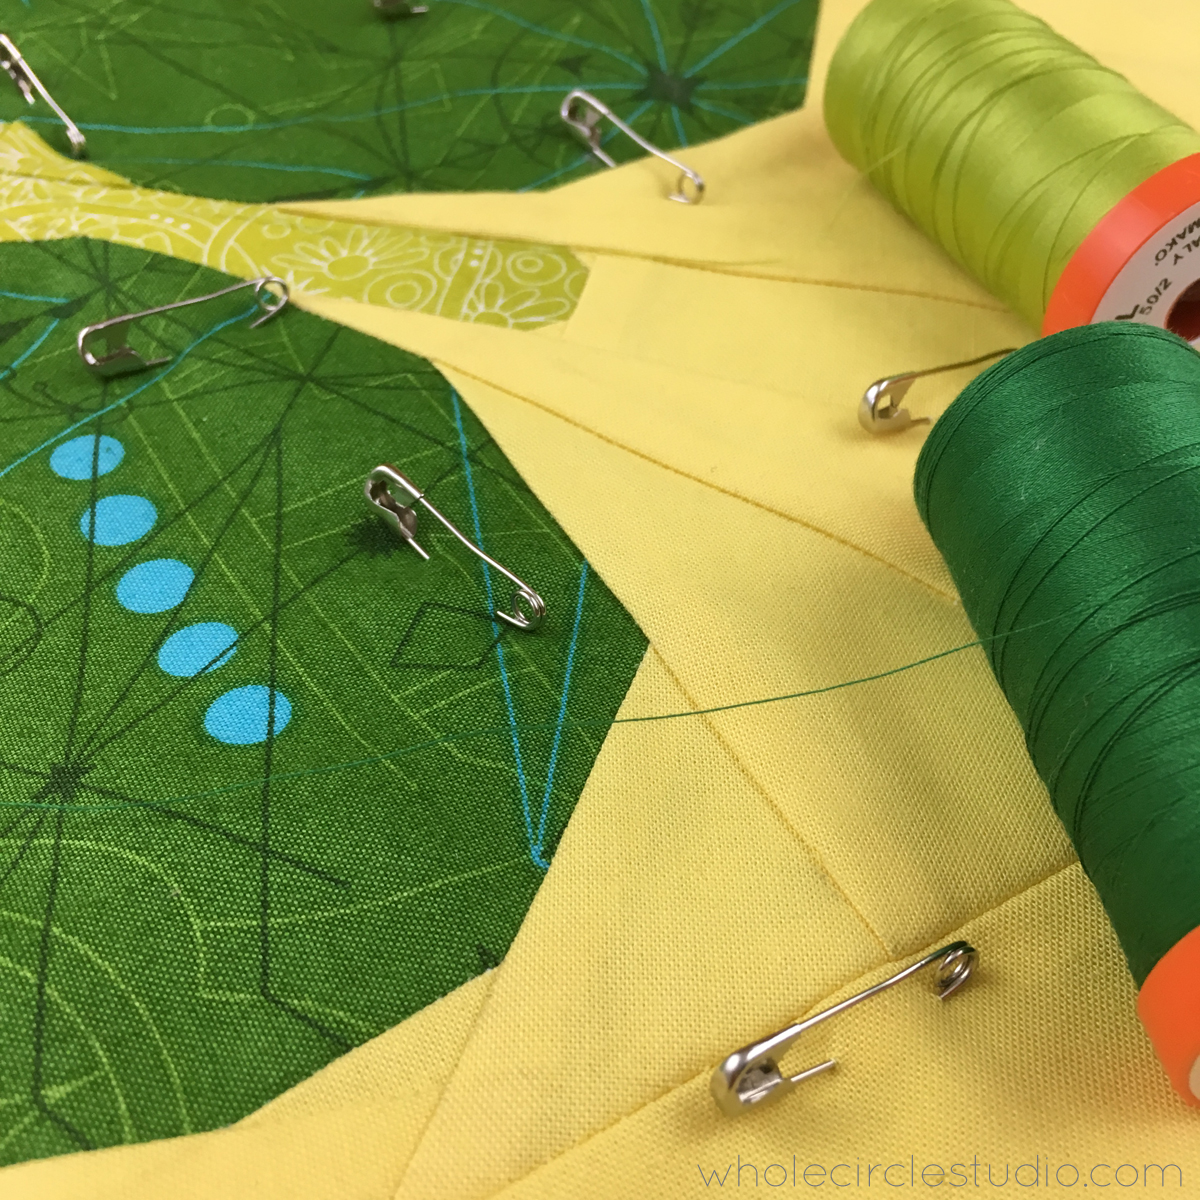
You can straight stitch quilt on top of the quilt top seam (known as stitching in the ditch). In my experience, this can be tricky and difficult to master. I find that I have better results by stitching to the side of the seam (see photo below). For my Butterfly Bunch mini quilt, I’m going to use the prongs, or toes, on my walking foot as a guide to stitch to the side of the “star” seam. I’ll then use that quilted line as a guide for the next line.


Keep in mind that generally, you’ll want to start quilting in the middle of your quilt. By doing so, if your quilt layers aren’t quite laying flat, you can work it out towards the edges and smooth out your quilt sandwich as you go, eliminating pleats and bunching.
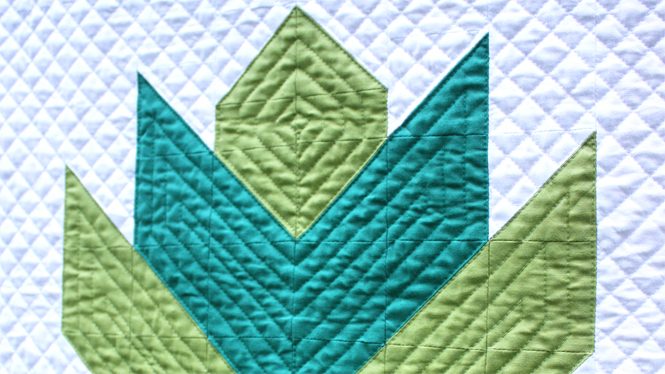
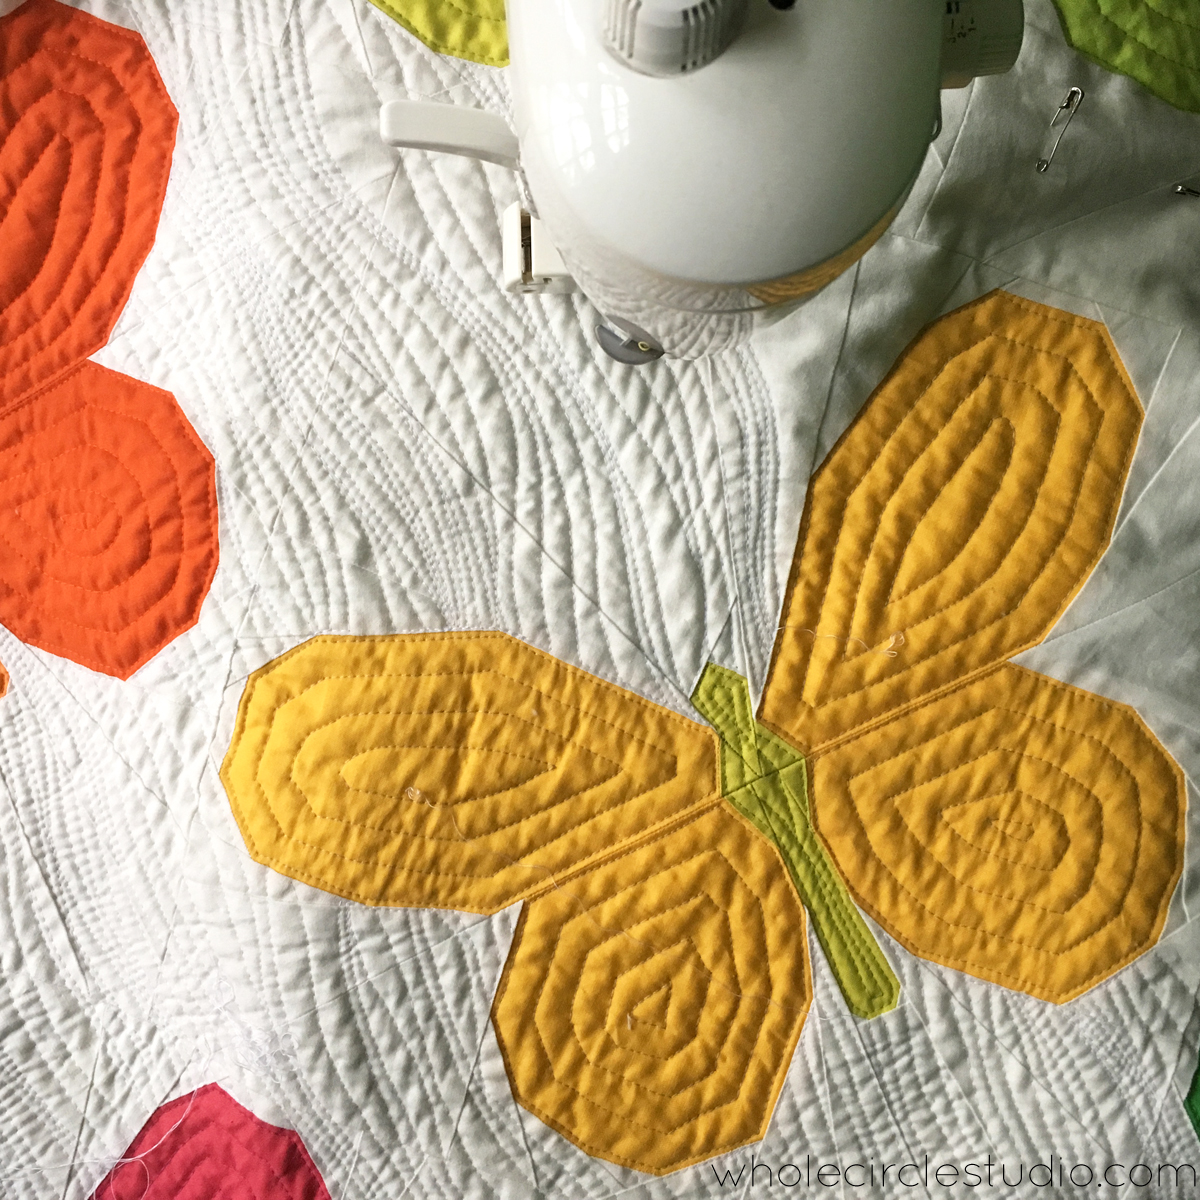
For the butterflies, I’m going to follow the same quilt top seam technique. Here are some previous butterflies I quilted. Notice the echo quilting in the wings.
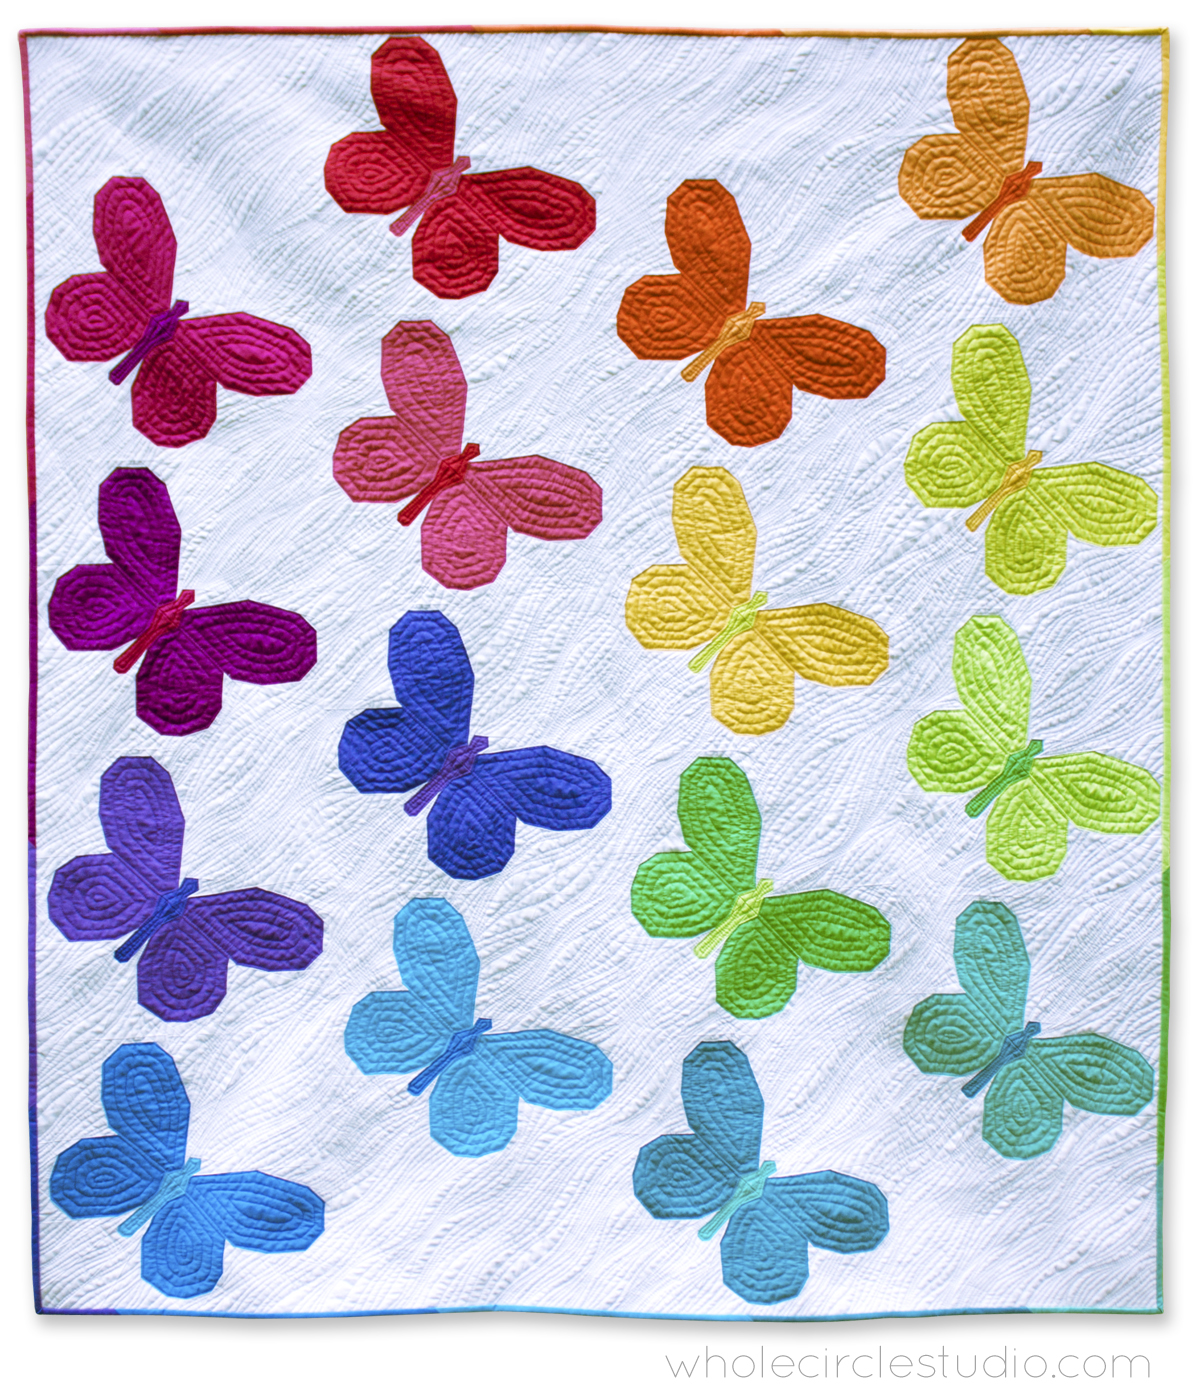
I love using my walking foot for quilting. If you go slow (remember, it’s called a Walking Foot for a reason!), you aren’t limited to straight lines. When it came time to quilt my larger Butterfly Bunch lap quilt, I wanted to “go with the flow” of the arrangement of the butterflies and create movement in the background. I first quilted my butterflies and then, starting from the middle and working out, created organic and wavy lines evoking the paths that the butterflies might take. About every 5″, I used my Hera Marker to score the fabric. I then used those marks as a guide to quilt and filled in between the lines with more wavy walking foot quilting.
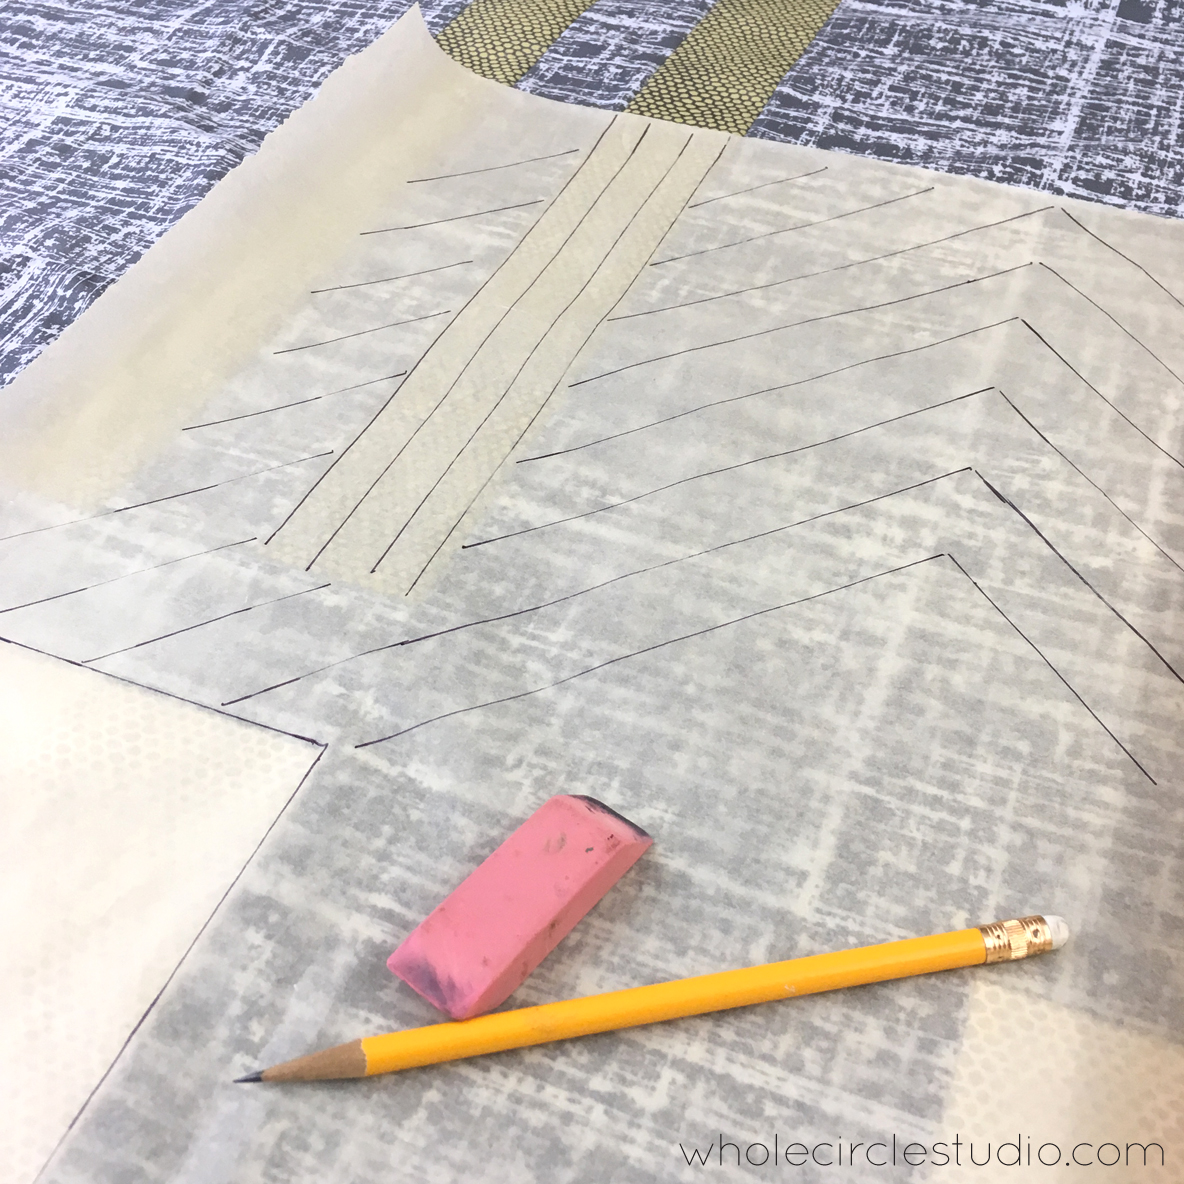
Still unsure of how you want to quilt your mini? When I’m really stuck, I like to place a roll of tracing paper over the top of my quilt top and sketch with a pencil. I can audition different ideas before committing to them.
thread matters
I like to match my thread colors to my fabrics. By by doing this, my quilting compliments rather than competes with my quilt top design. Here’s another tip: sometimes a thread color won’t look like a good match when it’s on the spool. Many times if I unwind a strand of thread and place it over the area I want to quilt, it’ll be a much better match (and sometimes disappear completely as is the case in the photos below).
I like to piece and quilt with Aurifil 50wt cotton thread. If I want the quilting to be emphasized, I’ll use a thicker, 40wt thread. In the photo below you can see my thread selection for my Butterfly Bunch mini quilt.
I often let the size of the area that I’m quilting dictate my quilting stitch length. Usually I use a stitch length between 2.0 to 2.5 for smaller areas and 3.0 for larger areas. I recommend experimenting with stitch length on a scrap quilt sandwich and seeing what you prefer.
Here are some of my favorite tools that I while quilting:
Juki 2010Q
I piece and quilt EVERY one of my quilts on this workhorse of a machine!
Janome Even Feed Walking Foot Set for high shank models
While I love my Juki, I don’t like the walking foot that came with it. The toes (the area where the needle comes down between) are super close together and this makes it difficult to see the area I’m quilting. I love the Janome walking foot because the toes are farther apart and there is an adjustable guide bar that attaches to it. I can use the guide bar to follow a seam or quilted line and I’m not limited to the toes on my walking foot. Public service announcement: Before purchasing a new walking foot for your machine, be sure that it’s compatible! You can damage your machine if it’s not compatible.
When quilting, I tend to start and stop my quilting lines more than most other quilters. I prefer clean lines in my quilting (and I might be a little obsessive compulsive in this area of my life). You can certainly “travel” or quilt over lines to get to where you need to be next instead of starting and stopping lines. If you prefer the look of distinct lines, I recommend burying your threads. I review this technique quickly in the video at the top of this post or you can check out my friend Leah Day’s hiding loose threads tutorial here.
Here are some of my favorite tools that I use while burying threads:
Clover Soft Touch Thread Pic (to gently pull threads to the surface).
I also use this tool ALL THE TIME to take out stitches instead of using a seam ripper. You can pull out stitches instead of ripping them out. By doing so, you won’t have lots of teeny tiny pieces of thread that are a mess to clean up. All of those tiny threads are the worst part of seam ripping.
Tulip Easy Threading Needles (also known as “cheater” needles)
I’ve used a few brands and I’ve found the Tulip brand to be the only needle that doesn’t shred my thread when inserting it into the metal grooves. It’s a hefty needle and in my opinion worth the extra cost.
I can’t wait to see your finished Butterfly Bunch!
Please be sure to share photos of your finished Butterfly Bunch quilt on Instagram and include the hashtag #butterflybunchquilt in your comment. You can also email me photos! I love to see what you’re up to!
Congratulations to these talented makers! I loved seeing all of your beautiful butterflies come together during the Quilt Along! You each have won a Whole Circle Studio PDF pattern of your choice. I’ll be in touch with more details in the next couple of days.
@marilyn.wyoming
@christinaperry3880
@cottonandjoy
@karenmariegrad
@sabrinaeisele9123
@beedles_boutique
Let’s make something awesome together,
Sheri
Let’s make something awesome together,
Sheri
p.s. If you missed it, be sure to check out behind the scenes: designing Butterfly Bunch and the introduction of the Butterfly Bunch Quilt Along.
Links to specific products are selected by me and are only products that I use, love and endorse. This post contains affiliate links.