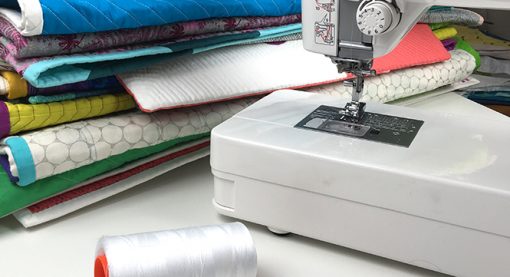
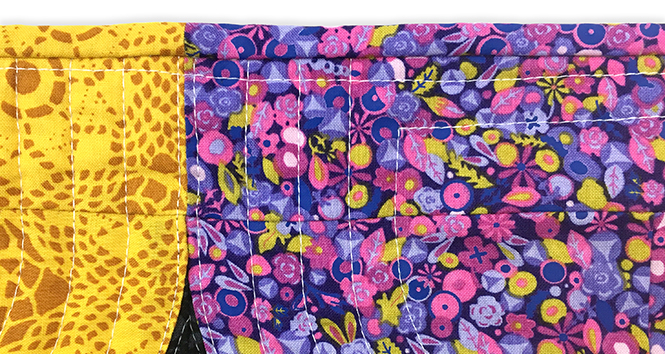
Quilting your own quilts on your domestic sewing machine can be an enjoyable and rewarding experience. With some practice, each quilting project gets a bit easier. I found that as I learned more about thread, needles, and my sewing machine, the logistics of quilting has been less stressful which has allowed me to savor the process and focus on my quilting design. Have you experienced skipped stitches, thread breaking while quilting, or other not so pleasant incidents? We often just focus on adjusting the tension on our machines to fix these issues, but there are a few other considerations. Let’s investigate!
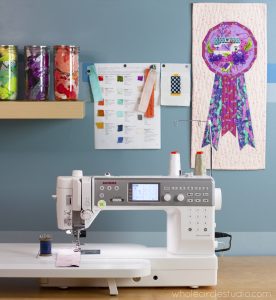
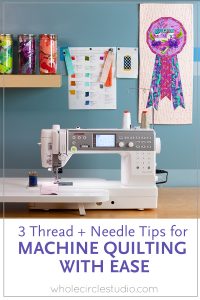
I love using my Janome 6700p to machine quilt. Before I start quilting, I have a mini-checklist that I review so I can set myself up for success:
1. Pay attention to how your thread is wound and your spool positioning.
Have you ever noticed that there are two ways that thread is wound onto spools:
• Cross Wound:
Thread is wound on the spool in a criss-cross or zig-zag manner
• Straight Wound (or Stacked):
Thread is wound on the spool horizontally so the thread is parallel to the spool, in straight lines.
Why does the winding method matter?
Positioning your thread spool on your machine based on how the thread is wound on to the spool can make a BIG difference to your sewing and quilting adventures. Positioning the spool incorrectly can make for a miserable sewing experience with thread breaking or feeding through your machine inconsistently.
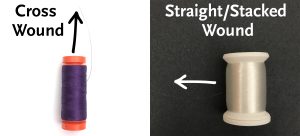
• Thread on Cross Wound spools is intended to draw off the spool from the top. The spool should remain stationary on the machine’s spool holder. If the position of your machine’s spool holder doesn’t accommodate thread drawing from the top of the spool, you may need to use a freestanding spool holder.
• Thread on Straight Wound (or Stacked) spools is intended to draw off the spool from the side. The spool should rotate on the machine’s spool holder.
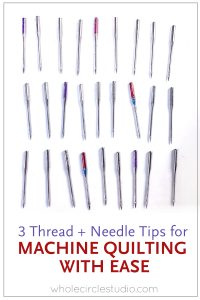
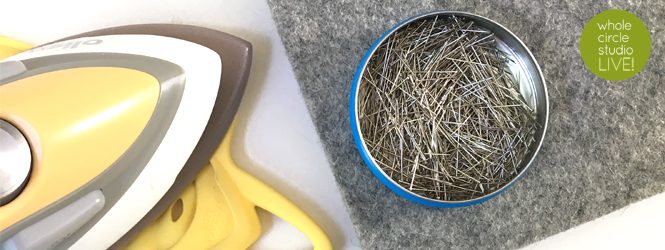
2. Start each project with a new needle.
It’s easy to forget about our needles once they’re in our machines. It can also be tempting to just keep quilting using a needle that hasn’t been replaced in a while. Using worn down needles to quilt (or even piece) can result in poor stitch quality and worse, can do damage to our beloved sewing machines. Needles dull with use, especially as they go up and down over multiple layers of fabric and batting. Replacing needles is way less expensive than repairing or replacing a sewing machine. Reaching for a new needle also saves us the agony of damaging a quilt or being disappointed with our quilting results.
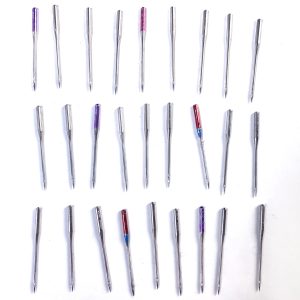
I highly recommend replacing your needle when you’re about to quilt. If you’re working on a large quilt or if you’re quilting densely, you may want to consider changing your needle every 6-8 hours.
Also, if you’re an avid foundation paper piecer like me, don’t forget to change the needle on your sewing machine often (and especially before moving on to quilting). Sewing through paper dulls your needle quickly. Replacing your needle will protect your machine and give you better results!
3. Speaking of needles, base Your needle size on the thread weight.
Do you have issues with your thread breaking, skipped stitches, or poor tension? It may be that you are using the wrong size needle. Generally, the thicker or heavier your thread is, the larger the needle needs to be.
Be sure to check with your thread manufacturer on what size needle they recommend for the thread weight you are using. If you are using Aurifil thread (my favorite brand!), here are some general guidelines for domestic machine needle sizes:
- 12wt: 100/16 or 90/14 Topstitch needle
- 28wt: 90/14 Topstitch, Quilting or Denim needle
- 28wt: 90/14 Topstitch, Quilting or Denim needle
- 40wt: 80/12 Microtex/Sharp, Universal or Denim needle
- 50wt: 80/12 Microtex/Sharp, Universal or Denim needle
- 80wt: 70/10 or 80/12 Microtex/Sharp or Embroidery
- Monofilament: 80/12 or 70/10 Topstitching or Microtex/Sharp needle
I also recommend checking with your machine manufactuer regarding their needle recommendations. I regularly use the Janome purple tip needles in my Janome 6700p when I quilt. This needle is specifically designed for Janome machines. Using the purple tip needle eliminated skipped and irregular stitches that I experienced when quilting over really thick parts of my quilt, especially when I have many seams coming together in the quilt top. You can learn more about needles specifically designed for Janomes here.
Another thing to remember about selecting the appropriate size needle for your thread weight is that the higher the number of your thread, the thinner the thread is. For example, 12wt thread is thick and chunky. 80wt thread is thin and fine. Ever wonder why this is? The weight of thread is determined by length and how long the thread is to weigh a specific amount. The thinner the thread, the longer it has to be to weigh a specific amount.
It may feel like there’s a lot of things to review while getting set up to quilt, but with practice the preparation will become second nature. Go slow, take your time planning, and you’ll achieve beautiful results. Do you have any questions or preparation tips you’d like to share? Comment below!
Happy quilting!

1 Comment
These are such great machine quilting tips! Choosing the right size based on thread weight is good to know. Following these guidelines will surely help someone get better, cleaner quilting results. Thanks for taking the time to outline your preparatory checklist – it’s obvious you’ve learned what works best through experience. Little details like what you’ve shared will make the process much less stressful. I appreciate you sharing your expertise!