Hello quilting friends! Today, I’m excited to share an alternative approach to Foundation Paper Piecing (FPP) that will transform your piecing experience. In this tutorial, I’ll guide you through the art of FPP using freezer paper, a game-changing technique that eliminates the hassle of removing paper and allows you to reuse your templates effortlessly.
Why Foundation Paper Piecing (FPP)?
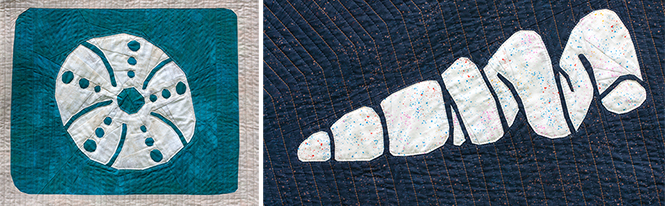
Foundation paper piecing (FPP) is a piecing technique that enables the creation of intricate and precise quilt top designs. By sewing fabric onto a paper foundation, quilters can achieve accurate shapes and sharp points, making seemingly complex designs achievable. It’s one of my favorite quilt-making techniques!
Introducing Freezer Paper Piecing
The drawback of traditional FPP is the sometimes tedious process of removing paper at the end. That’s where an alternative method, using household freezer paper comes in! This method not only saves time but also allows you to reuse your templates multiple times, making it a FPPer’s dream come true.
Getting Started: Supplies You’ll Need
To get started, gather your supplies:
- FPP pattern for your block (see below for my favorite quilt patterns to use with freezer paper)
- Pencil, Acrylic Ruler, and Masking Tape
- Lightbox (my favorite is Daylight Wafer) or another light source like a window
- Iron and pressing surface (my favorites are the Oliso Mini Project Iron and Oliso Multi-Mat Felt Pressing Pad)
- Add-A-Quarter Ruler (optional but super helpful)
- Basic sewing supplies (machine, thread, fabric, rotary cutter, and cutting mat)
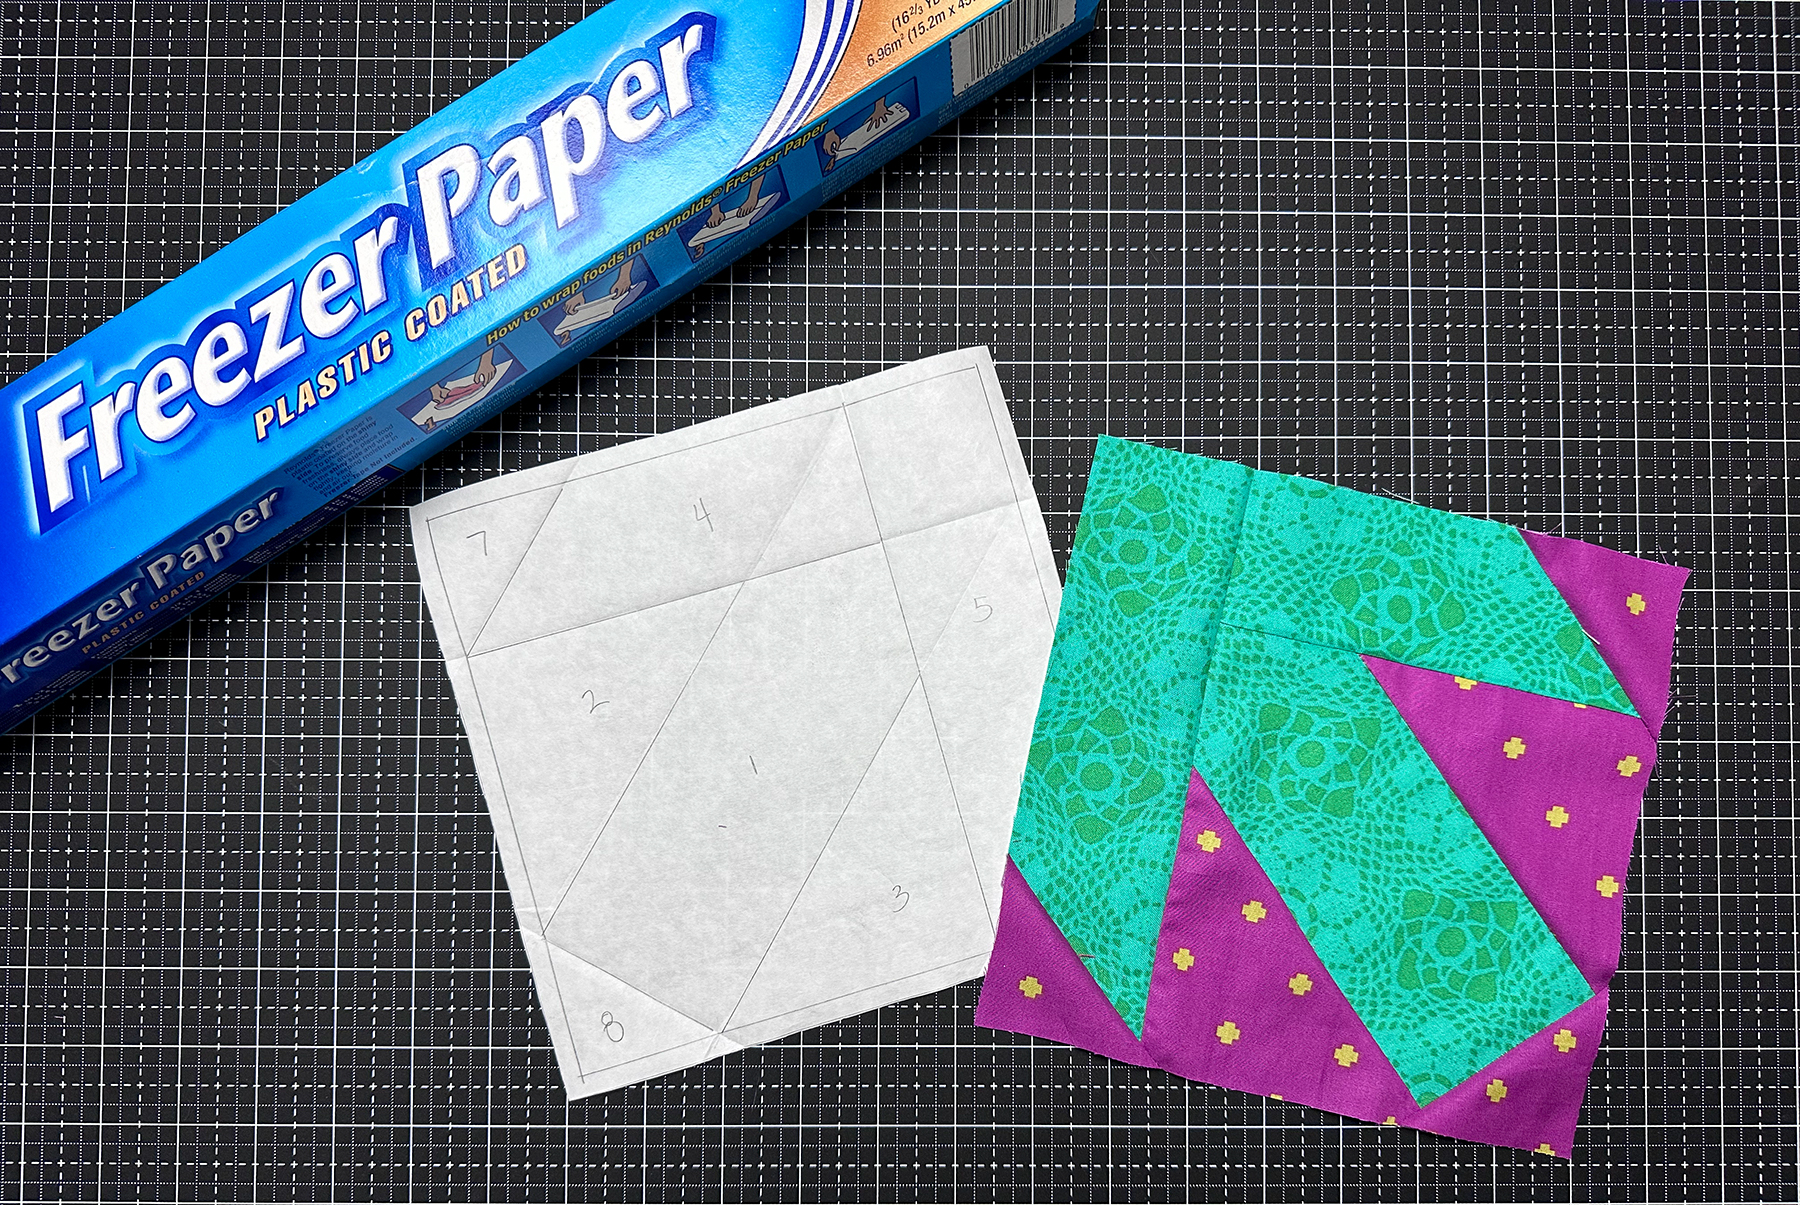
- Reynolds Freezer Paper (This is what I used in the tutorial. It is inexpensive, but it SHOULD NOT be used in printers) If you’re looking for freezer paper that you can run through a printer, check out these products—but be sure to read the manufacturer recommendations CAREFULLY as to which types of printers they can be used with—typically these specialty papers can only be used in inkjet printers: Quilter’s Freezer Paper Sheets, June Tailor Ink Jet Printable Freezer Paper, The Gypsy Quilter Freezer Paper
Choosing Between Freezer Paper and Regular Paper
For me, deciding between whether to use freezer paper or regular paper depends on two factors: repetition and complexity. If I plan to make the same block multiple times or if the pattern has fewer intricate sections, freezer paper is the ideal choice. For highly detailed patterns or blocks I’m going to make just once for a quilt, using regular paper is usually more efficient. My favorite paper to use if I’m not using freezer paper while foundation paper piecing is Pacon® Plain Newsprint.
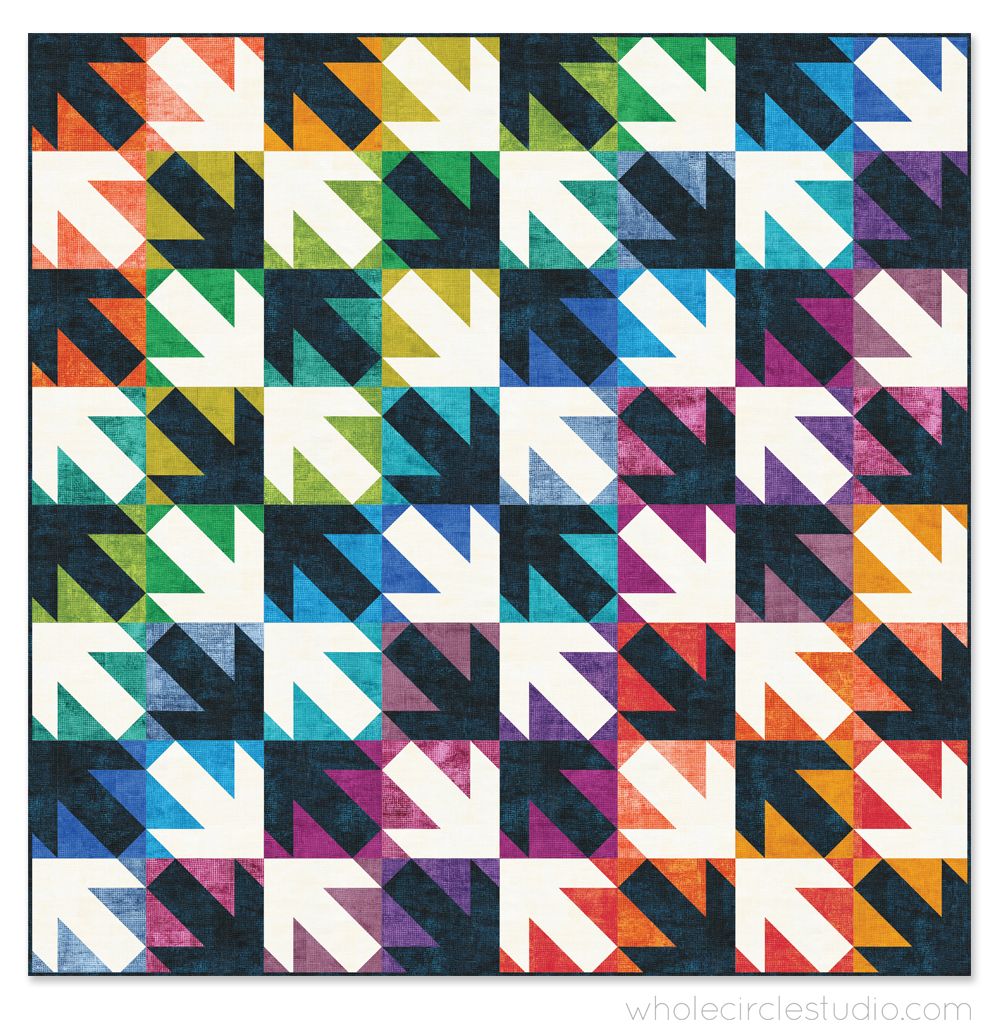
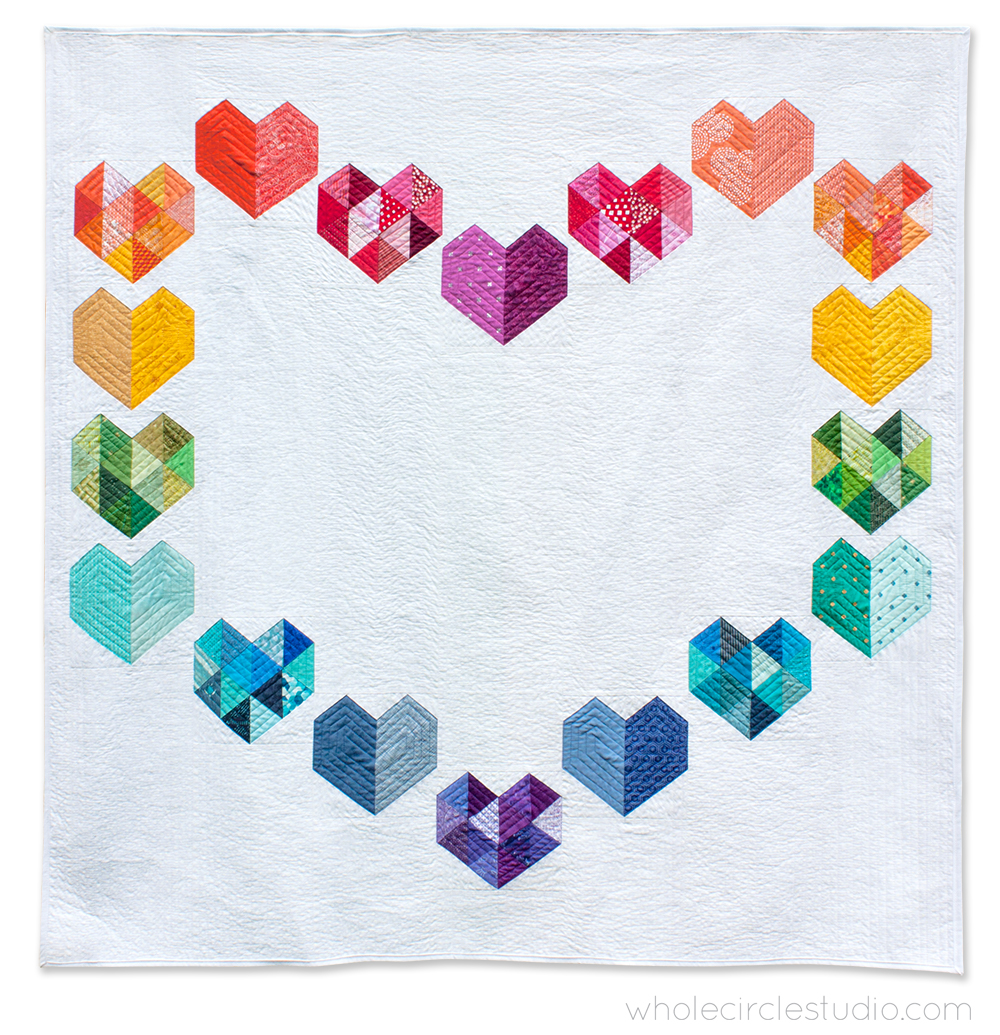
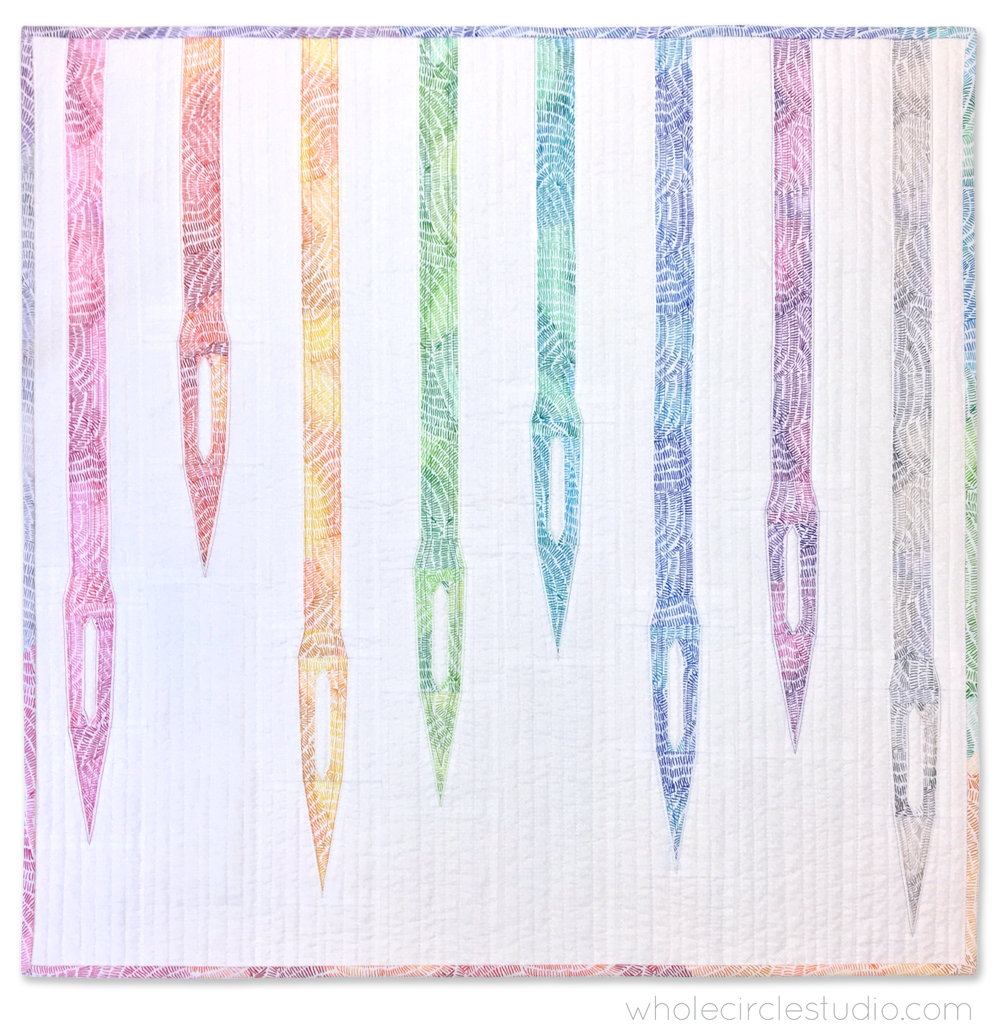
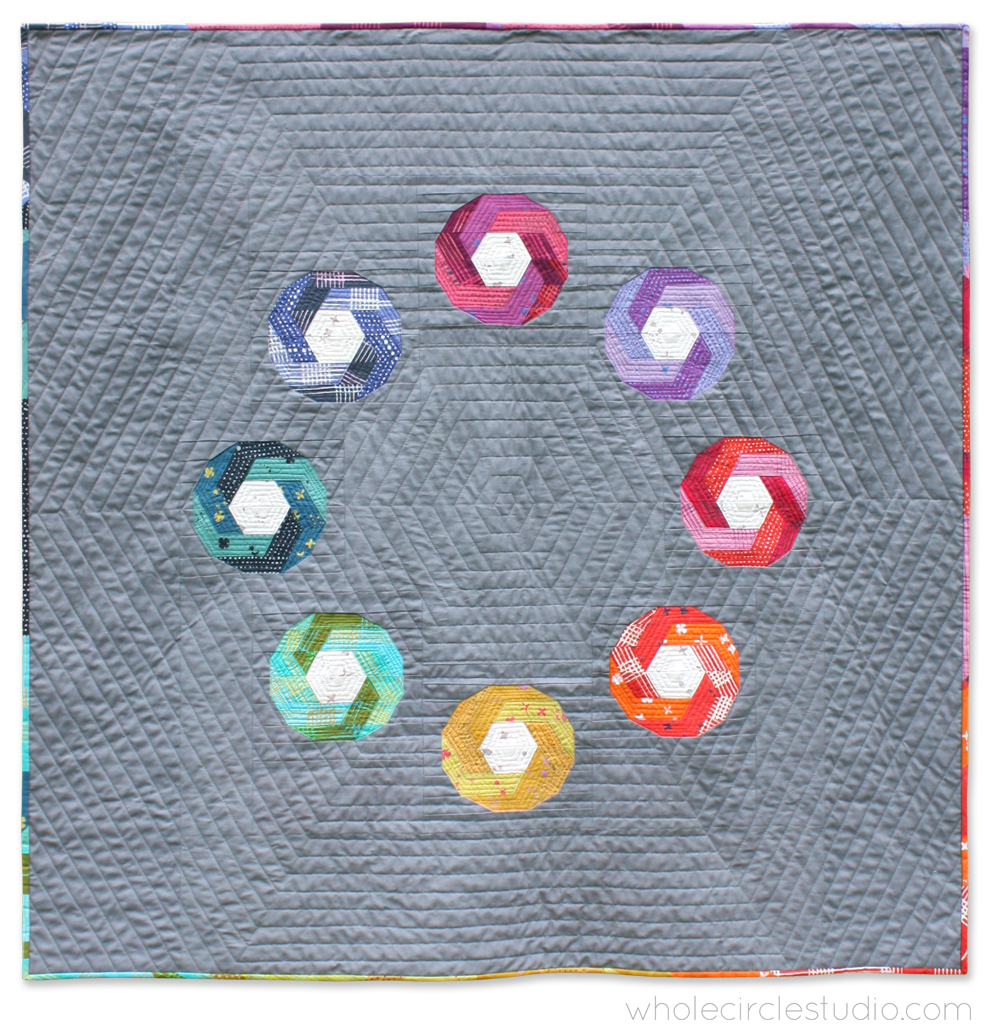
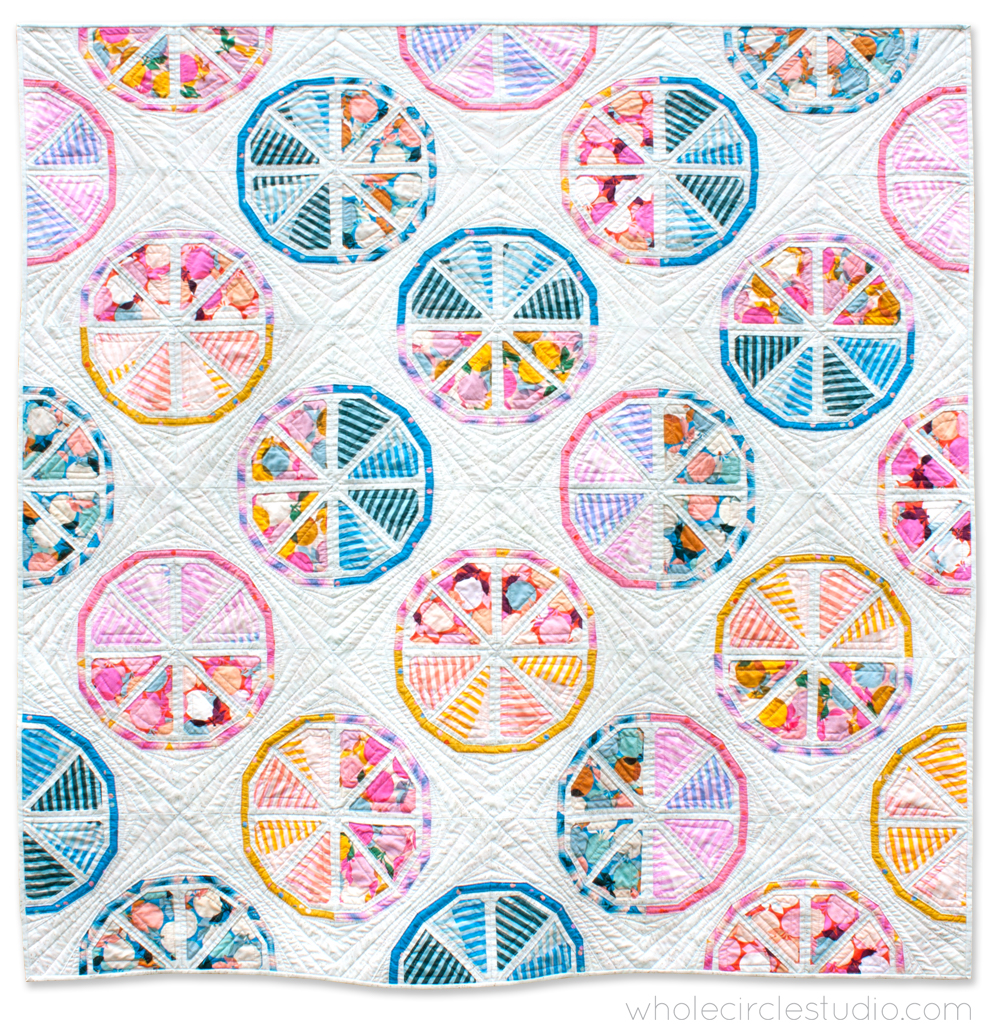
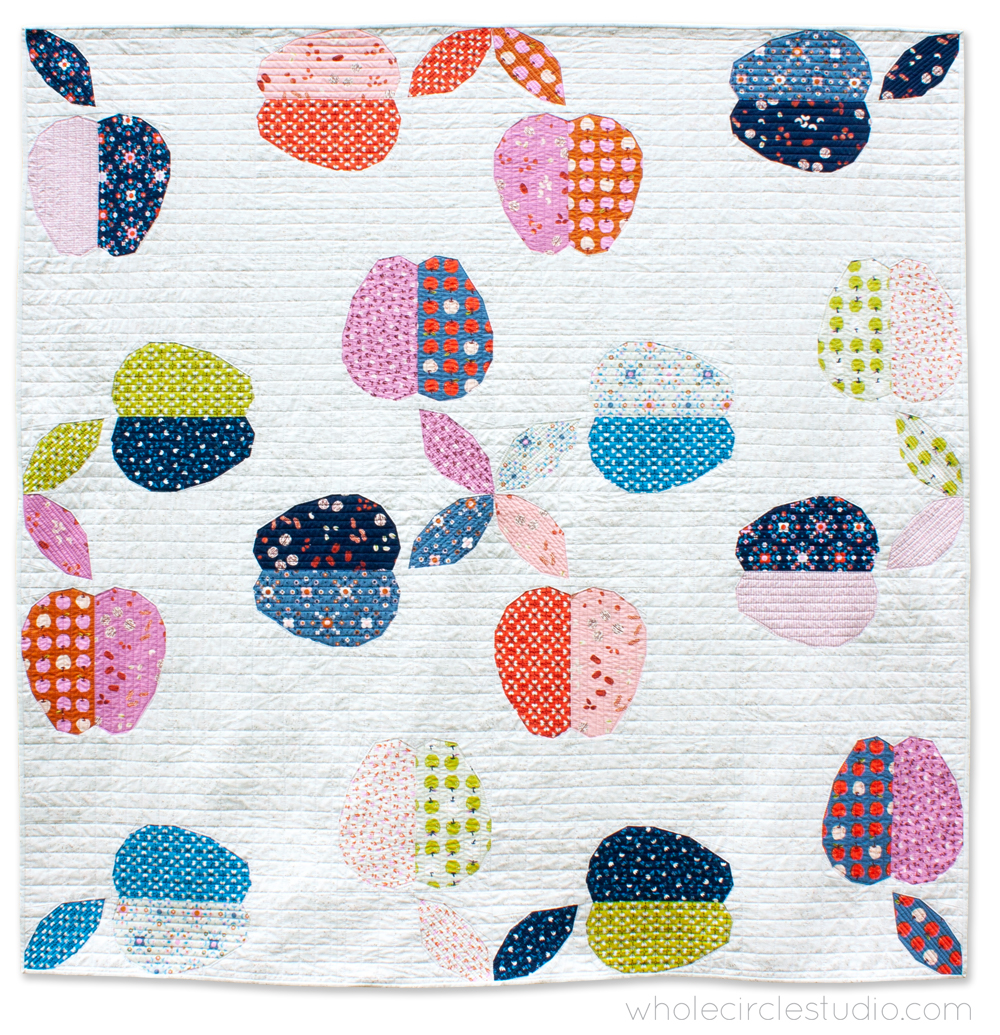
My Favorite Patterns to Foundation Paper Piece (FPP) using Freezer Paper:
All of them have repeat blocks, making them great to use with freezer paper!
The Freezer Paper Piecing Process
Be sure to review the video above for a detailed step-by-step walkthrough of the piecing process using freezer paper. Here are the highlights:
-
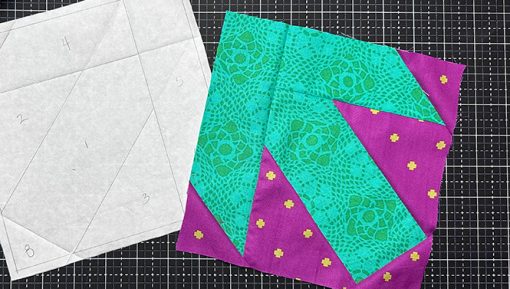
- Prepare Your Freezer Paper Template: Trace the pattern onto freezer paper using a pencil and ruler.
- Sew Numerically: Position and sew fabrics following the numerical order, similar to traditional paper piecing.
- Skip Sewing Through Paper: Unlike regular paper piecing, do not sew through the paper. Sew as close to the folded line as possible, avoiding the freezer paper.
- Effortless Removal: Once all sections are sewn, trim the fabric, and easily remove the freezer paper template, ready to be reused.
3 Benefits of Freezer Paper Piecing
1. No need to rip paper out when your block is complete! Simply peel away your freezer paper.
2. Use your freezer paper over and over again. No need to print or photocopy multiple copies of the same tempate.
3. Piece using a longer stitch length that traditional foundation paper piecing. Because you won’t be ripping paper out at the end, you can use the same stitch length as traditional quilt piecing. A longer stitch length also means that it’s easier to remove stitches should you make a mistake. (Because we’re all human and need to use a seam ripper from time to time!)
Let’s Get Paper Piecing with Freezer Paper!
I hope this tutorial inspires you to explore the world of foundation paper piecing with freezer paper.
If you found this tutorial helpful, be sure to subscribe to my newsletter, Three Things Thursday, to get future tutorials, stitching + quilting tips, special discounts, and studio updates.
Happy stitching and quilting! Until next time!
Sheri

8 Comments
Great tutorial on using freezer paper. I will definitely try it.
Your tutorial is wonderful and covers all the needed aspects of using freezer paper for paper piecing. A personal bug-a-boo of mine that so many teachers do, is use the words press when they iron. If the iron moves while touching the fabric it is ironing, if the iron is place on the fabric, without moving and picked up it is pressing. In many aspects of sewing and quilting it makes a difference if the fabric is pressed or ironed.
Never used freezer paper. This is an excellent tutorial! Thank you for making it for newbies like me!
I’ve always shied away from paper piecing. I always looked too fiddly to me. But I’ve found inspiration from your tutorial video. I think I’m going to try it on the double wedding ring quilt I’m about to start for my daughter-in-law. Thankyou
I’m working on a project using this method. I’ve found the best foot to use is a zipper foot. You can get close to paper, easily see where you are stitching, and there isn’t drag of the foot moving over the sticky paper. You may find it worth a try.
Hi Barbara — Totally! I have found that my regular presser doesn’t work well with freezer paper, but as I mentioned in the video my walking foot / even feed foot does. I’m so glad you found a foot attachment that works well for you! Happy stitching, Sheri
This is a very well done video! You did a great job. I wanted to ask two things. First, does pulling the freezer paper off stretch raw bias edges? And, second, how do you avoid frayed edges on your fabrics? Thanks!
Thank you so much for the kind words—I’m so glad you enjoyed the video! Great questions, too. When I peel the freezer paper away, I haven’t noticed the bias edges stretching. The fabric I usually work with comes from quilt shops, and because of the quality, I don’t tend to run into much stretching or fraying when using this method. That said, if you’re finding your fabrics are fraying more, you might try giving them a quick press with a little starch before cutting—it can add some extra stability.