Hey there, fellow quilters and makers!
Today, I’m thrilled to guide you through the wonderful world of zipper pouch making. In this step-by-step video tutorial, we’ll breeze through the process together. Get ready to conquer those “zipper jitters” and sew along with me as we create a cute and functional accessory together.
Are you ready to learn how to sew a zipper once and for all?
As someone who’s been an adventurous quilter for over a decade, I’ve faced my fair share of challenges. But if there’s one thing that made me anxious on my sewing machine, it was sewing zippers. However, fear not! Today, I’m here to share my zipper sewing confidence with you as we conquer those zipper jitters together.
Join me as I demonstrate how to sew a charming zipper pouch without breaking a sweat. Whether you’re a beginner sewist or simply looking to boost your confidence, this project is perfect for you!
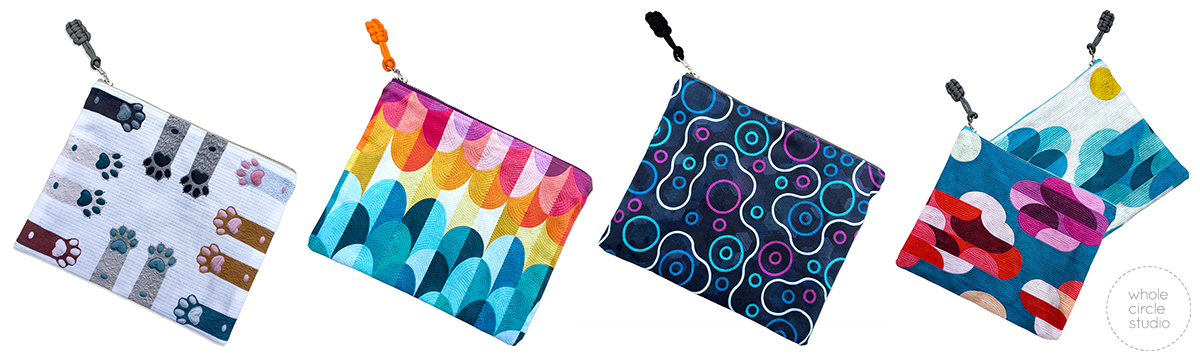
Introducing our NEW Zipper Pouch Kits
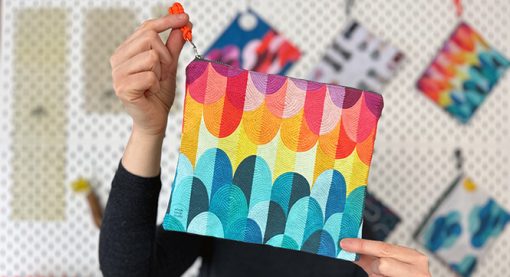
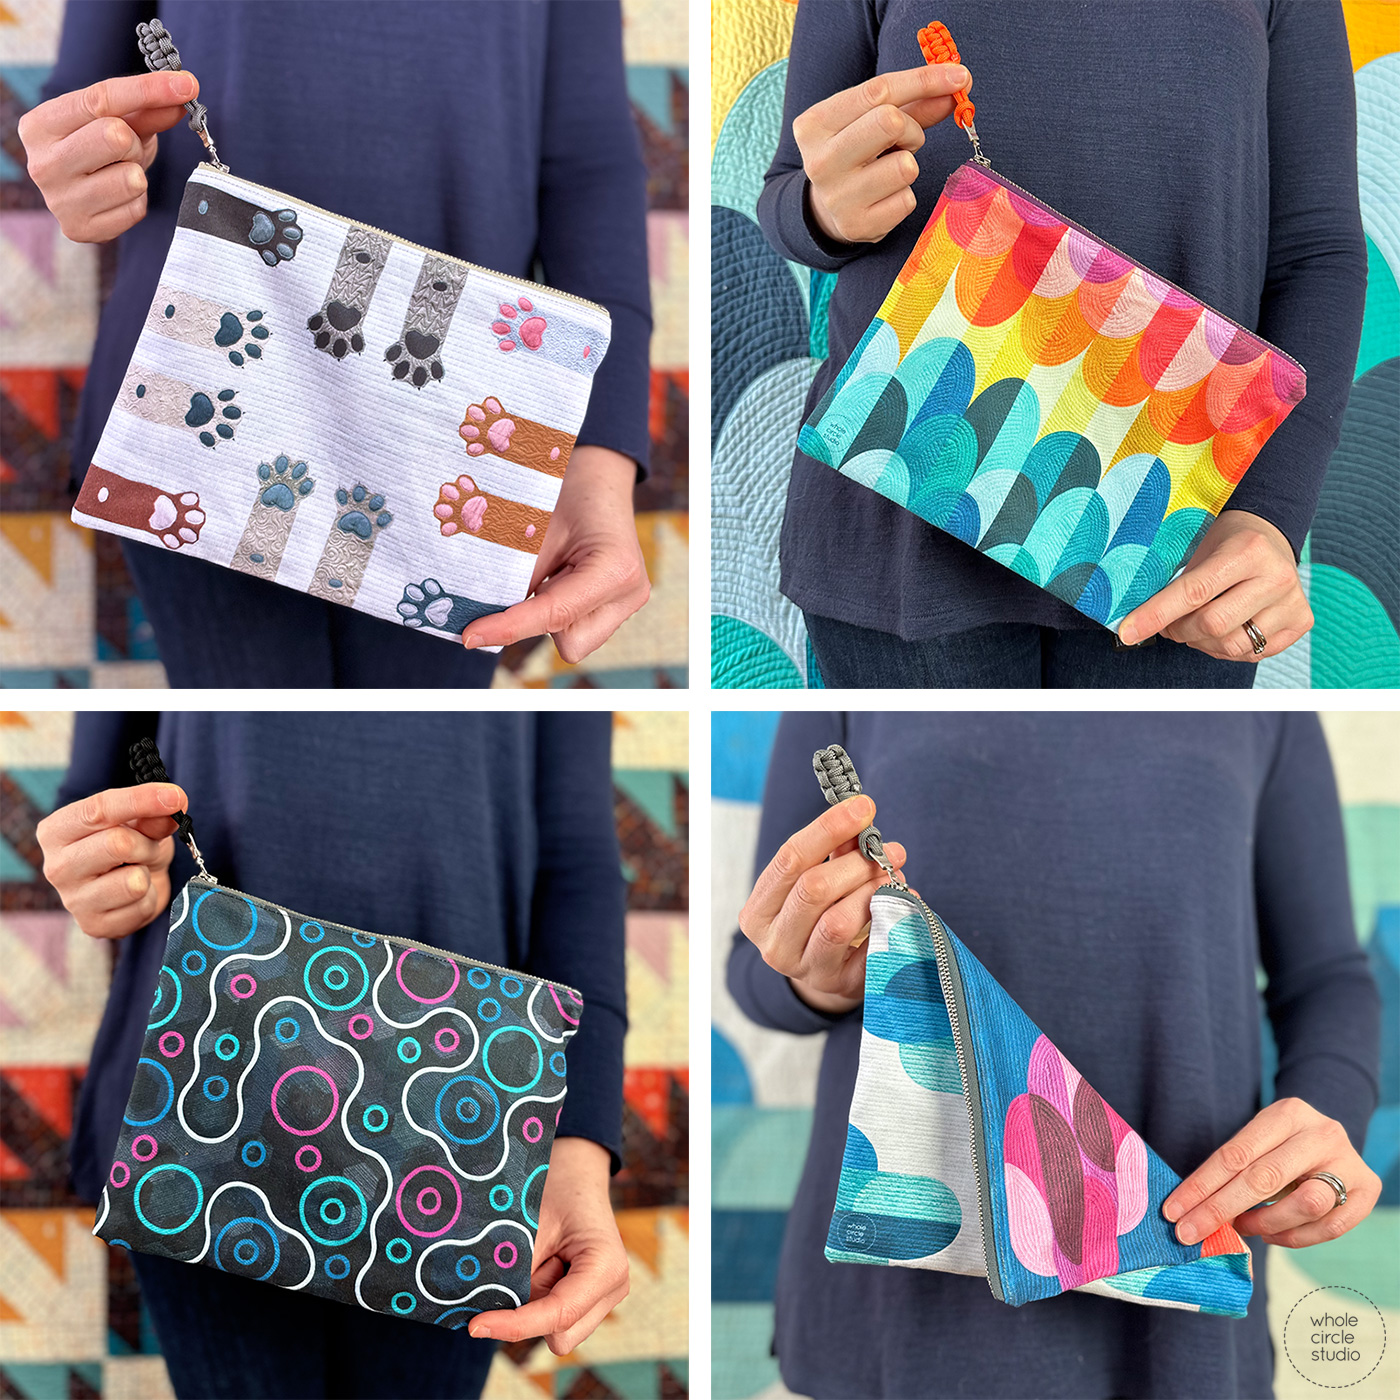
In the video tutorial, ‘ll be using my exclusive Zipper Pouch Kit, now available in our shop. With our easy, beginner-friendly kit, you’ll breeze through the process without any cutting necessary. Each kit makes 1 zipper pouch kit measuring measuring approximately 9½” x 7¾”. (If you want to practice with your own fabric and zipper, get the measurements below the video).
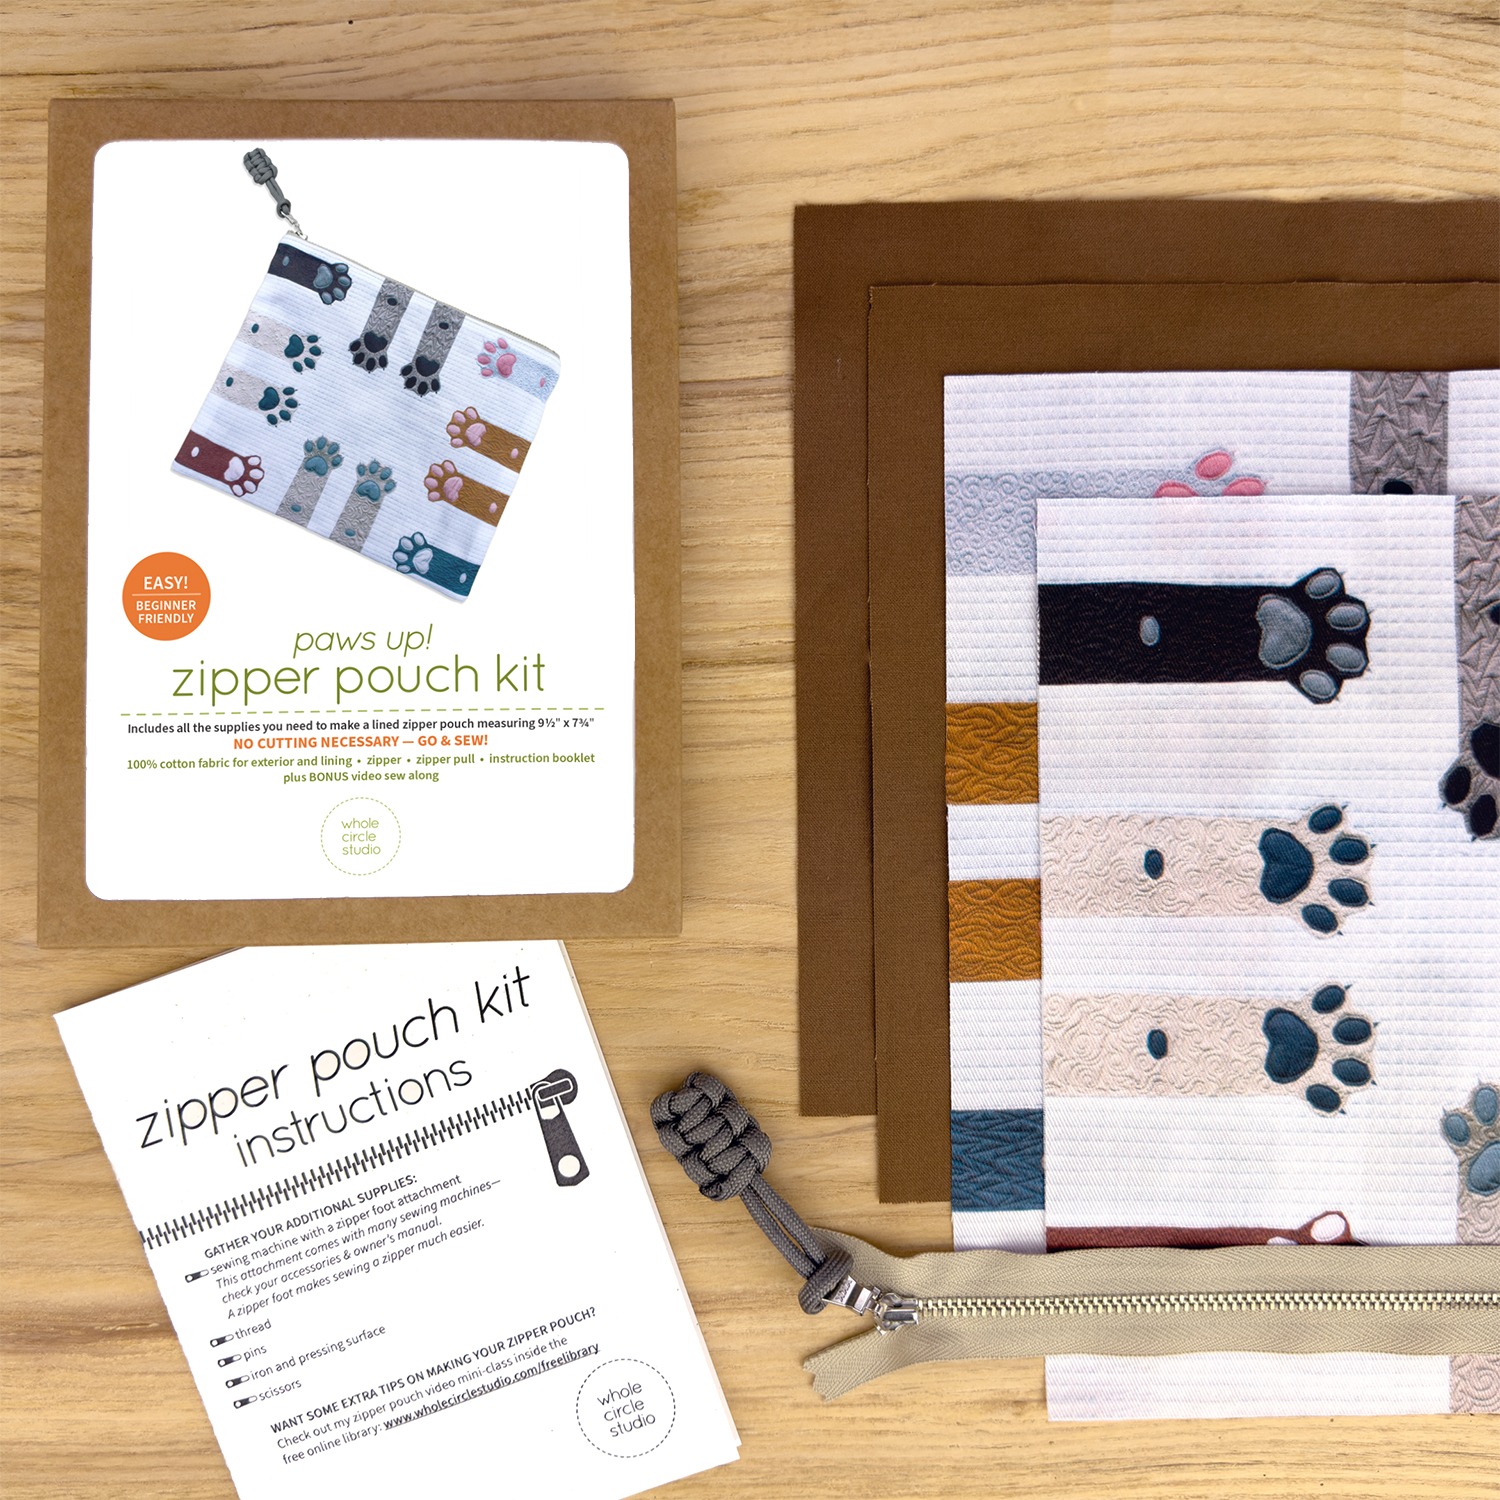
Included in each kit is:
• a Whole Circle Studio quilt design printed on exclusive high quality, 100% cotton twill premium fabric, suitable for use in medium-wear applications (two pre-cut pieces measuring 10½” x 8⅝” to be used for pouch exterior)
• 100% premium cotton quilting fabric, solid color (two pre-cut pieces measuring 10½” x 8⅝” to be used for pouch interior)
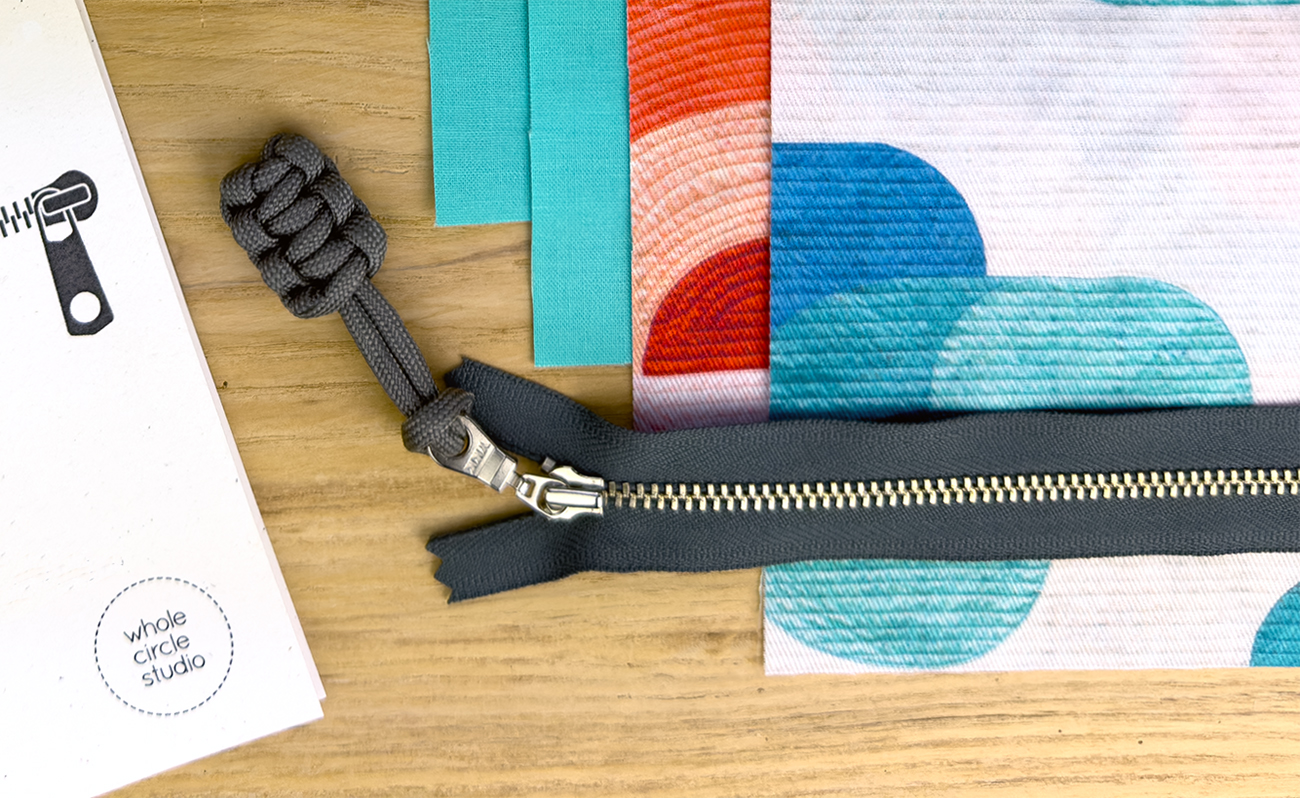
• a closed-end metal zipper
• a fun Nylon rope zipper pull
• adetailed color booklet with tested instructions, illustrations, and tips
• a link to BONUS online zipper pouch video mini-class that you can sew along with (see below!)
Sew Along with Ease: Video Mini-Class
Feeling nervous about sewing zippers? Don’t worry! You can sew along with me in the video mini-class below. Plus, each kit also includes an easy-to-follow illustrated instruction booklet. With these resources, you’ll sew along effortlessly, gaining confidence with every stitch.
Getting Started: Preparing Your Materials
Before we jump into the sewing action, let’s gather our materials. For this project, I’m using my exclusive Zipper Pouch Kits, which come complete with pre-cut fabric, including a custom-printed exterior and cozy interior lining. Want to practice with your own fabric? Start with fabric pieces measuring approximately 10½” x 8⅝” and use a #4.5 9″ zipper.
Materials Checklist:
• Exterior Fabric: Two pieces of custom-printed fabric (included in the kit)
• Interior Lining: Two pieces of 100% quilting cotton (included in the kit)
• Zipper: With a fun zipper pull attached (included in the kit)
• Additional Supplies:
> Sewing machine with a zipper foot attachment
> Thread (my favorite: Aurifil 50wt Cotton Thread)
> Pins (my favorite: Iris Superfine pins)
> Iron and Pressing Surface (my favorite: Oliso M3 Pro Mini Iron and Oliso Multi-Matt Wool Pressing Surface)
> Seam Ripper—we all use it! (my favorite: Havel’s Seam Ripper)
Let’s Sew!
With our materials at the ready, it’s time to fire up the sewing machine and dive into the creative process. Follow along in the video tutorial above as I guide you through each step, from stitching the exterior and lining to seamlessly attaching the zipper.
Finishing Touches: Bringing Your Pouch to Life
Once the sewing is complete, it’s time to admire at your masterpiece. Press your pouch, admire what you made, and brainstorm all of the treasures it will hold! Whether it’s a thoughtful gift or a gift for yourself, enjoy!
YOU DID IT! Remember, with a bit of practice and patience, you can overcome zipper jitters like I did.
Until next time, happy stitching, quilting, and creating,
Sheri


4 Comments
Really enjoyed this video. I met you are Warwick Quilt Guild several years ago. You’re a very good teacher and even though I’ve got more than 60 years (!) of sewing experience, I learned something from this tutorial. Thanks so much.
Very helpful. I plan to make some for my daughters for Christmas.
Thanks so much for your helpful tutorial. Your instructions were very clear and easy to watch and learn from. I plan to make several of those for Christmas gifts for 2024. Where can one get those thin strong pins? Unfortunately I’ve already forgotten their name. Thanks so much.
Hi Sharon! Glad you found the tutorial helpful. Be sure to check out all of my suggested supplies listed in the blog post above, including the pins I recommend. So that you have it handy, here is the direct link: https://amzn.to/3SGPYV1