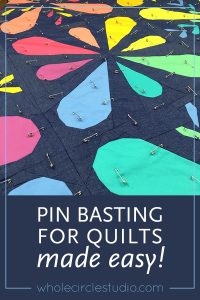
Let’s be real… basting quilts is NOT fun. I spent a couple of years finding a method that made it tolerable for me to complete this necessary task with minimal discomfort. Check out this video where I document my process of basting up to queen size quilts on my 60″ x 30″ worktable.
Here are some of my favorite tools that I use while basting:
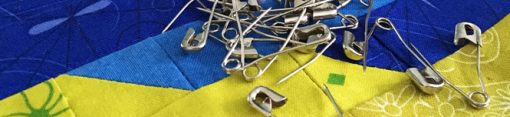
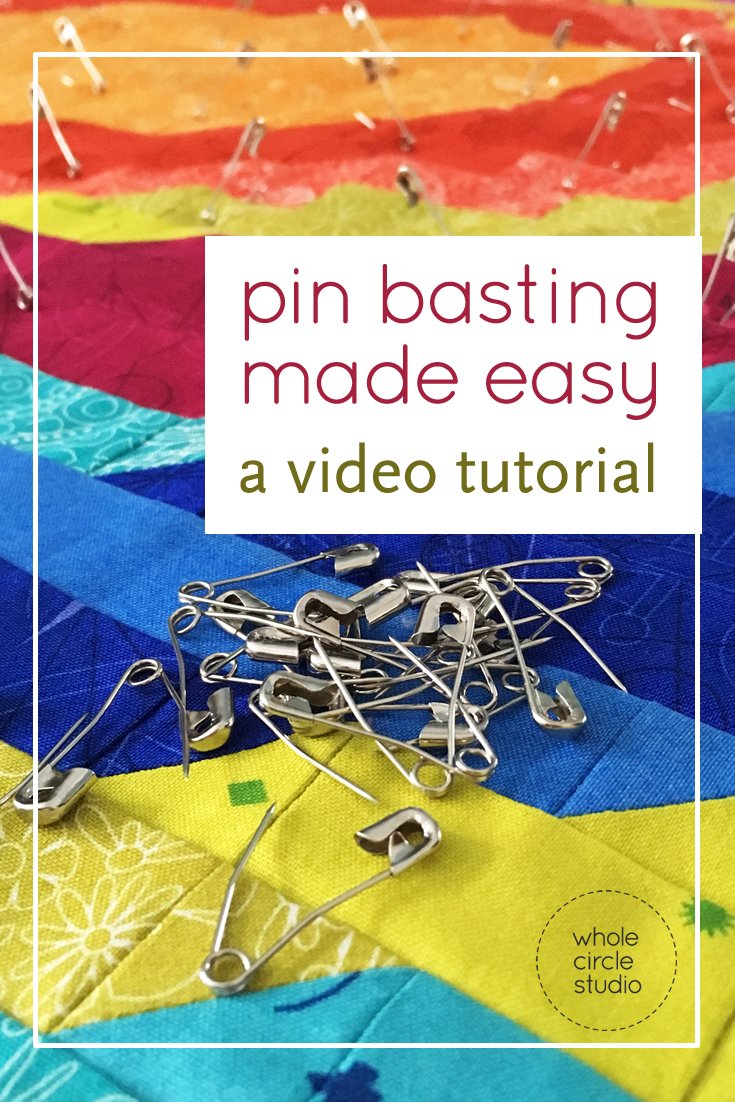
Dritz Curved Basting Pins
Kwik Klip (make it easier on your fingers when closing your basting pins!)
Warm and Natural Batting
How do you baste your quilts? Have any tips or tricks?
Please comment below and share!

 .
.  .
. 

55 Comments
Great! I will try this next time instead of using the floor which is wear and tear on my back and knees
Hi Evelyn, Glad you found it useful!
After pinning a quilt on the rug on the LR floor yesterday (painters tape to hold down the backing, lots of luck to smooth out the batting, hoping my quilt top is centered on the batting and backing, and keeping my fingers crossed that I don’t end up with buckling and bubbling of the various layers), thanks to your tutorial, I have found the way I will sandwich my next quilt. Thank you!!!
Hi Jane, Thanks for checking out the tutorial. I’m so happy you found it helpful! –Sheri
Thank you for the video.
I do it the same way. Only thing I didn’t do was use the ruler to smooth it. Great idea. Also I moved the claps and put them back on for every layer. This is probably why I sometimes get curvy seam, instead of straight. Good to know.
Aileen in Florida
Hi Aileen, glad the video was helpful. I do find that as soon as I added more pins, it helped with the waviness. Good luck!
I pin baste like this but I use the big tables at my local library and secure with painter’s tape. I pushed 2 tables together for a big quilt and ended up having to climb on the table a bit to reach the center, so I’ll have to look for the clamps. I use my kwik klip tool, but a metal crochet hook works well if I need a second tool (like if I convince my husband to help me close the pins!
oooh! the crochet hook is a great tip in a pinch! Thanks for sharing!
Great video. I have tried many ways to pin baste. I have lamps so I can’t wait to try this. Thanks.
I use a grapefruit spoon to close pins works great
Hi and thanks a million for sharing your great experience with us! It’s more than helpful!
Hi Mariette. You’re welcome! I’m glad it was helpful.
Thank you for this very well made tutorial. You make it look so easy.
Hi Barbara. I’m glad you enjoyed it. I hope it helps you with your basting!
Thank you for an excellent tutorial. Using your technique, I was able to pin baste and machine quilt with pucker free success! I am so very happy with the result. I recommended your tutorial to my friends.
Hi Marilyn, I’m so glad it was helpful and you were happy with the results! Thank you for sharing my tutorial to your friends!
Many thanks again,
Sheri
do you ever use spray adhesive? i have used it with pinning also….
Hi Katherine, I don’t use spray adhesive… I try to avoid spraying stuff in my studio. It’s pretty small and I don’t like inhaling things like that when I can avoid it!
If you have a table that you can put a bit of tape on, take a couple of wooden skewers and tape them in the center of your table. Place a whole one on the horizontal plane in the center. Take the other and break or cut in half and lay the halves along the vertical lane at the center. As you add each layer you can feel that X through the fabric and batting as you work the wrinkles out and therefore make sure that every thing stays centered.
Hi Martha, Great tip! Thanks for sharing!
This is one of the best tutorials I’ve seen. Excellent job of explaining and going over things clearly. Thank you so much. I’ve pieced a quilt – my first – and have been hesitant to pin it together because I wasn’t sure how to proceed. This has been perfect and I’m so glad I came across it.
Hi Laura, Yay! So glad it was helpful.
Hi Sheri! I found this tutorial this morning and I can hardly wait to try it on my next quilt. I have a finished quilt top waiting for quilting and this will be perfect to give this a try on. I will be heading to the hardware store this weekend for some clamps. Thank you so much for this tutorial!!
Hi Karen, You’re welcome! Hope the basting is going well. –Sheri
Thanks for this tutorial. Unfortunately, I’m not as young as I use to be & getting on all fours is not that easy anymore. I will definitely be doing it this way from now on.
Hi Bev, So happy to hear that my tutorial was helpful! I hated crawling around the floor basting. Glad to hear you’re going to give this a try!
Happy quilting, Sheri
Thanks so much for this video. I seem to have trouble lining up all of the layers when making the quilt sandwich and now I have a good understanding of how to do it. This is the first time I have seen any tips regarding batting placement and basting, so THANK YOU!
Hi Catherine, Thanks for commenting and I’m so happy to hear that this video tutorial was helpful! Keep quilting, Sheri
While working on my first quilt, I came across your video. Thank you so much for the step-by-step instructions. Basting the queen sized quilt was an intimidating step until I saw how you lined up everything on the table. I used clamps as you suggested, and the Kwik Klip tool was extremely helpful. Now that I’m done, I feel like I can move the quilt around as much as necessary without fear of anything slipping. Thank you so much for the video!
Hi Angela, Thanks for your comment. I’m so happy to hear the video tutorial was helpful! Be well, Sheri
Hi Sheri: So glad I ran across this blog because I am going to sandwich my first twin quilt. I first thought about the floor but I don’t know how I would get up. I purchased 4 tables but now I don’t need but one. Thank you for your video. It is well explained.
Great tutorial, beautiful quilt! I love the clamp idea and the tool for closing the safety pins. I like your table choice. Sounds like it dismantles when not in use. No Ikea on Maui but great folding tables at Costco.
I use my dining room table and protect it with my cutting board. Before putting on backing, I mark center of cutting board with wooden skewers, attached with painter’s tape. I can then “feel” where the center line is without using pins.
I am busy with my first quilt that will be done the right way. I just have to do my crumbcatcher and borders than I am done with my front. My previous quilts was done inside out and then turned out, can’t wait to do it this way.
Thanks for the tutorial! This will make pinning SO much easier.
This was super! I wish I had seen this about 20 years ago, it is a game changer.
Hi Sheri, I’ve been doing mine on the floor when quilts didn’t fit on the table … I’ll have to give this a try. No painters tape!!! I like your systematic pinning, the rule of 4-fingers for distance, and how secure your quilt is … I’ve been spray basting and supplementing with pins, but not really enough pins for when the spray basting comes loose … may as well just do the pins well.
One thing I’d say is that it’s worth it to get good basting pins, even though they may cost more. I’ve had good luck with Bohin. I’ve had some cheaper ones, but some had burrs and caught, and others were dull and wouldn’t go through. In the video, your pins went in so smoothly you could place them with one hand. Is there a brand you prefer?
Hi Dorothy, I’m glad you found the video tutorial helpful! I hate spraying things (and inhaling it) in my Studio and unfortunately because of the nature of the weather of where I live, spraying outdoors isn’t possible. My basting life changed when I started using the table/clamp method. I hope you’ll give it a try! I haven’t used Bohin pins, but I’ve heard they are very good (and a bit pricey). Since I baste so densely, I have hundreds of curved pins in my collection! I pretty much only use the Dritz curved safety pins (size 1)—see link in the blog post and have had really good luck. Occasionally I’ll have to toss one or two here or there, but for the most part they’ve held up for years. Happy basting & quilting! Sheri
I usually put the clamps back in place before inserting pins until the portion of the quilt on the. Table is pinned. This is the worst part of the whole process of making a quilt. How long does it take you to get the quilt pinbasted? I usually take 3 days!
Hi Sandy, Yes—basting is probably my least favorite part of the process (second to pressing) but both are SUPER important to getting good results! I’ve found that since I’ve practiced that basting process that I demonstrated in the video, I can baste a throw quilt in about 2 hours. A queen quilt takes a little bit longer. Happy quilting!
Where do i buy the plastic clamps from i live i New Zealand, so would have to order them on line but where please help me ….
Hi Lynn, I was able to find them at my local home improvement store. I know in the US we can also get them through Amazon. Good luck and happy quilting, Sheri
Yahoo! Perfect. Ditto on all other comments. Yay!
Hi Dotty. Glad it’s helpful! Happy quilting, Sheri
Extremely clear. Changing directions of the pins and using the ruler to smooth the surface a good tip.
This is brilliant! I learned so much from this video. Thank you so much.
Hi Cathie, Thanks for watching. So happy to hear that the tutorial was helpful!
So helpful! I tried it this morning…and it saved my back, hips, and knees! What a blessing!