Hey there, fellow quilters and makers! If you’re looking for a sewing project you can finish in an afternoon and then use, this video tutorial is for you!
Let’s sew a flat bottom tote bag!
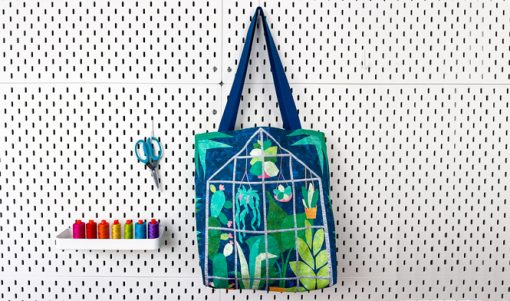
I’m walking you through how to make a simple, flat-bottom tote bag that’s sturdy, practical, and perfect for showing off fabric you love. This is one of those projects I come back to again and again because it’s quick, satisfying, and endlessly useful. It also makes a great gift!
I’ve been quilting and sewing for over a decade, and I’m always on the hunt for small projects that feel just as rewarding as a full quilt. A tote bag like this checks all the boxes. It’s great for carrying your current hand-stitching project, running errands, or gifting.
Watch the Tote Bag Sewing Tutorial
In the video, I’ll take you step by step through the process, from prepping your fabric to sewing the flat bottom and attaching the straps. You can sew along with me using fabric from your own stash, or you can use the same materials I’m using from my Tote Bag Kits.
Sewing Along With the Tote Bag Kit
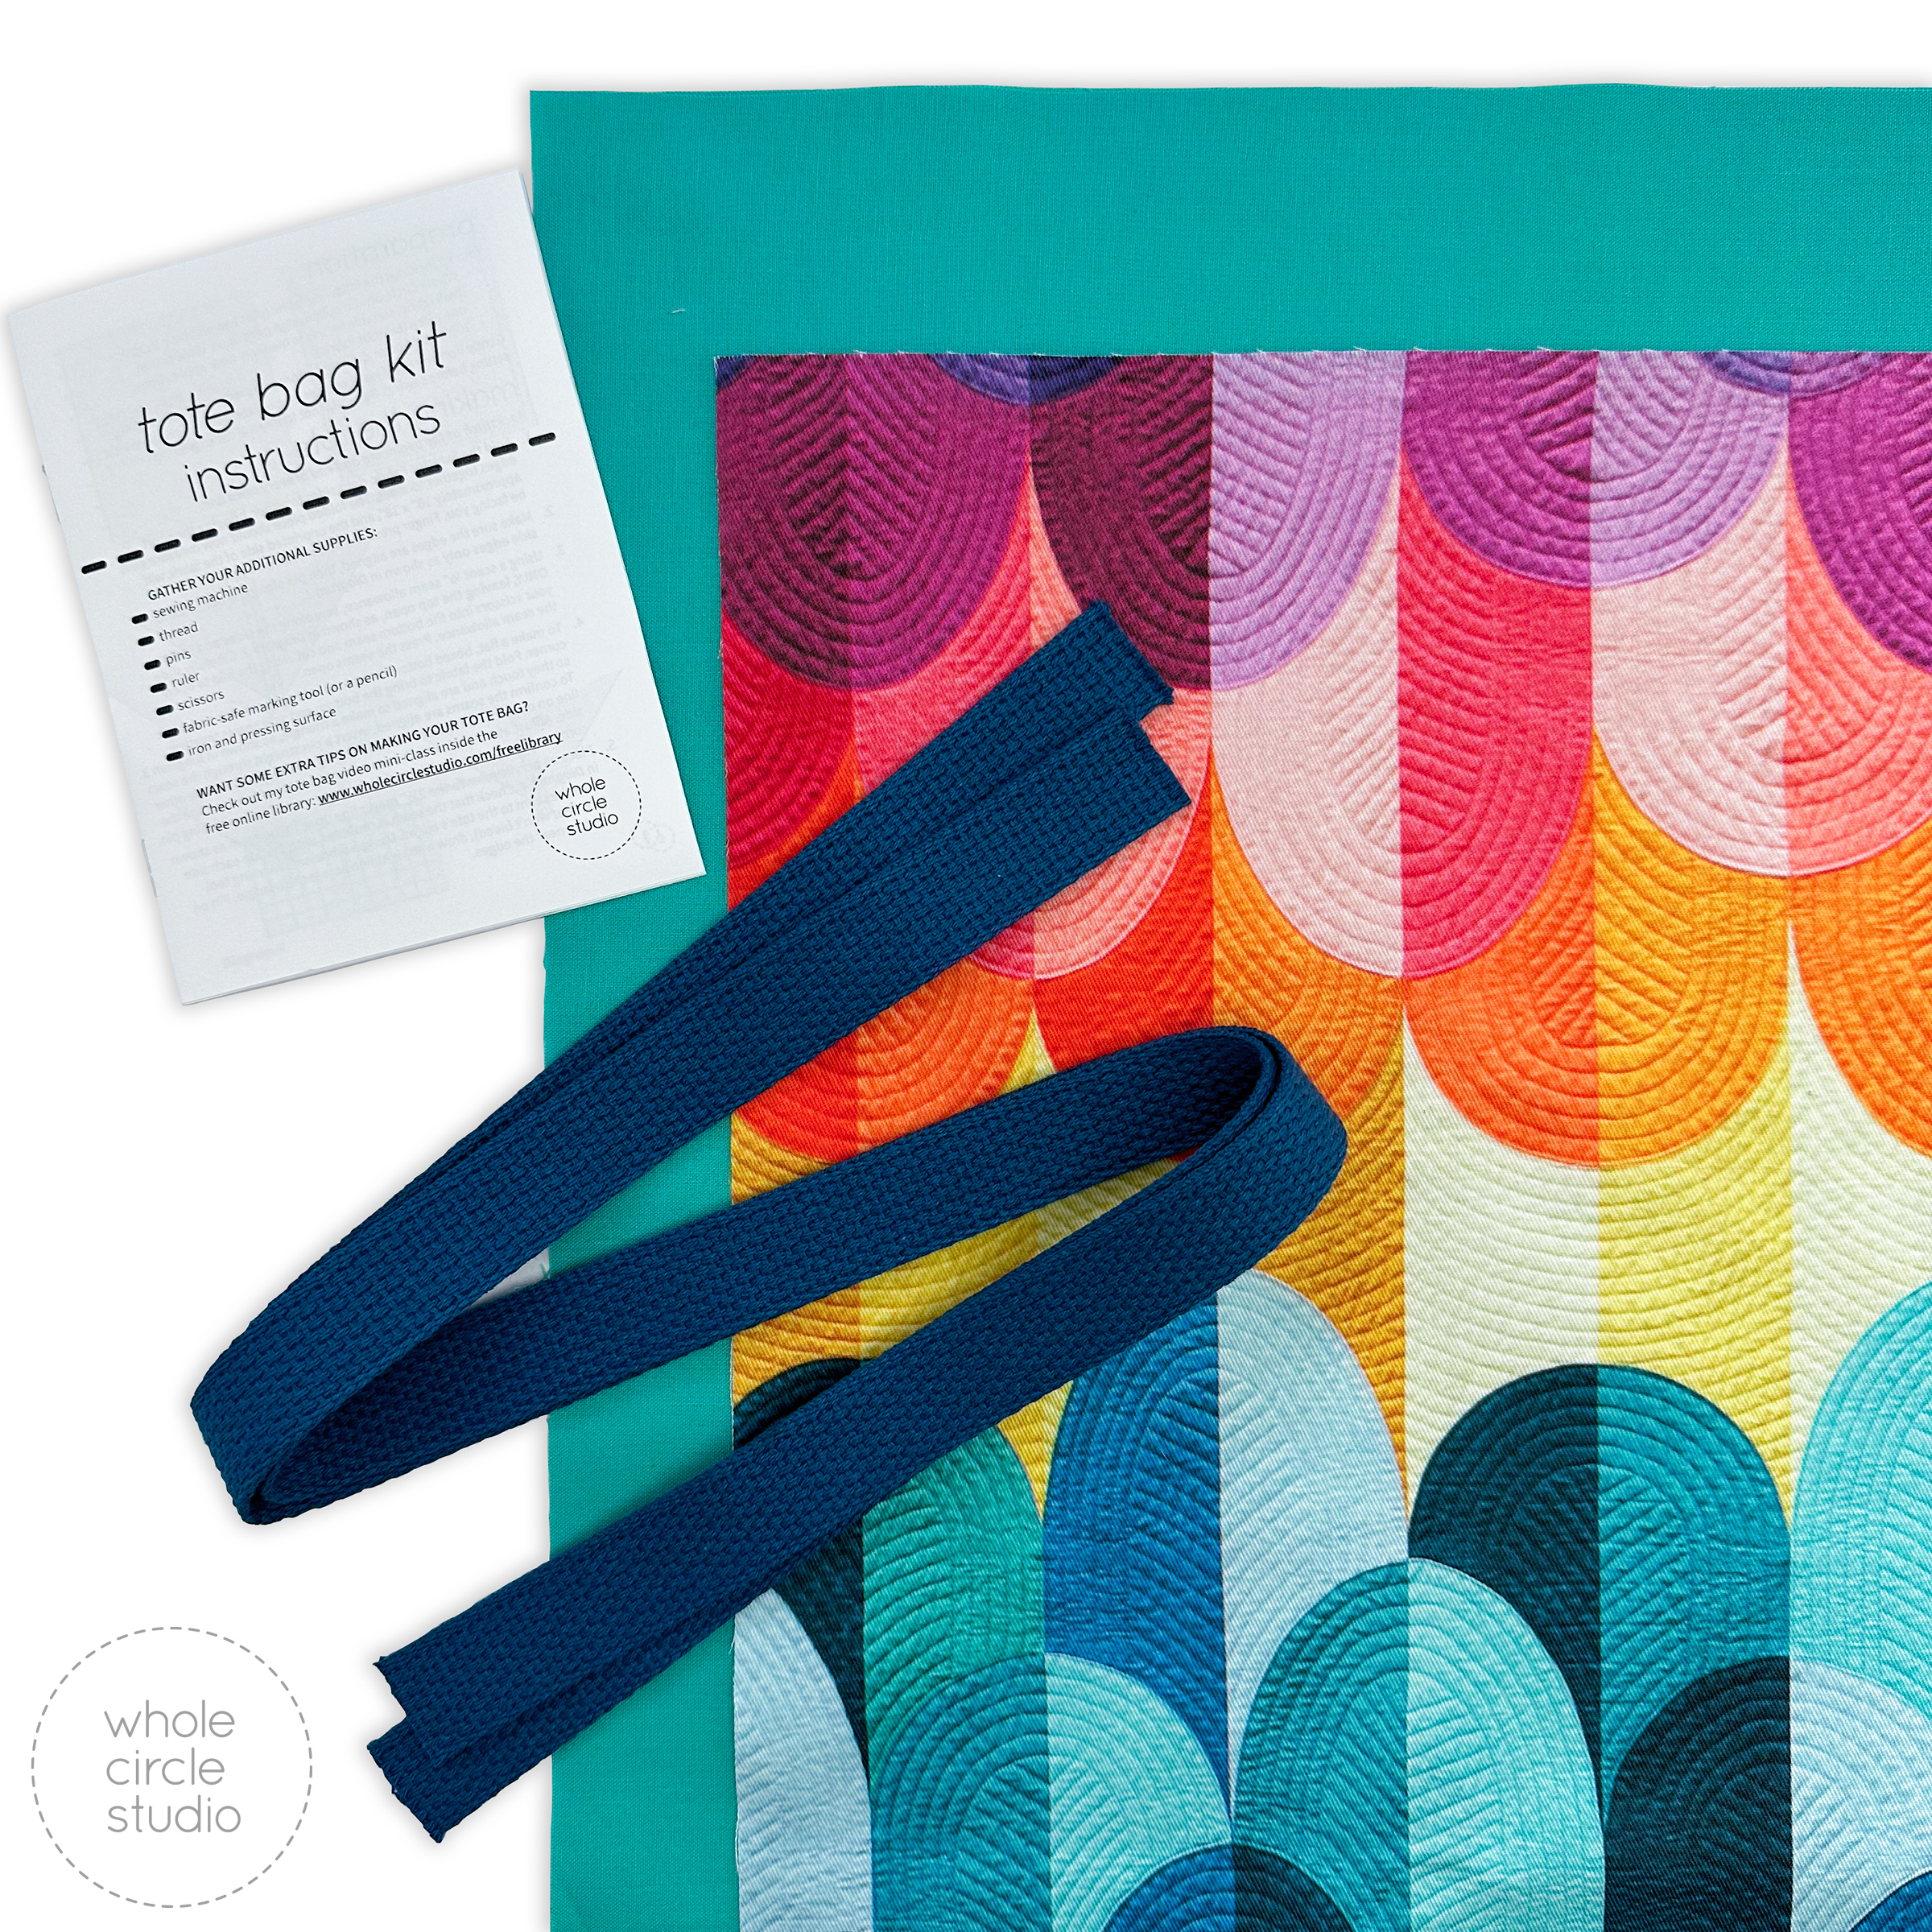
For this tutorial, I’m using materials from my Tote Bag Kits, which include all of the pre-cut materials you need to make a cute tote bag!

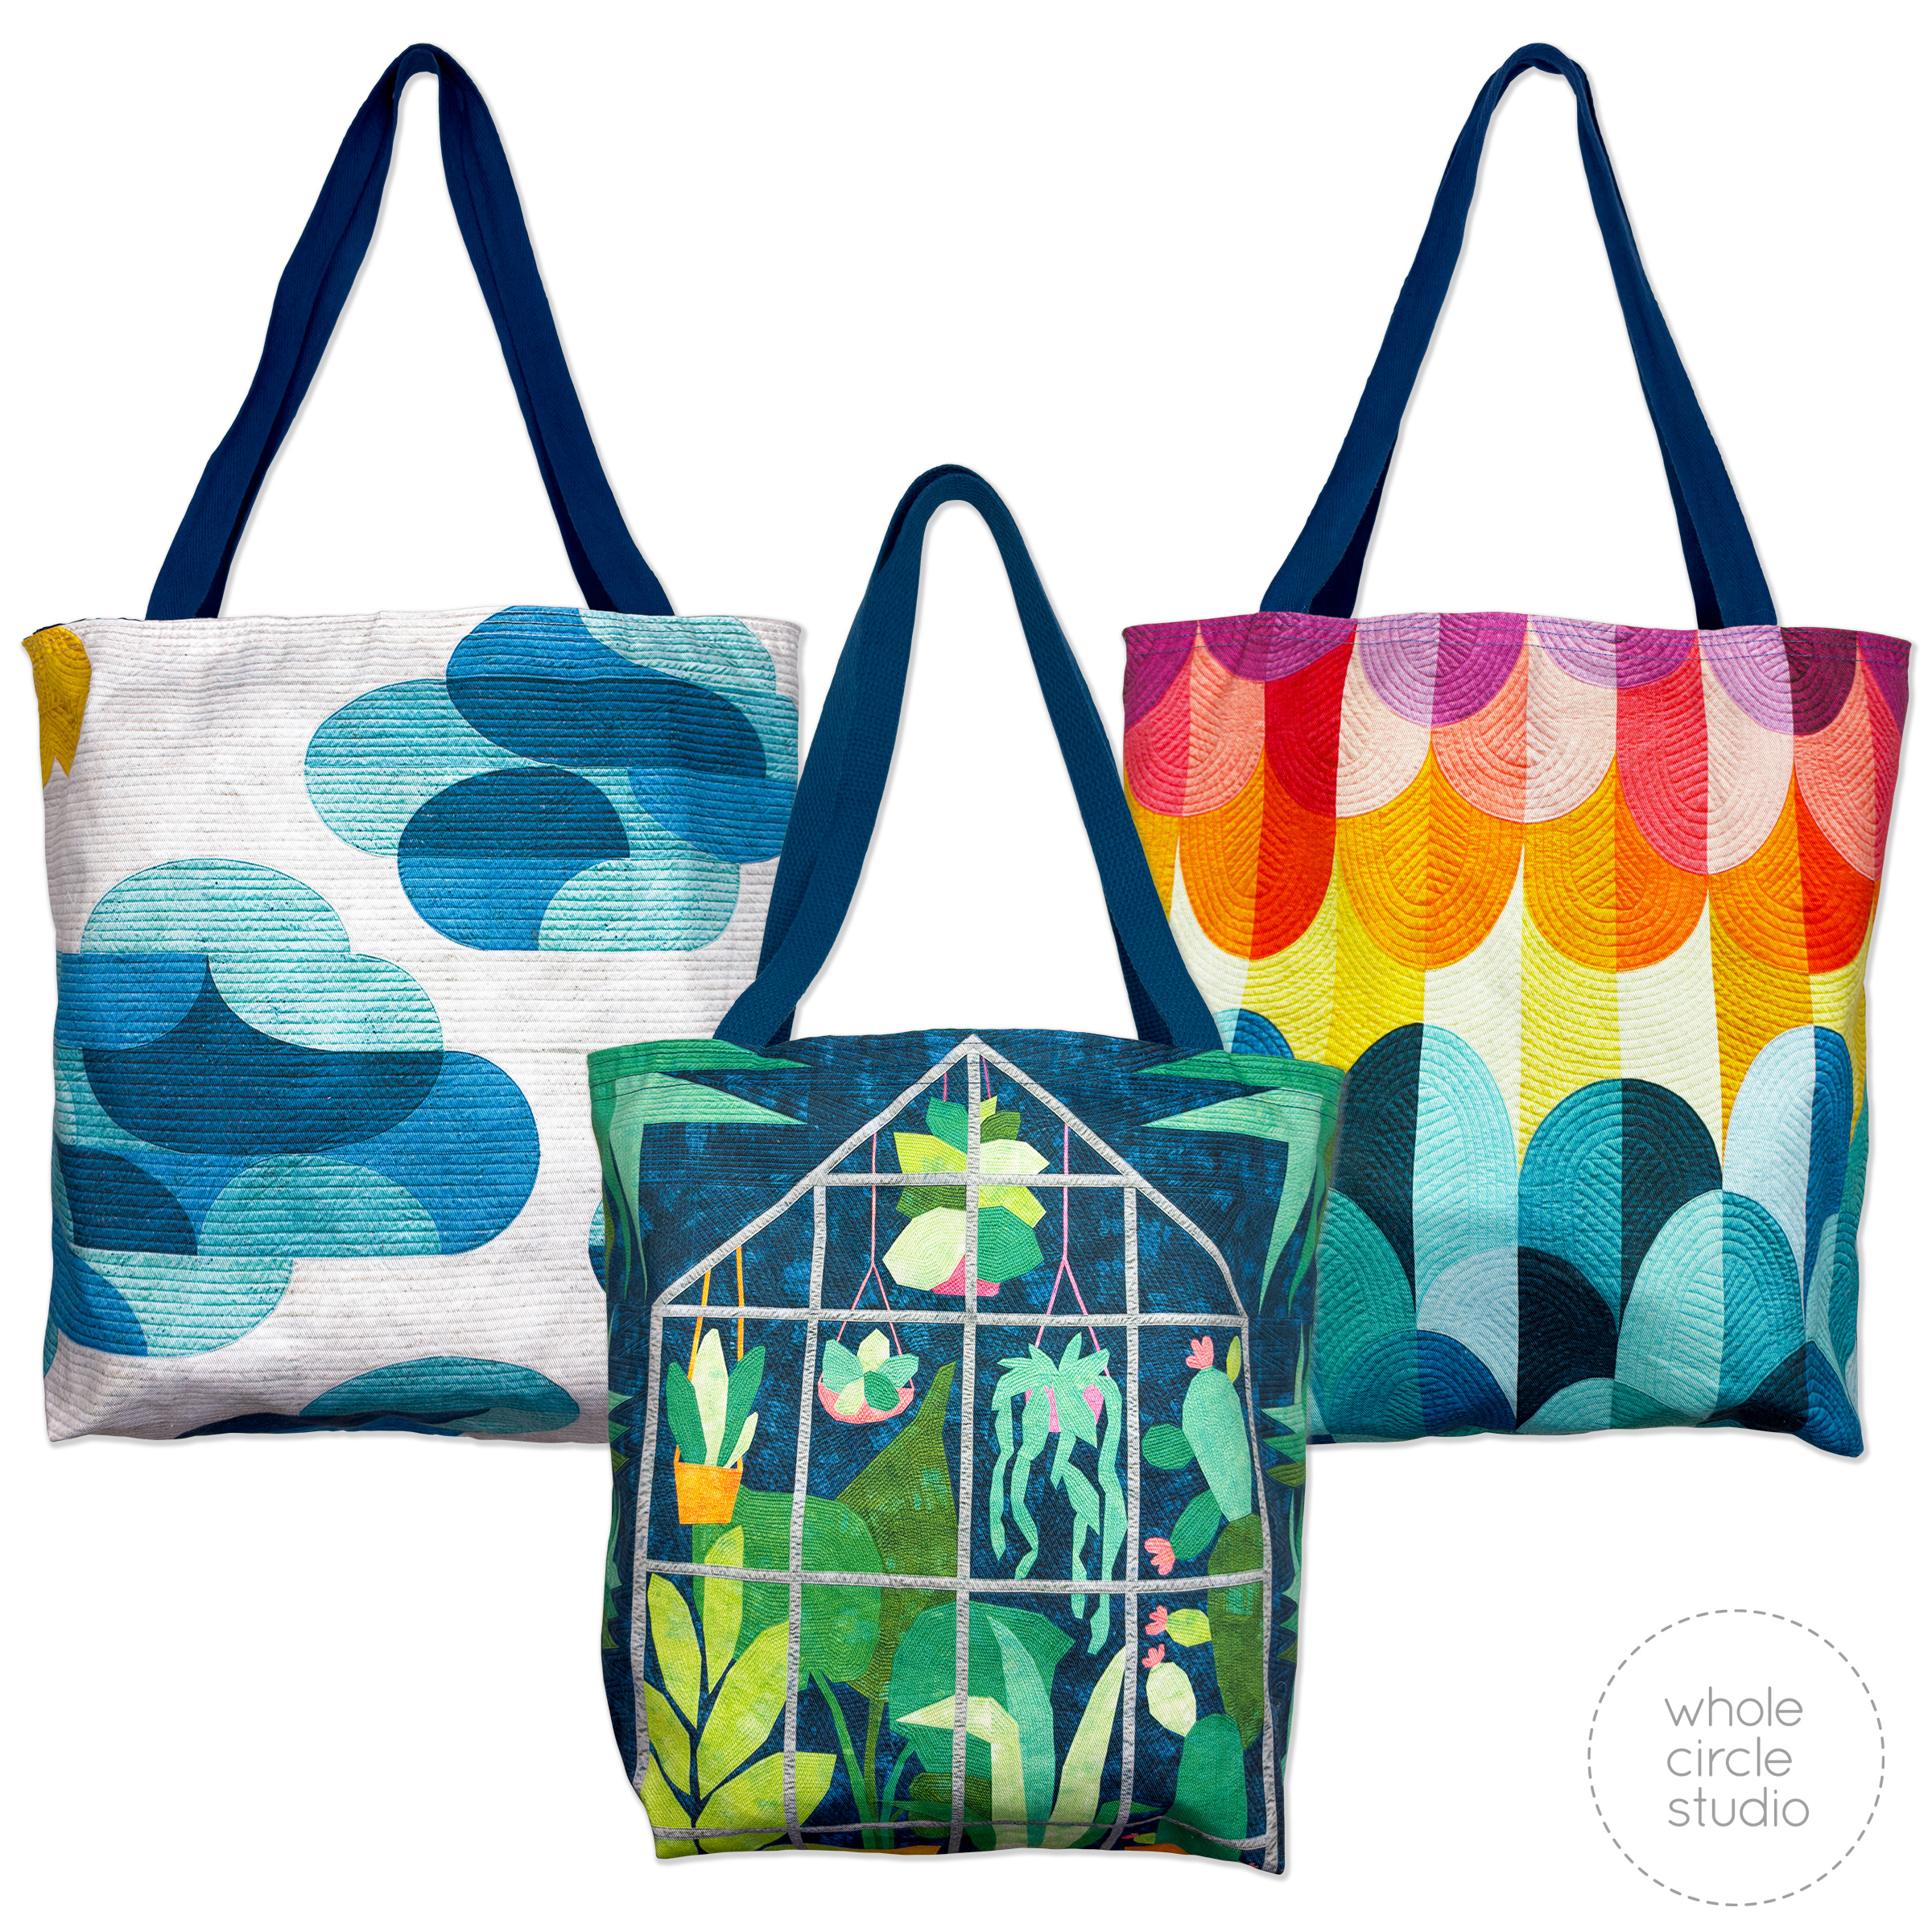
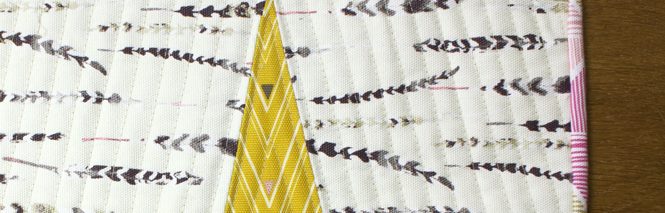
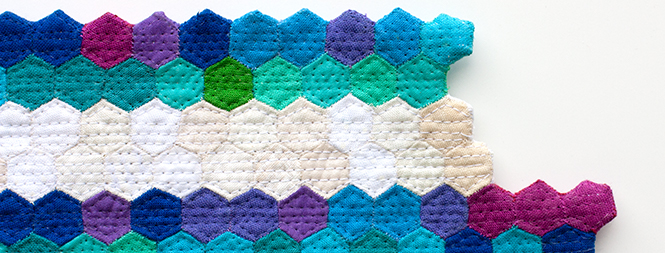
Each kit includes exclusive fabric, featuring a photo of one Whole Circle Studio quilt (Big Island Sunset, Greenhouse Garden, or Big Island Sky) printed on high-quality 100% cotton twill. Enjoy the style of a pre-quilted / pre-stitched look. I’ve already taken care of the texture for you. But of course, if you’d like, you can always layer your own quilting or embroidery on top.
Each kit includes:
- Pre-cut fabric for the exterior and interior
- Sturdy 100% cotton webbing for the straps
- Detailed booklet with tested instructions, illustrations, and tips
No measuring. No guessing. No wondering if your fabric choice will be durable enough.
The exterior fabric in the kit is my custom-printed cotton twill. It has a wonderful weight and texture that gives the finished bag a polished, professional feel. It’s thicker than quilting cotton and super durable, which makes it ideal for a bag you’ll reach for again and again.
Pick up a Tote Bag Kit here. Of course, you’re also welcome to use your own fabric if you prefer.
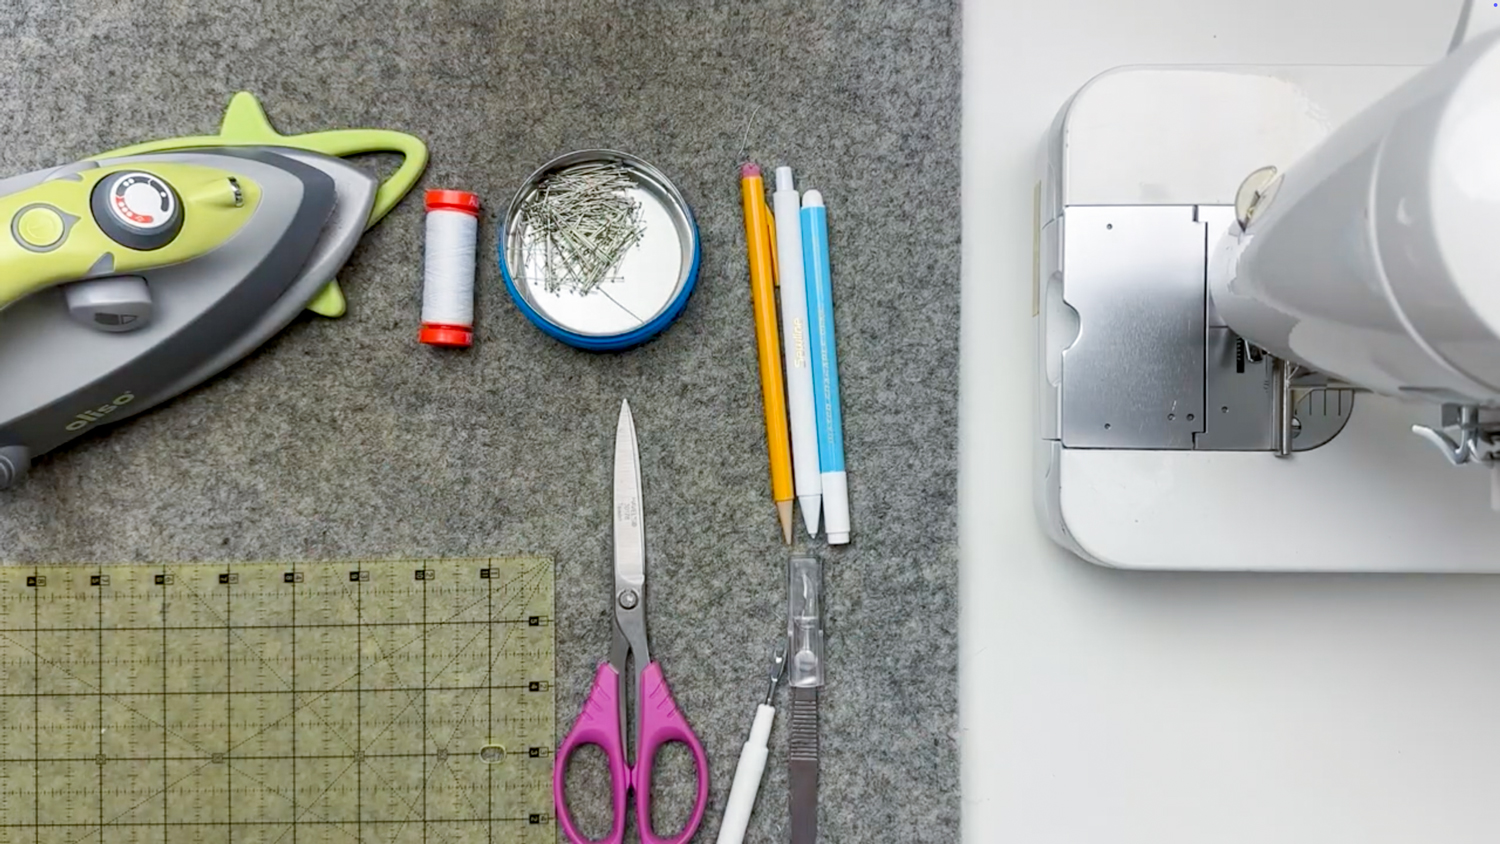
Basic Tools You’ll Need to Sew Your Tote Bag
• Sewing machine
• Thread (I’m using Aurifil 50-weight cotton)
• Pins (I love Iris Superfine Pins)
• Acrylic ruler
• Scissors (I love my Havel’s Serrated Scissors)
• Fabric-safe marking tool or pencil (Sewline makes a great fabric marking pencil)
• Iron and pressing surface (I love my Oliso mini iron and wool pressing mat)
• Seam ripper—just in case! (I love my Havel’s Seam Ripper)
• If you’re curious about the seam gauge I use on my Juki 2010q sewing machine, here it is.
Ready to Make Your Own Tote Bag?
I hope you’re excited to sew your own tote bag. It’s such a fun, useful project, and once you make one, it’s hard to stop making them!
If this tutorial was helpful, I’d love it if you gave the video a thumbs up, left a comment, and subscribed on my YouTube channel so you’ll know when new tutorials are ready.
Thanks so much for sewing along with me!
Until next time, happy stitching and quilting,
Sheri


2 Comments
I understood your direction, thank you. What size is the material and how long are the straps?
Hi Muriel, Be sure to check out the part of the video where I review materials, specifically fabric and straps. You can use any size you want, but I mention in the video what sizes I’m using. Happy stitching! Sheri