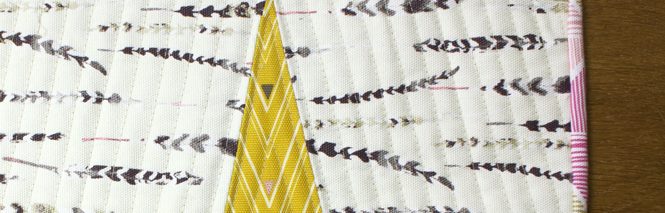
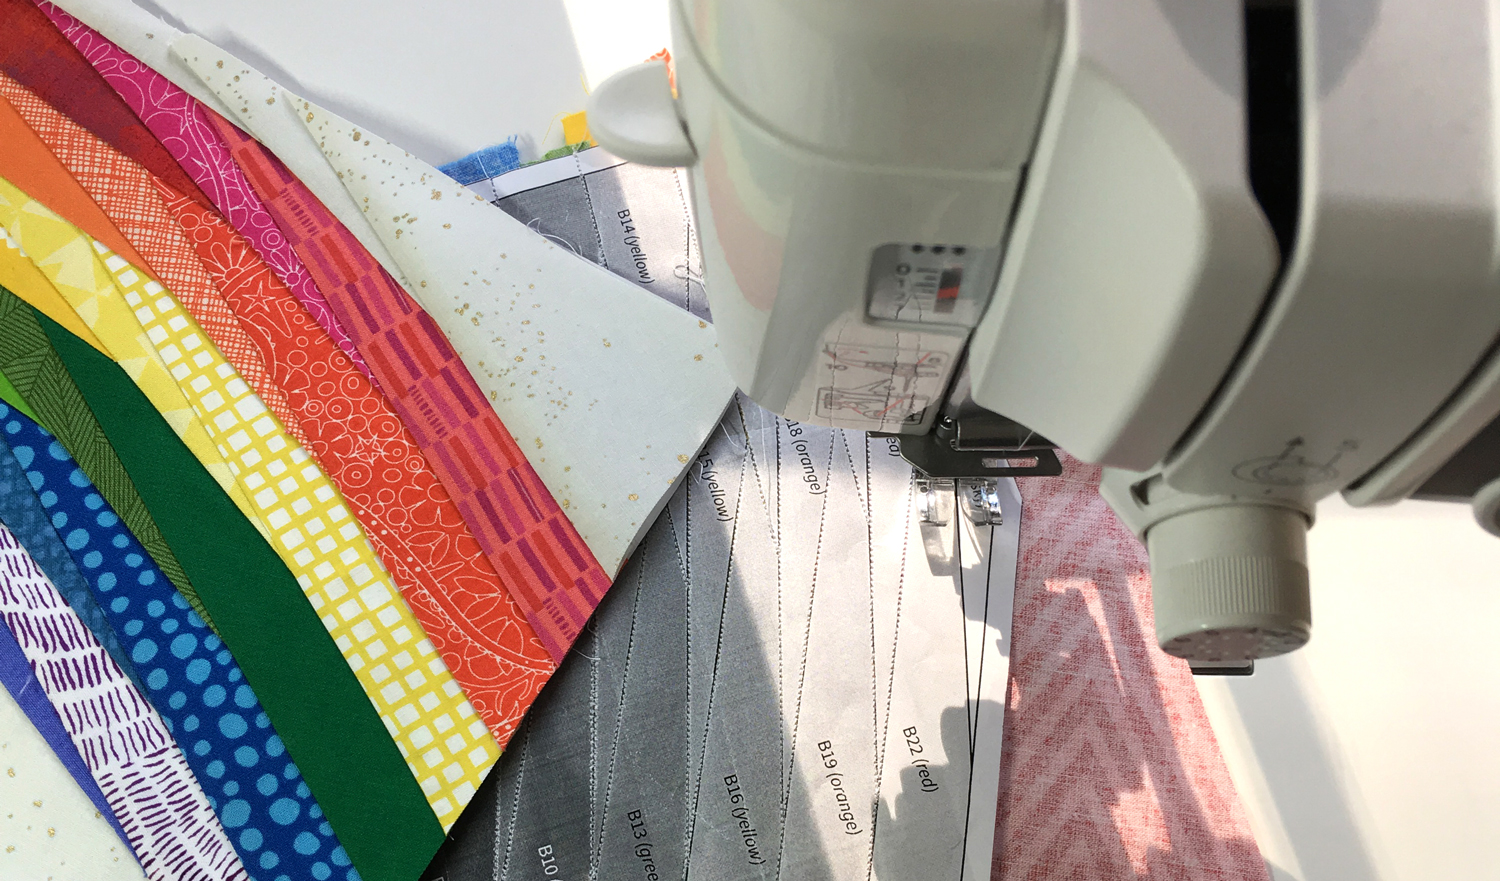
One of the questions I get asked most often about Foundation Paper Piecing (FPP) is how to reduce bulk and get flatter seams.
If you’ve ever finished a Foundation Paper Pieced block and thought, “Why is this so bumpy?” you’re not alone. Because we’re sewing through both fabric and paper, Foundation Paper Piecing naturally creates a little extra bulk along the way.
The good news? A few simple tools and techniques can make a big difference.
In the video below, I’m sharing my favorite tips for pressing Foundation Paper Piecing projects, including when to use a seam roller, how a wool pressing mat helps, and my secret weapon for stubborn seams: a tailor’s clapper.
Why Pressing Matters in Foundation Paper Piecing
Pressing is one of the most important (and often overlooked) steps in Foundation Paper Piecing.
Accurate pressing helps:
- Reduce bulk
- Improve piecing accuracy
- Create flatter blocks
- Make joining sections easier
- Improve the overall appearance of your finished quilt
While Foundation Paper Piecing is known for its precision, that precision can quickly be lost if seams aren’t pressed well along the way.
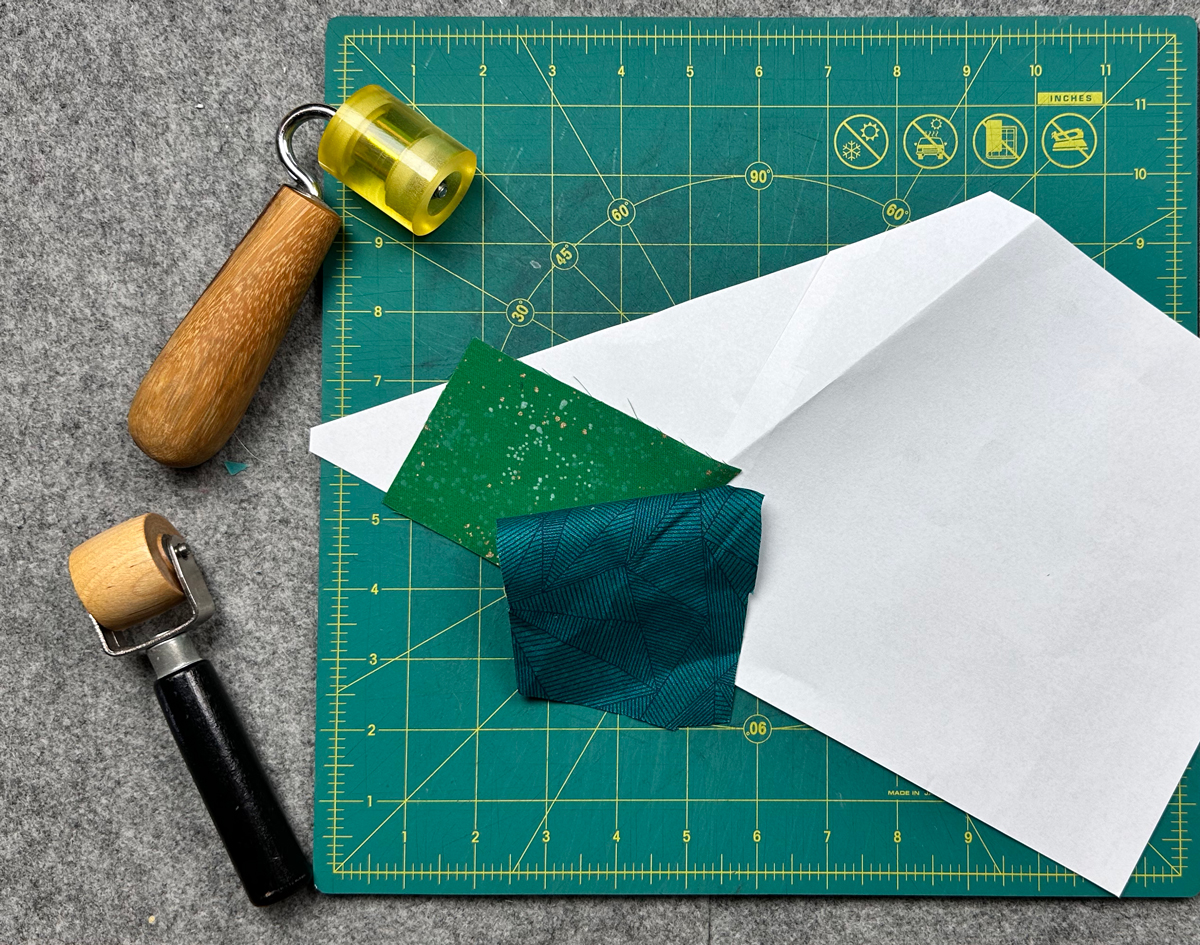
My First Choice: A Seam Roller
For many Foundation Paper Piecing projects, I reach for a seam roller.
A seam roller allows me to press each seam immediately after sewing without constantly having to reach for the iron. It keeps the process moving and helps maintain accuracy as the block grows. A few years ago I treated myself to a beautiful handmade seam roller made by Modern American Vintage. It was a splurge but you can also find affordable seam rollers that work well.
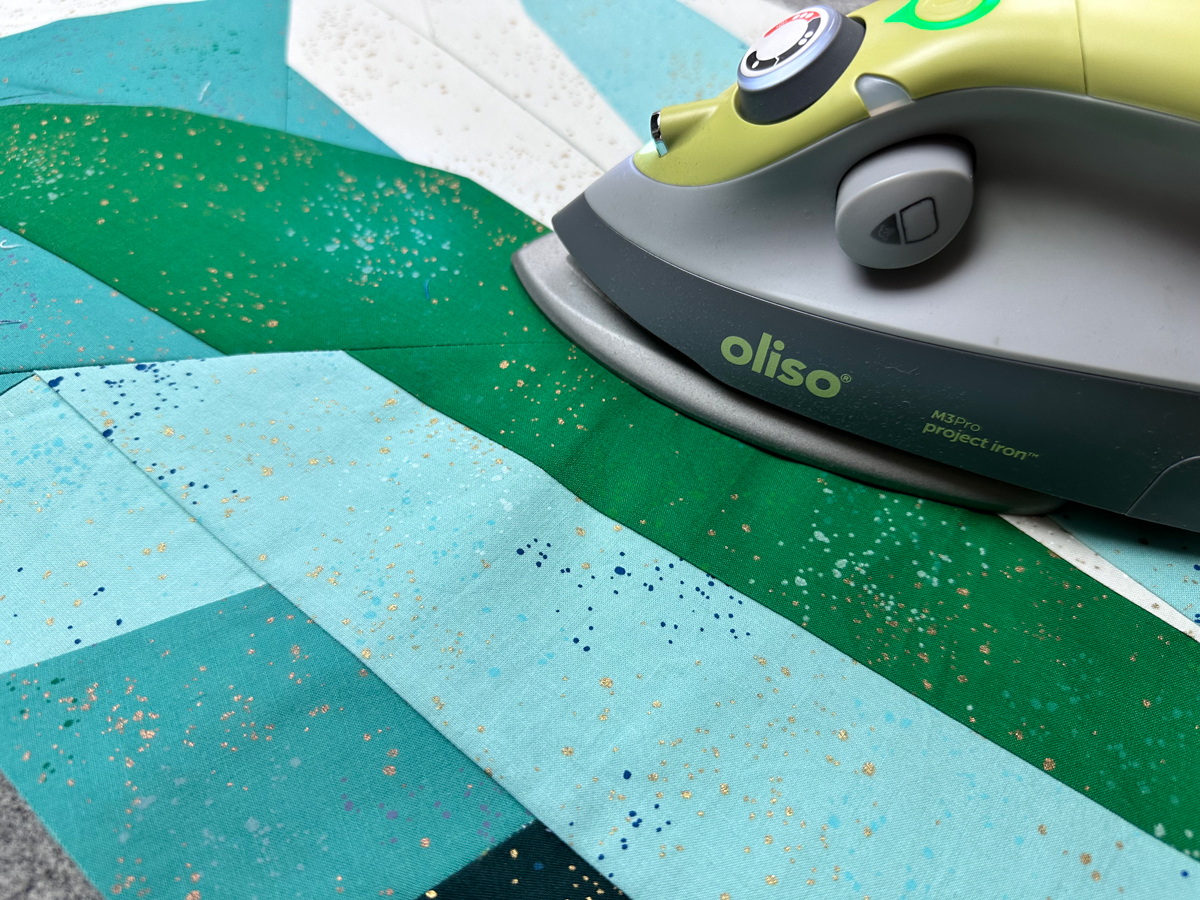
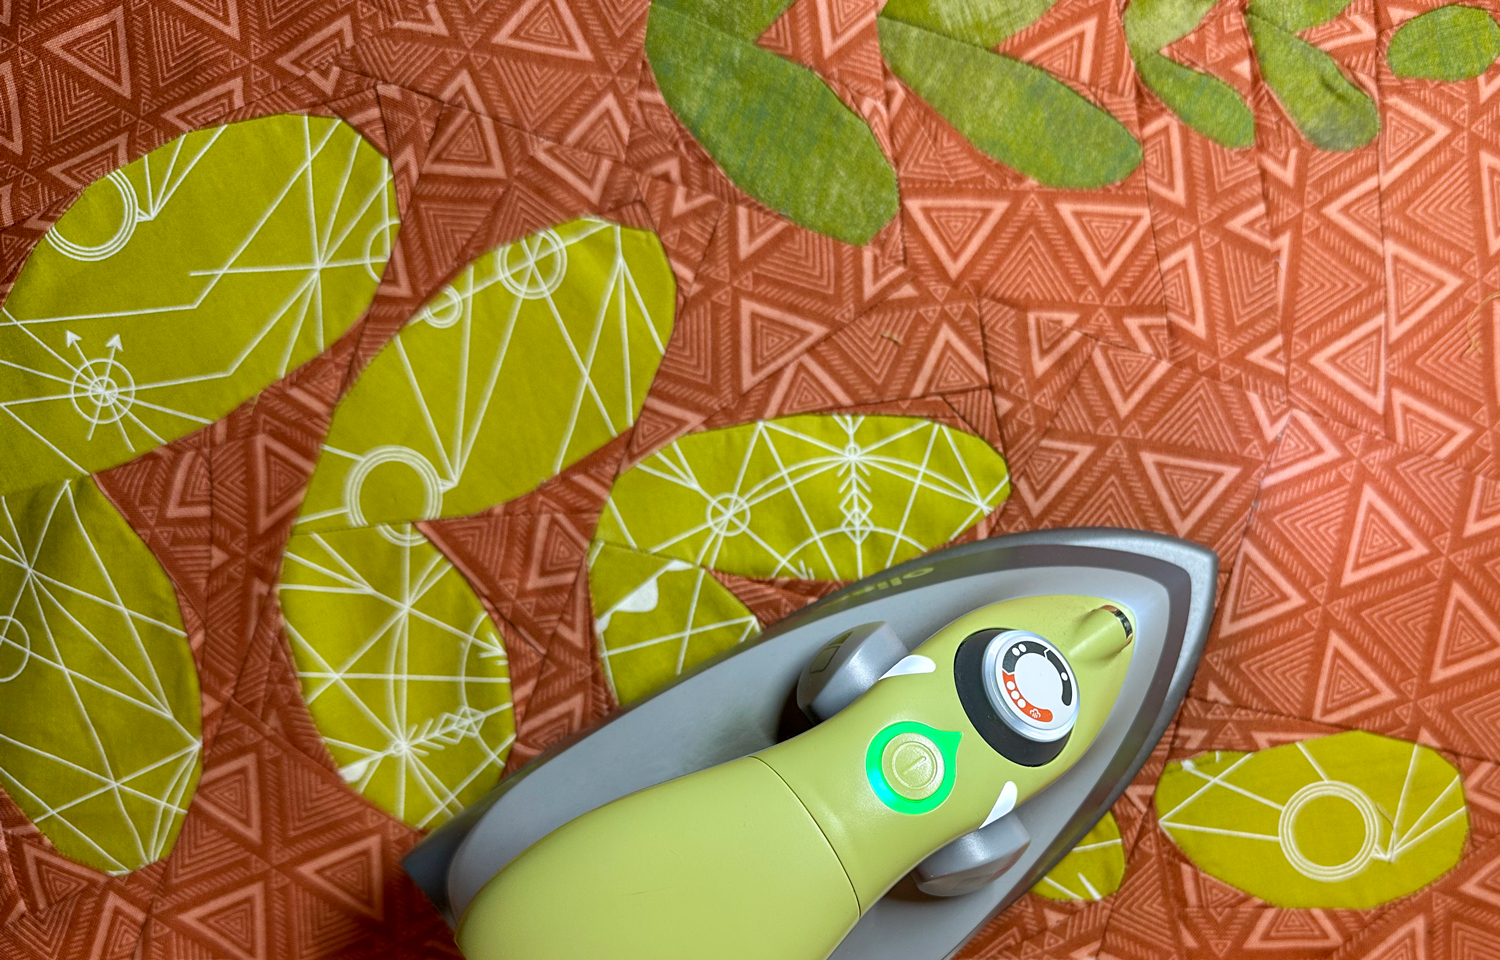
When a Hot Iron Comes In
Occasionally I’ll encounter a fabric that simply refuses to cooperate to lay flat, or I’ll be joining larger Foundation Paper Pieced sections together. That’s when I pull out the big guns, a hot iron.
I prefer using a small mini iron for Foundation Paper Piecing. I love my Oliso Mini Pro Iron! The smaller size gives me better control around tiny pieces and narrow seam allowances, and it heats up really quickly.
One important note: never press the paper side of your Foundation Paper Pieced block. The ink from the printed template can transfer onto your iron and create a mess that’s no fun to clean up. Always press from the fabric side.
Why I Love Using a Wool Pressing Mat When Pressing
One of the challenges with Foundation Paper Piecing is that the paper prevents you from pressing both sides of the fabric. Normally, pressing from both sides can help create flatter seams, but that’s not possible until the paper has been removed.
A wool pressing mat helps with this. The wool absorbs the heat from the iron and releases it back into the fabric, creating an effect similar to pressing from both sides at once. I consistently find that my seams lay flatter when I use a wool pressing mat, not just for Foundation Paper Piecing, but for pressing all types of piecing.
If you haven’t tried one yet, it’s a tool worth considering. My favorite wool pressing mat is the Oliso Wool MultiMat.They’re 14″ x 14″ and can be linked together to create a larger pressing surface, which I really love for bigger projects.
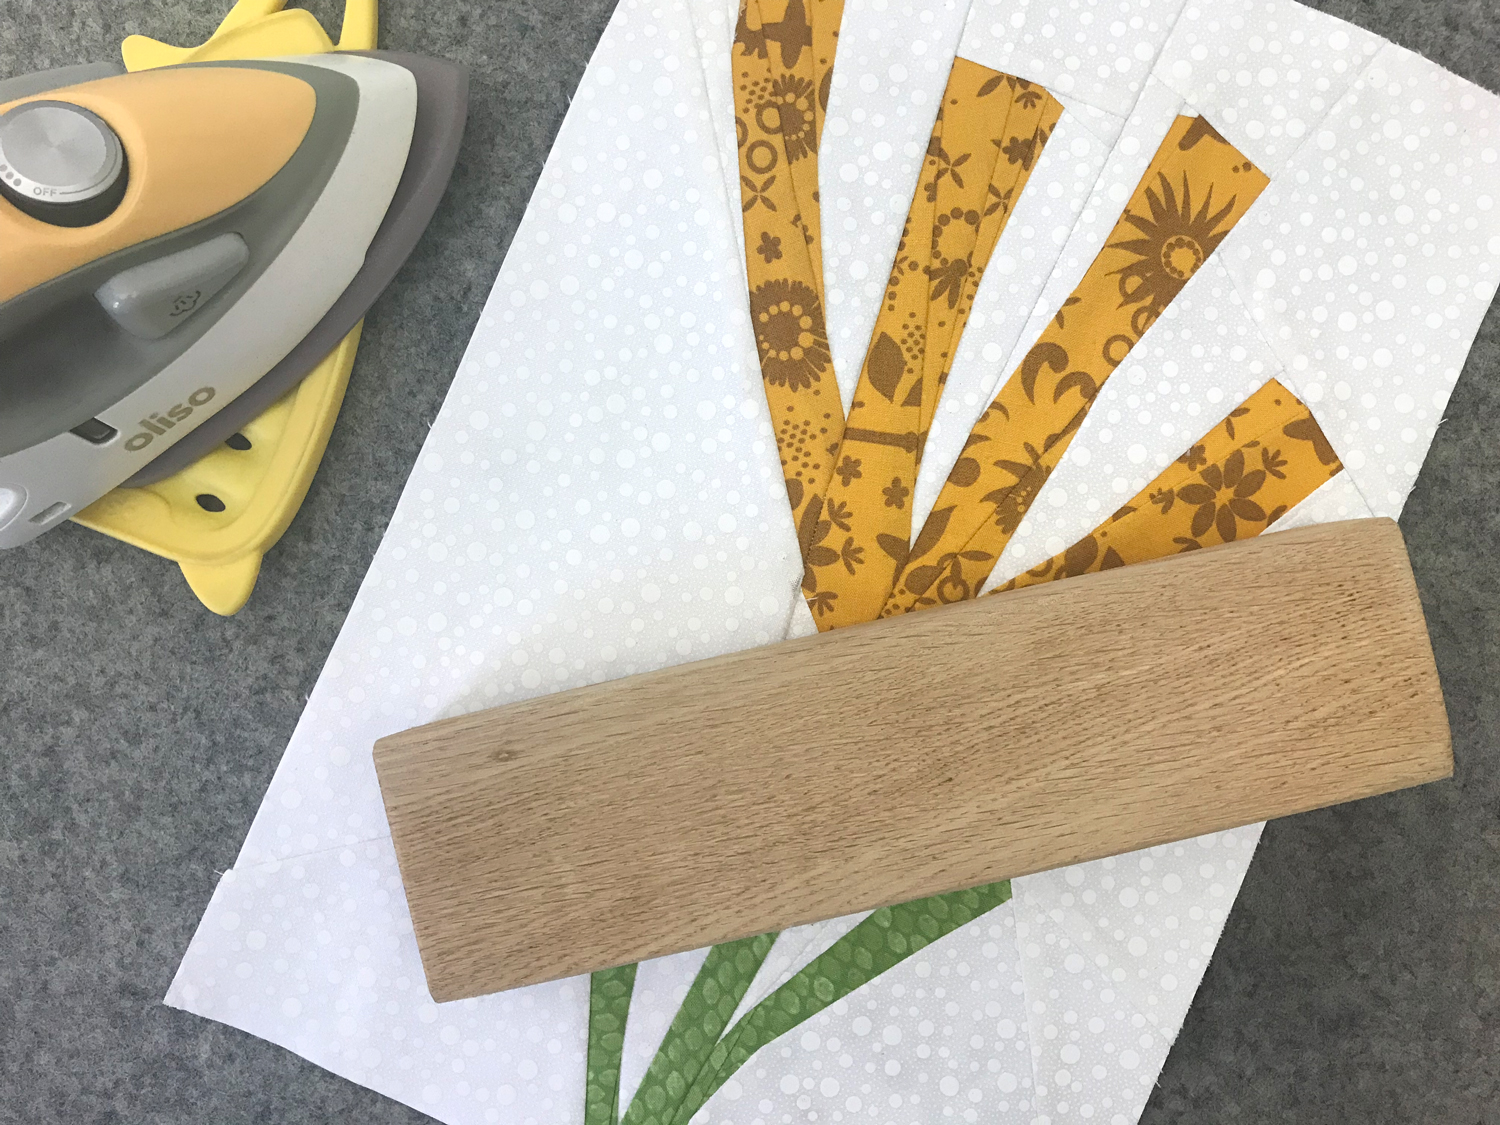
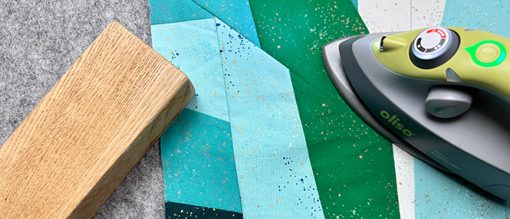
A (not so) Secret Weapon: A Tailor’s Clapper
For particularly stubborn seams that won’t lay flat, I bring out my tailor’s clapper.
A clapper is a simple wooden tool that quilters have borrowed from the garment sewing world. Despite its simplicity, it’s surprisingly effective. After pressing a seam with a hot iron, I place the clapper directly on top of the seam and leave it there for a minute or two. The wood traps the heat, helping the fibers cool in a flatter position.
My clappers are simple pieces of sanded red oak with eased edges. One is longer for larger seams and one is smaller for tighter spaces. The wood is left unfinished so nothing transfers to the fabric and heat can move freely through the material.
If you don’t want to make your own, you can purchase a clapper fairly inexpensively.
Remember: Your Block Won’t Be Perfectly Flat Yet
One thing that’s important to keep in mind is that Foundation Paper Pieced blocks won’t lie perfectly flat while the paper is still attached. The paper adds stiffness and bulk.
Once you’ve removed the paper templates, you’ll have another opportunity to give your block a thorough press using your iron, wool pressing mat, and tailor’s clapper.
More Foundation Paper Piecing Resources
• Beginner Foundation Paper Piecing Tips
• How to Foundation Paper Piece Without Ripping the Paper
• Tiny Foundation Paper Piecing Made Easy: Tips + Tutorial
• Large Scale Foundation Paper Piecing Tutorial
• How to Precisely Align + Match Your Seams when Paper Piecing
Happy stitching,
Sheri