Hi quilting friends!
If you love foundation paper piecing (FPP), you know it’s a wonderful way to sew quilt blocks with super-precise results. But have you ever tried tiny foundation paper piecing? This technique is perfect for adding beautiful details, even easy curves by sewing straight lines near each other, to your quilt blocks.
Tiny paper piecing can seem a little tricky at first, but here’s the good news: it’s just like piecing larger sections. With a few helpful tips, you’ll be sewing tiny blocks like a pro in no time.
If you’re new to foundation paper piecing, no worries! Check out my free mini-class here to get started.
In this post, I’ll share a video tutorial along with:
- Why you should try Tiny FPP
- Tips for Tiny Paper Piecing Success
- Removing the Paper
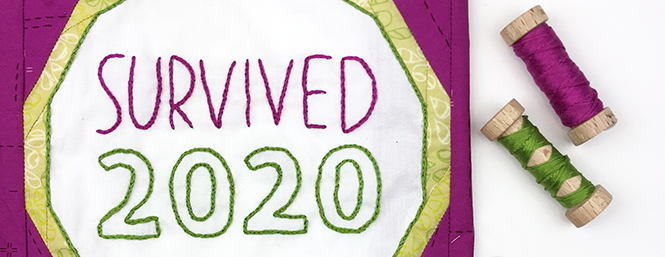
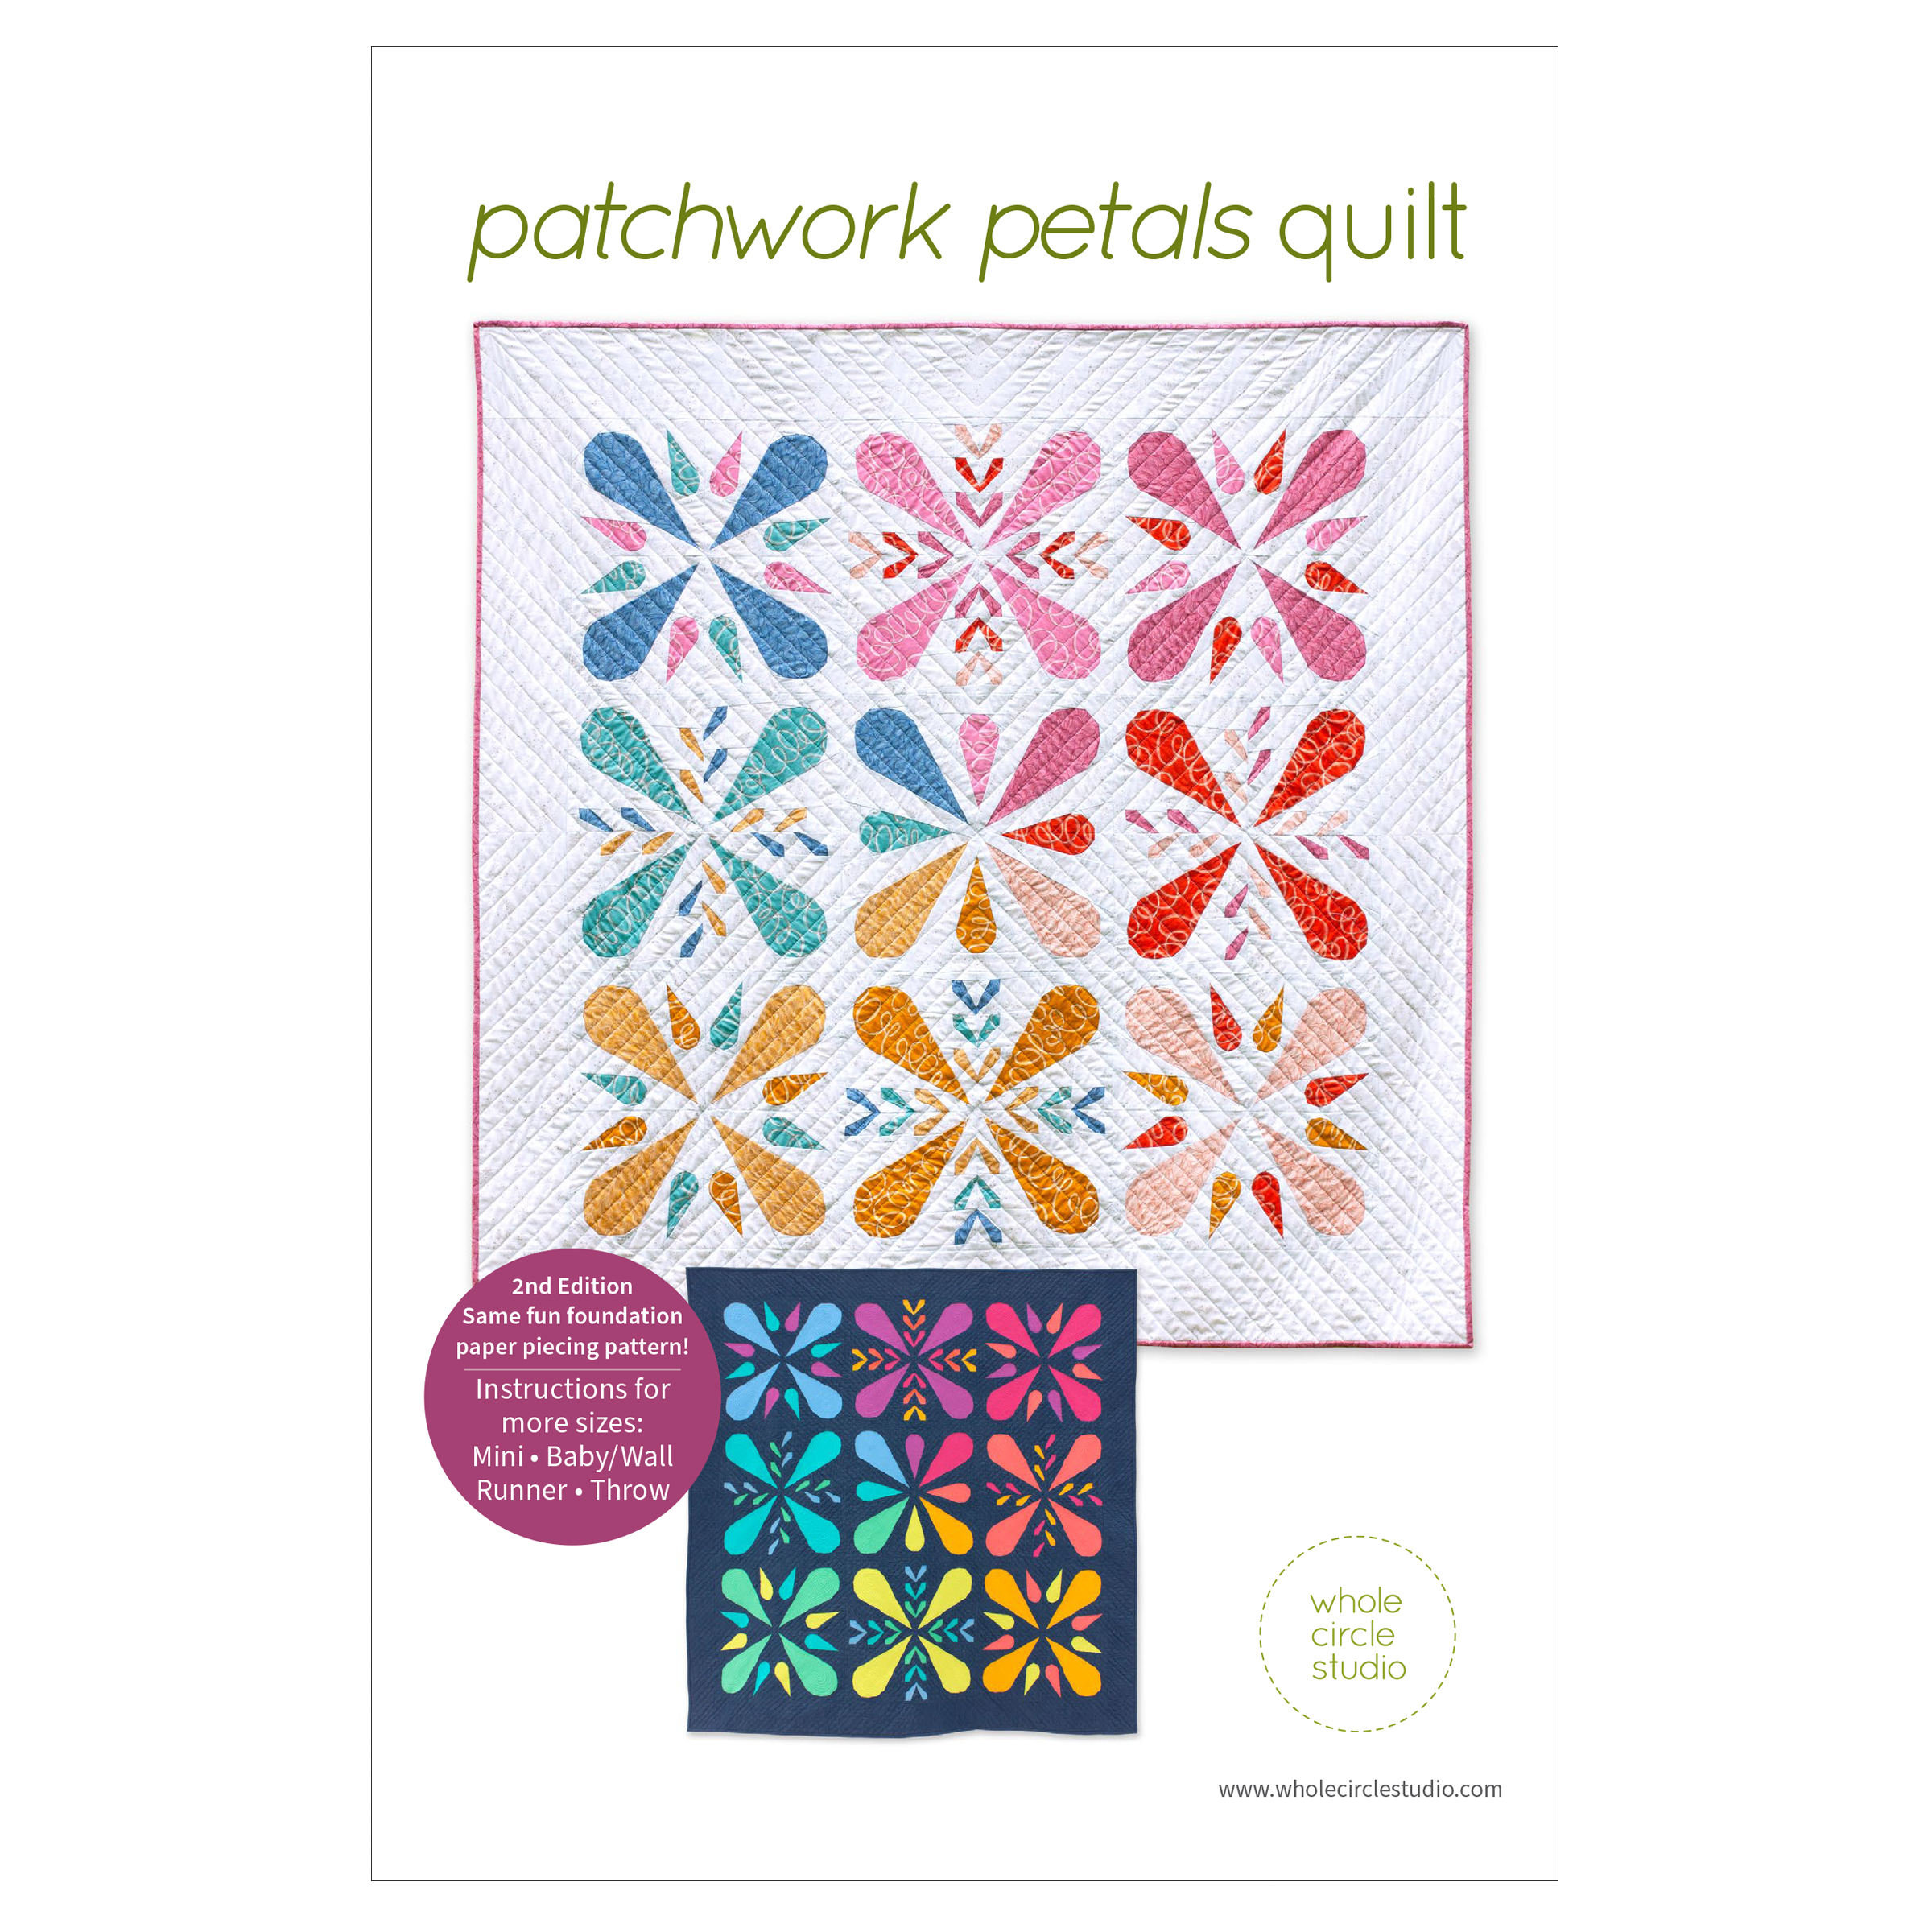
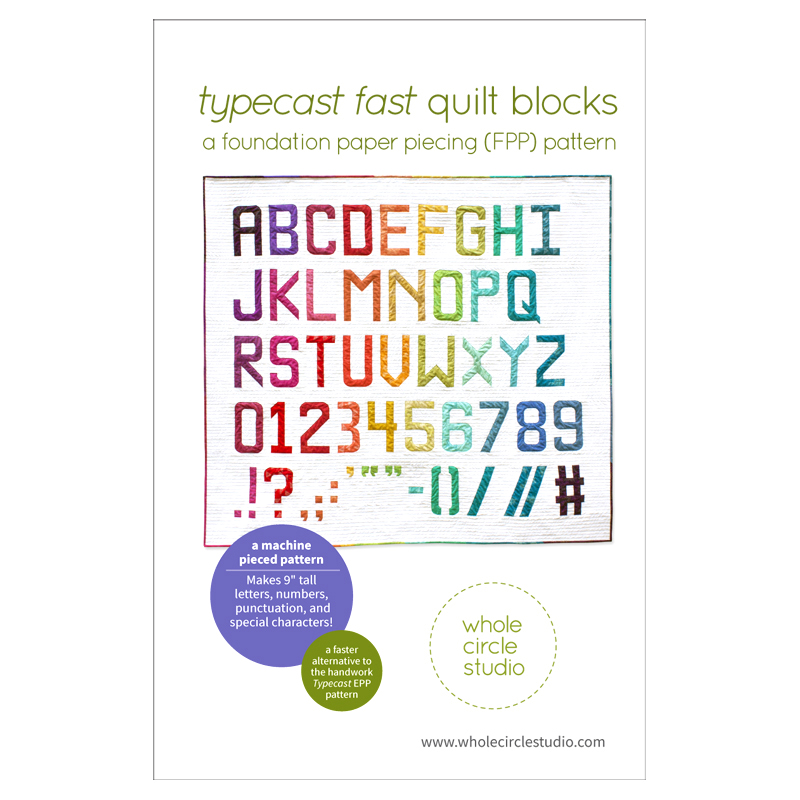
Paper Piecing Projects to Make


Why Tiny Foundation Paper Piecing?
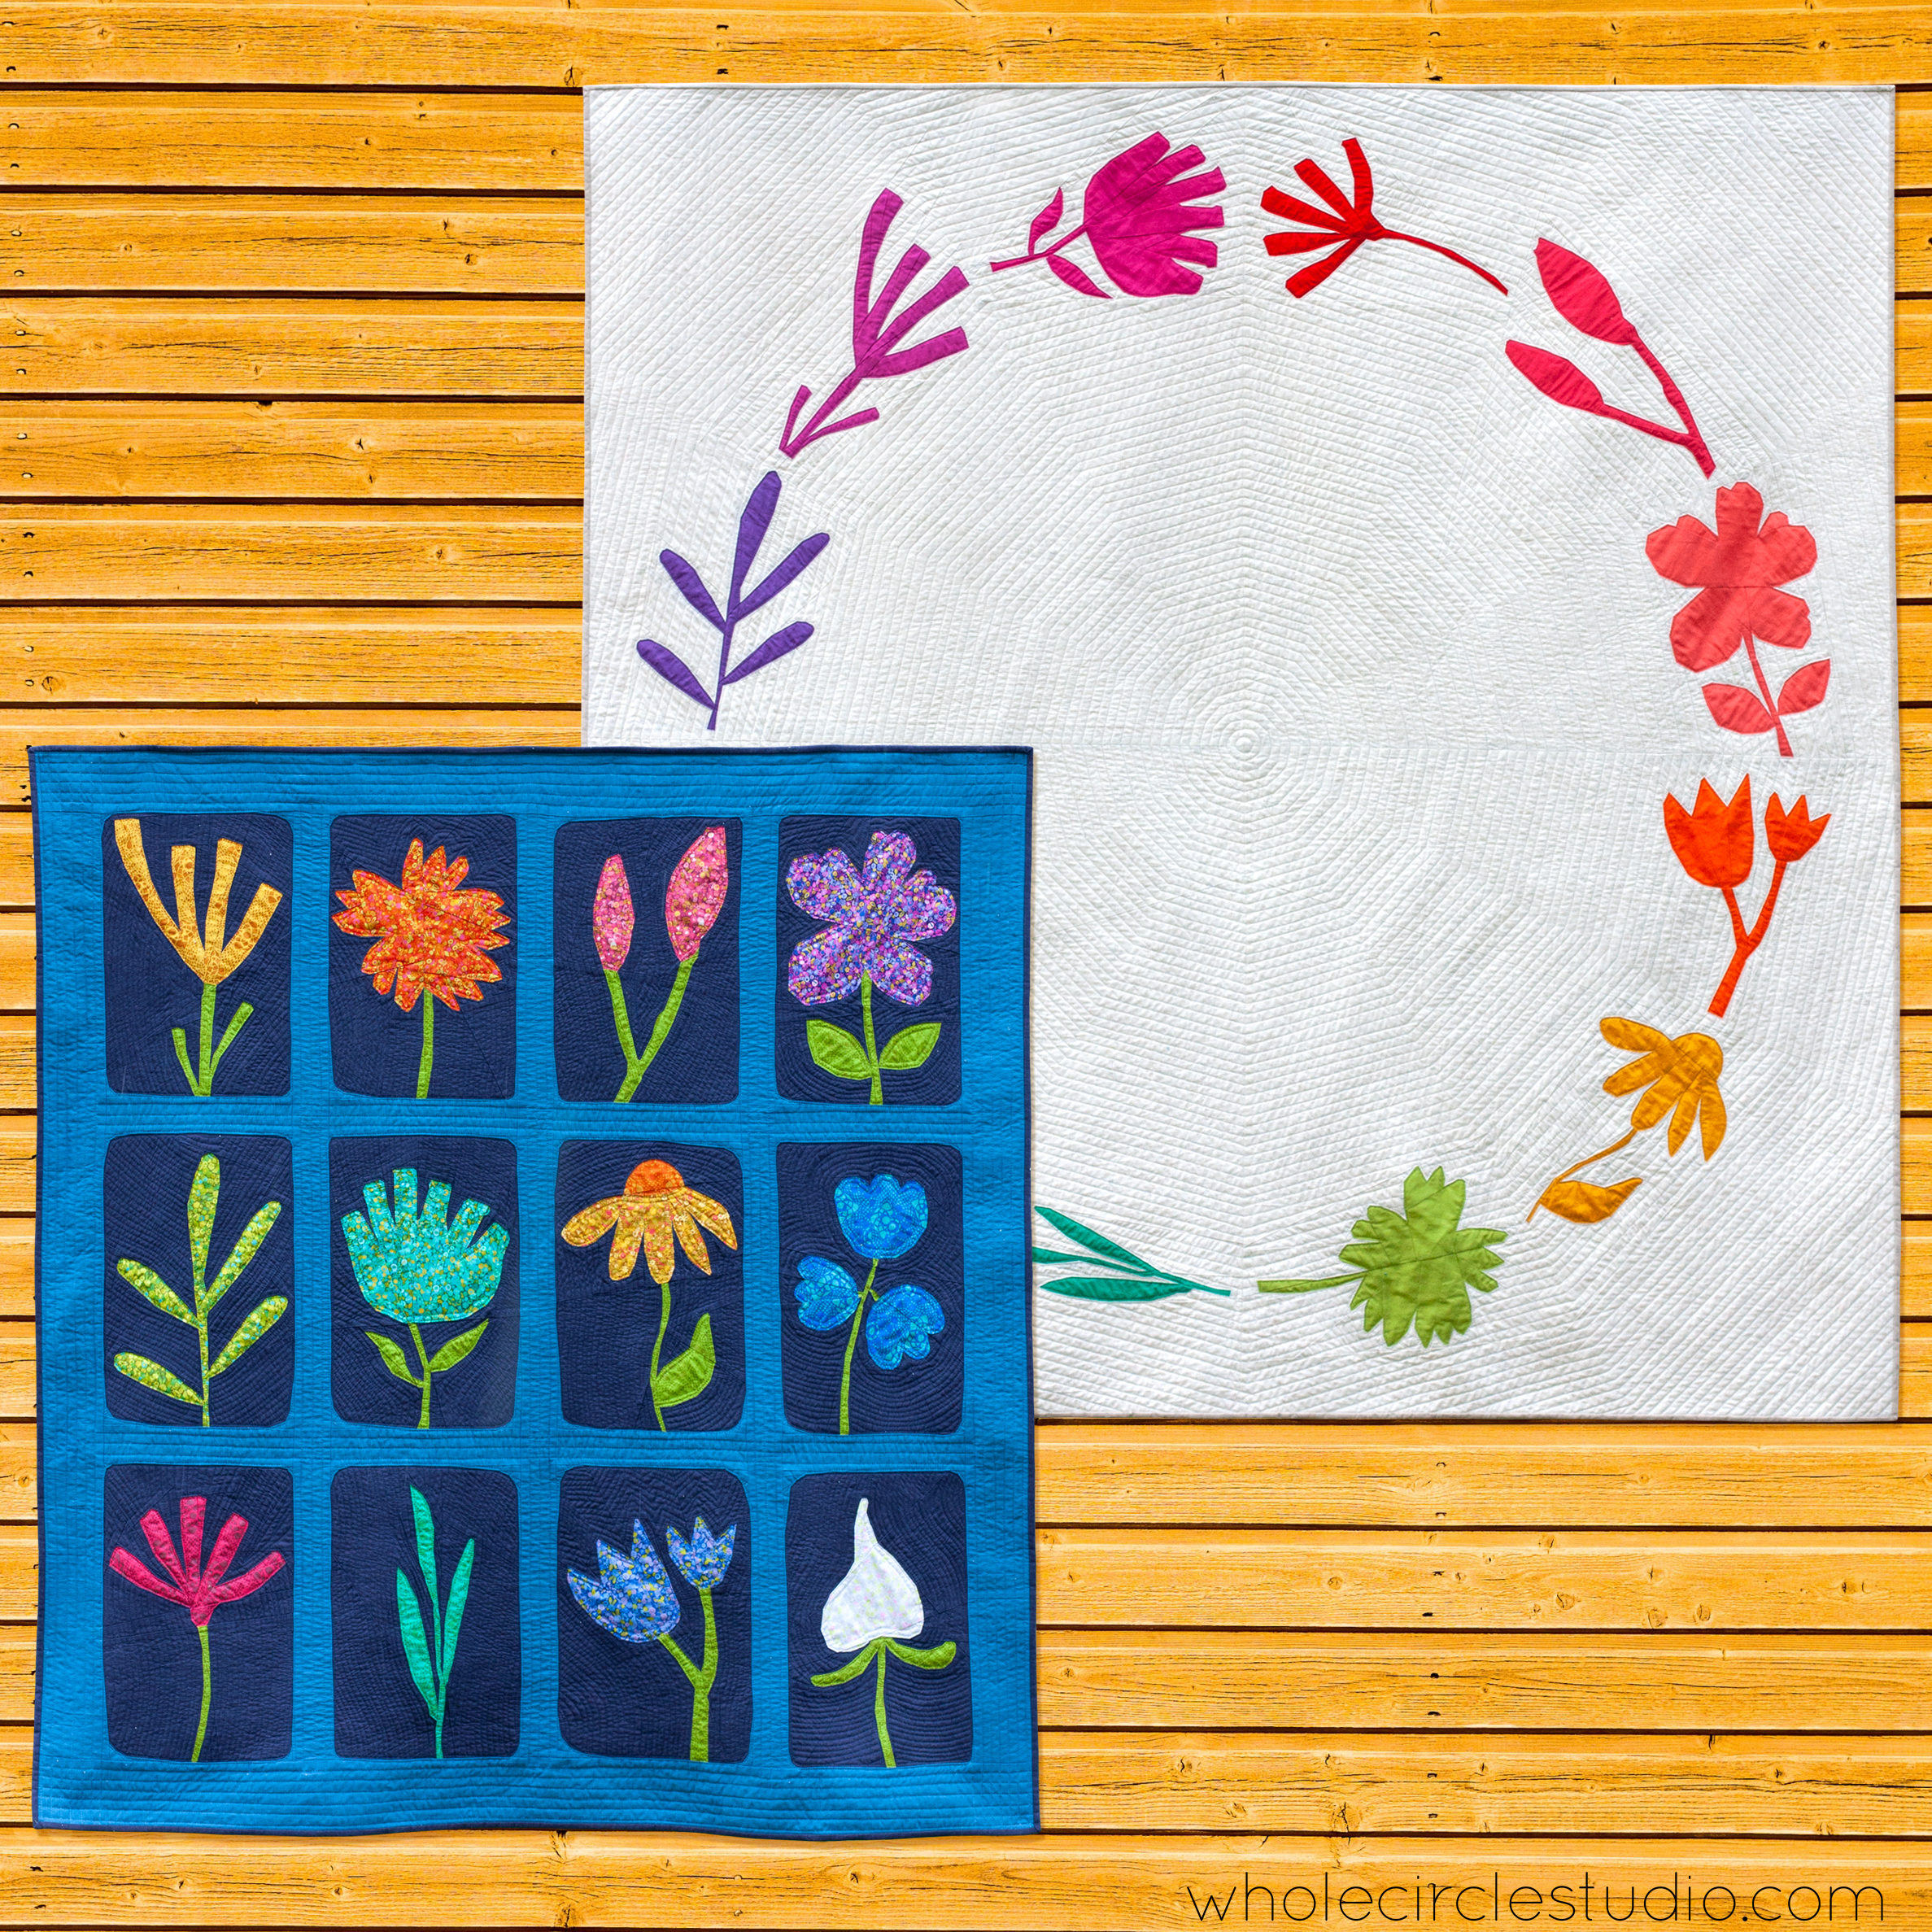
- Add Amazing Details: Tiny pieces let you create shapes and designs that are nearly impossible with other quilting methods. I LOVE creating curves with just straight lines!
- Use Your Fabric Scraps: This technique is a great way to use up those little bits of fabric in your stash.
- Get Precise Results: Foundation paper piecing helps you sew with accuracy, no matter how small the pieces are.

Tips for Tiny Paper Piecing Success
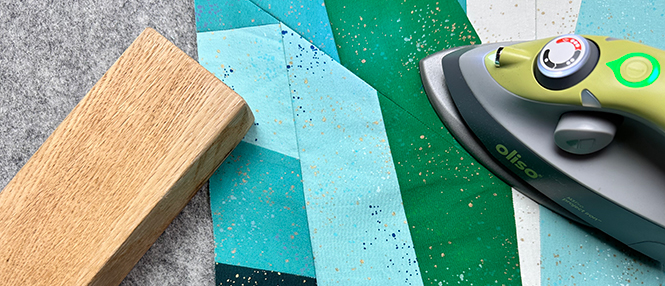
- Start with a Fresh Needle in your Machine: Use a new, sharp needle to make sewing through the paper and layers of fabric easier. A dull needle can cause problems.
- Shorten Your Stitches: Set your stitch length to about 1.2-1.3 (shorter than the typical 1.5 stitch length when paper piecing non-tiny sections) to make your seams strong and make removing the paper easier.
- Lighten the Bulk: Use a good quality, thin thread, like Aurifil 50 weight, to keep your seams neat and flat.
- Adjust Your Machine: Check your sewing machine manual for foot pressure settings. If your fabric isn’t moving smoothly, raising the foot pressure can help.
- Take It Slow: Sew slowly and use a locking stitch, or back stitch, at the start and end of each line to keep everything secure.
Removing the Paper
Once your sections are complete, it’s time to remove the foundation paper. I like to:
- Start at the outside edges: Tear along the seams, using your fingers or a good pair of tweezers. My favorite tweezers for paper removal are by Tweezer Guru.
- Punch the Center: Gently press the middle of the block to loosen the paper
- Check for Residue: Don’t forget to peek under seam allowances for leftover bits of paper. If you used water soluble glue to secure your fabric and the paper isn’t removing easily, I like to use a Water Brush on any stubborn paper specks — the moisture usually makes any leftover paper easier to remove.
Additional Resources
- Free FPP Mini Class: New to foundation paper piecing? Check out my free tutorial and mini class here.
- Shop Patterns: Explore a variety of foundation paper piecing patterns in our shop.
Happy Quilting!
Tiny foundation paper piecing is a rewarding way to add incredible detail to your quilt blocks and quilting projects. With practice, you’ll be amazed at what you can create! Have fun exploring this technique.
Happy stitching!
Sheri