
Welcome and let’s get started!
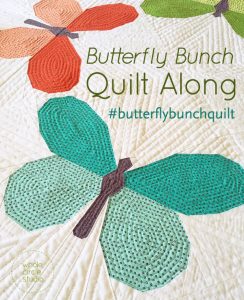
Are you ready to make some beautiful butterflies?
This week we’re going to get organized and select our fabric—one of the most fun (and at times overwhelming) parts of quilting!
We’re all moving at our own pace, but here is what’ I’m working on this week (be sure to check out the info below the video for more details and photos):
1. Print out your Butterfly Bunch pattern.
• Need the pattern? You can find Butterfly Bunch here.
2. Select your color scheme and fabrics.
Use the Coloring Sheet (included in the pattern PDF) to play with color. I like to print out multiple copies and explore different ideas. Use colored pencils, markers, fabric swatches from your stash or anything else you have close by. Try what you think might be a ridiculous idea—you never know where it will go!
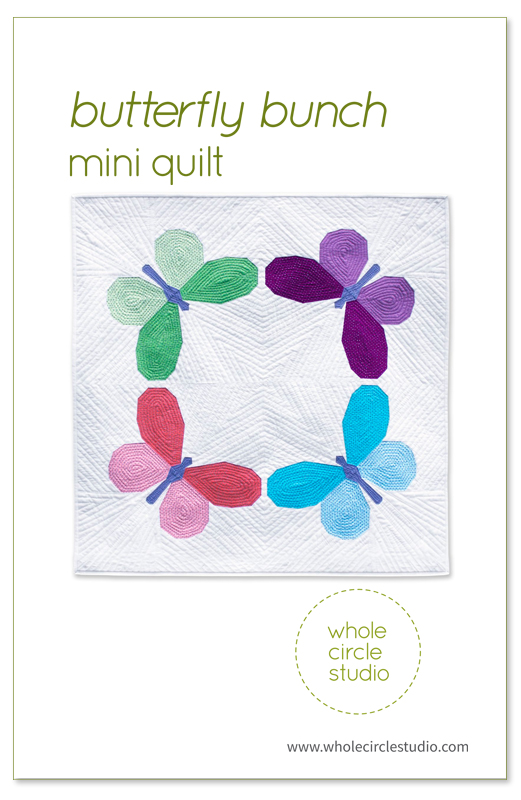
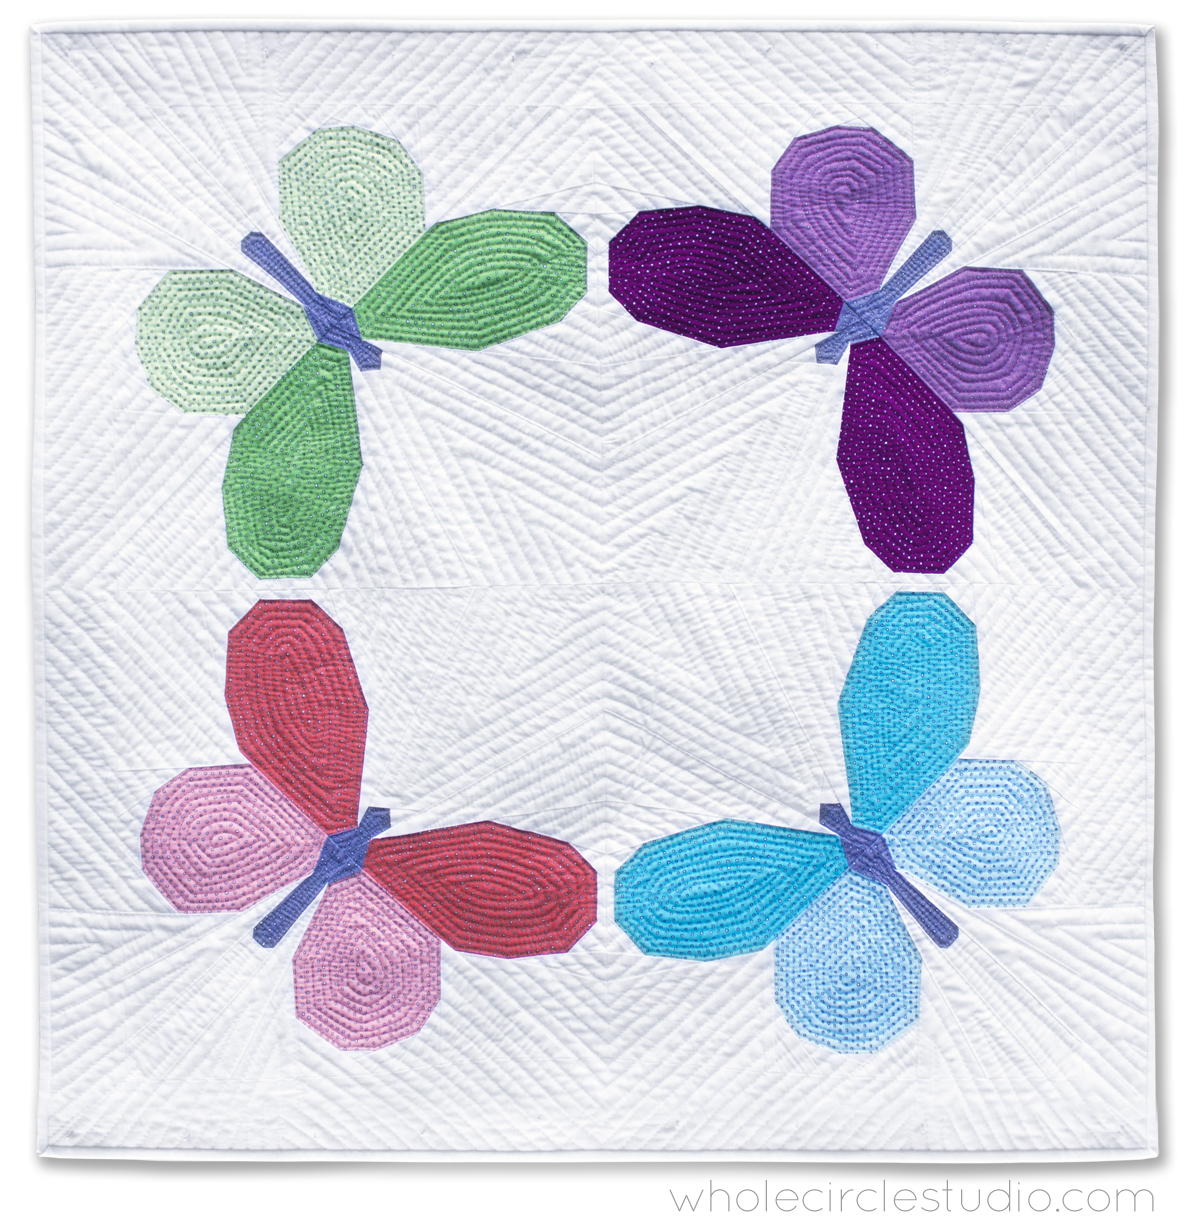
In my finished sample, I used one color for each butterfly’s wings, but in two tints (i.e. for one butterfly I used a green for the upper wings and a lighter green, or tint, for the lower wings). I then tied the butterflies together by making all of the bodies the same color. I used Pixie Dots by QT Fabrics and pieced and quilted my mini quilt with Aurifil Cotton 50 wt thread.

I also love to use solids in my work. In the example below, I made all the wings on each butterfly one color. For the bodies I chose the wing color in the block next each butterfly. I essentially just swapped colors. I’m making these butterflies with RJR Fabrics Cotton Supreme Solids.
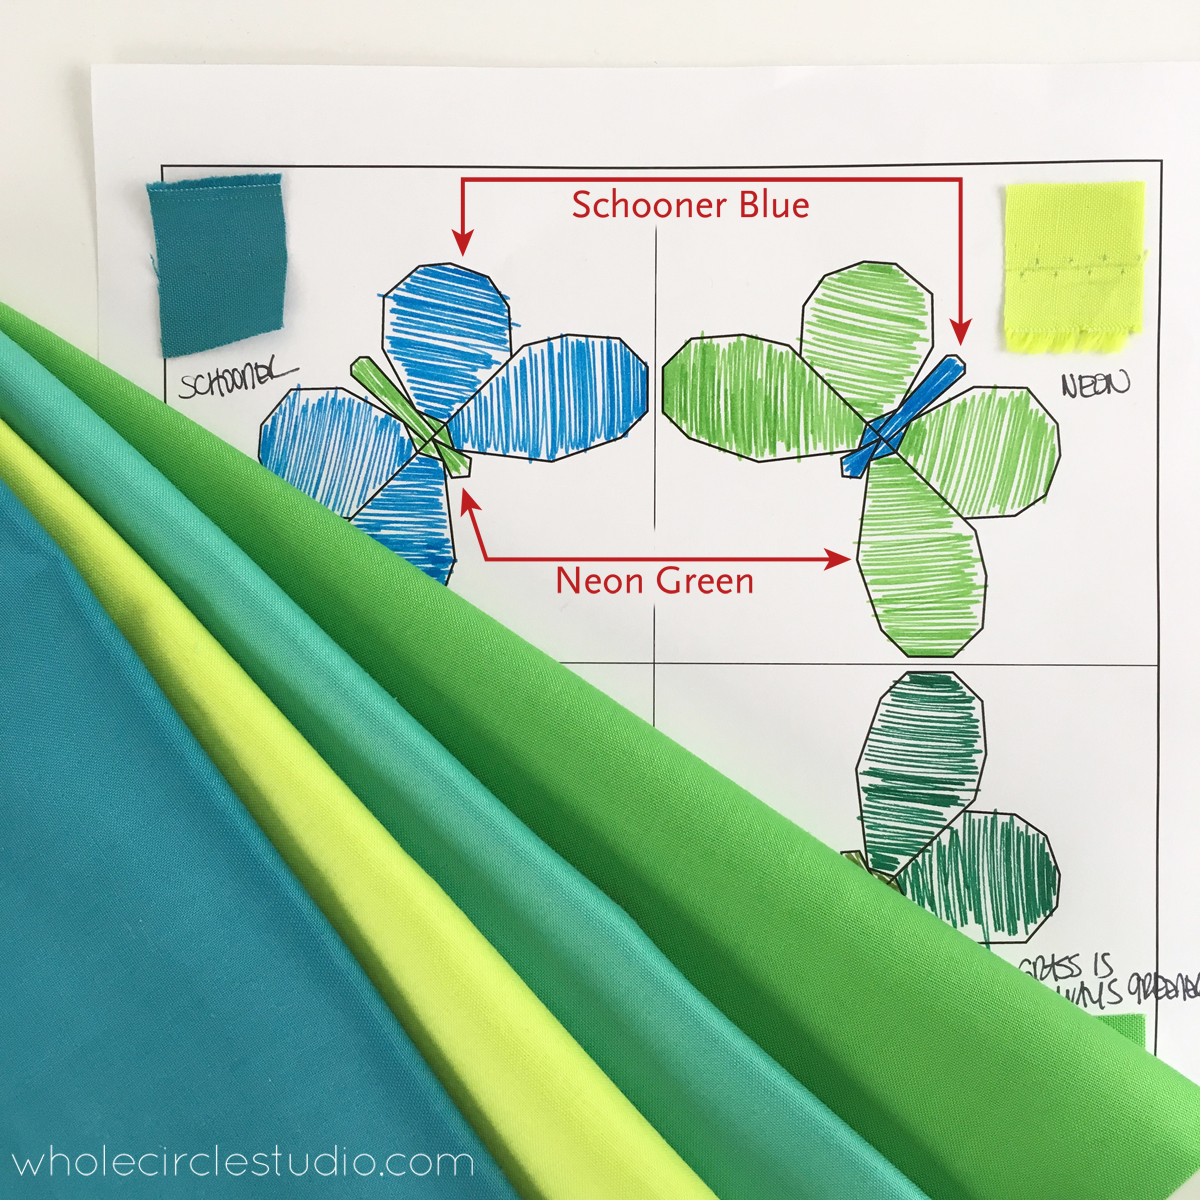
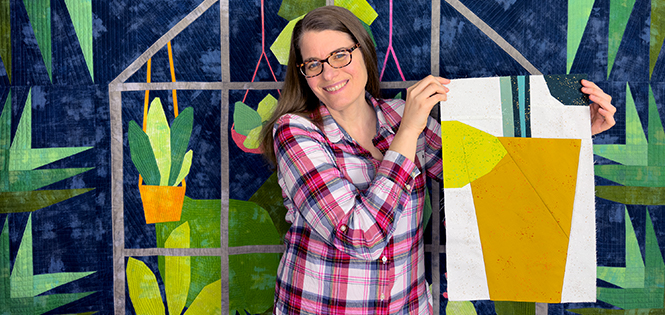
For the quilt along this month, I’m going to combine some Alison Glass Sun Print blender fabrics with a color I rarely use in large doses—yellow!

Don’t be afraid to use bold prints! I tend to use solids and subtle prints in my work, but anything can work with this pattern! Use what you have. If after experimenting with the coloring sheets, you’re still unsure about fabric, just make one block with what you have. You never know where it will lead (and you can always turn that one block into a wall hanging or small pillow)!
3. Prepare your paper pieces.
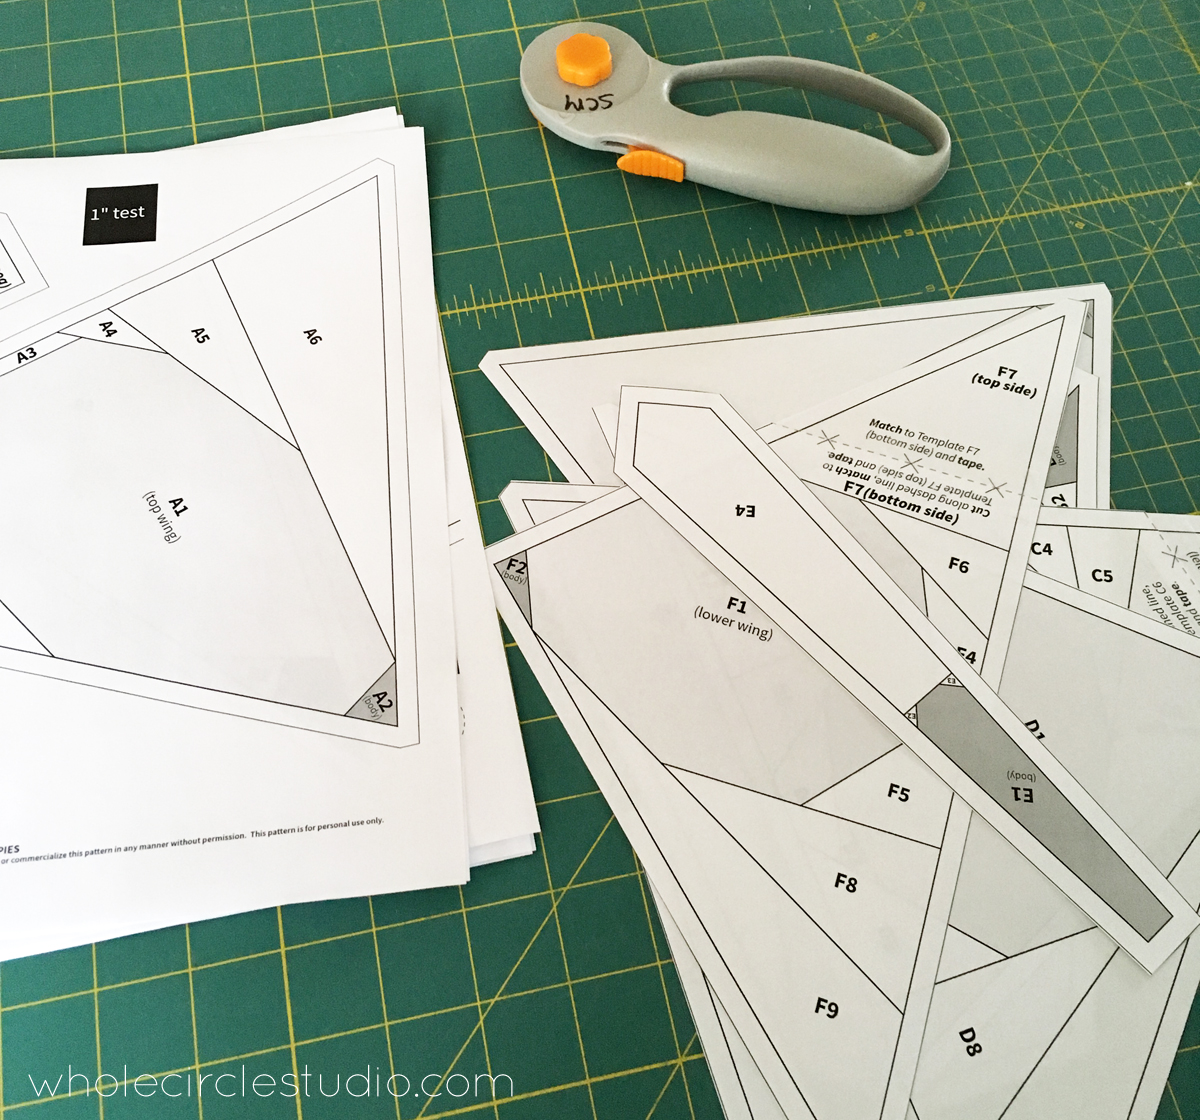
• Print one copy of Pattern Pages 1-6 for EVERY Butterfly block you want to make. So, if you want to make 4 butterflies in a circle, you’ll need four copies of each Pattern Page. I recommend printing one copy to start out with. Make sure when you print that you select the print to “Actual Size” or “100%” setting. Sometimes your software will try to be smarter than you and scale pages to what they think it needs to be to fit a page. After the page prints, be sure to measure the 1″ test box on each page to confirm that it is exactly 1″. Computers can do funny things so it’s always a good habit to double check the scale by measuring every time you print.
• I like to print my Pattern Pages on plain 20# copy paper. It’s inexpensive and I’ve never had an issue with removing the paper at the end. Many quilters/paper piecers like to use thinner paper (like a newsprint) or special Foundation Paper Piecing paper. If you’re curious about the difference, give it a try! Make blocks with different paper and see what you like best.
• Check out the video above for tips on cutting and preparing your paper pieces. I have a dedicated rotary cutter and scissors I use for paper. Don’t use your fabric scissors for cutting paper—the paper will dull your tools. You’ll also need to tape together the “A”, “C”, “D” and “F” pieces as shown in the video at the top of this blog post.
4. Gather up your tools.
Here are some of my favorite tools for sewing and paper piecing (affiliate links included):
• plain copy paper
• 12″ Add-A-Quarter Ruler
• Fons and Porter Water Soluble Fabric Glue Marker (and refills)
• Aurifil 50wt cotton thread (in a neutral or color that matches your fabric)
• Rotary Cutter (I use both Olfa and Fiskars)
• Acrylic Ruler (I love my non slip Quilters Select ruler)
• Sewing Machine (I do all of my piecing and quilting on a Juki 2010q—it’s a workhorse!)
• Iron and pressing surface
5. Share photos of your progress!
I can’t wait to see what fabrics you pick for your version of Butterfly Bunch! Please post your photos to Instagram using #butterflybunchquilt
Let’s make something awesome together,
Sheri
p.s. If you missed it, be sure to check out behind the scenes: designing Butterfly Bunch and the introduction of the Butterfly Bunch Quilt Along and check out Butterfly Bunch Week 2 here.


3 Comments
Awesome! Thank you.
So excited to get started! 🙂