As quilters, we know the satisfying whir of a sewing machine and the joy of creating beautiful, functional pieces. But have you ever considered the meditative calm of hand embroidery? Something that’s super portable that can be worked on anywhere and allows us to build new skills?
During the pandemic, I rediscovered the world of embroidery, something I hadn’t touched since I was a kid. Once I became reacquainted with the basic stitches, the process of pulling a needle and floss through fabric has been surprisingly meditative for me. It’s especially relaxing for me during those quiet moments in between quilting projects (and I’ve even incorporated hand embroidery into quilt blocks). Hand embroidery is a completely different experience from machine piecing and quilting, but one that offers a surprising sense of relaxation and creative expression.

Why You Should Give Embroidery a Try:
Here’s what makes embroidery so darn appealing:
It’s Easy to Learn:
You only need a few basic stitches to create beautiful designs.
It’s Accessible:
With just a needle, some thread, and some fabric, you’re ready to start stitching!
It’s Portable:
Throw your supplies in a small bag and take your embroidery project anywhere – appointments, park, beach, airplanes
Embroidery for Beginners: Your Essential Stitch Guide
Don’t be intimidated by the vast world of embroidery stitches! You can achieve stunning results with just three fundamental stitches:
1. Back Stitch
The Back Stitch is versatile and creates a neat line and is perfect for outlining shapes.
1. Knot your thread. From the back of the fabric, bring your needle up at point A.
2. Insert your needle at point B and pull the thread through to make your first stitch.
3. Bring your needle up through the fabric at point C.
4. Reinsert your needle at point A and pull the thread through.
5. Bring your needle up through the fabric at point D.
6. Reinsert your needle at point C and pull the thread through.
7. Repeat until the line is filled.
2. Split Stitch
The Split Stitch creates a delicate line with a split in the middle, ideal for adding details.
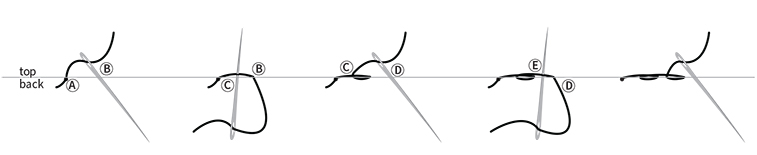
1. Knot your thread. From the back of the fabric, bring your needle up at point A.
2. Insert your needle at point B and pull the thread through to make your first stitch.
3. Bring your needle up through the fabric at point C, in the middle of the first stitch, splitting it.
4. Reinsert your needle at point D and pull the thread through.
5. Bring your needle up through the fabric at point E, in the middle of your second stitch,splitting it.
6. Repeat until the line is filled.
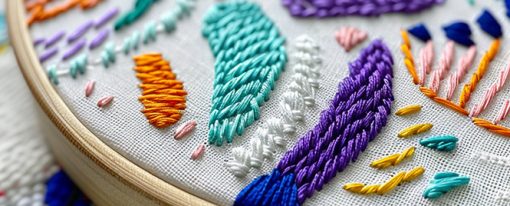
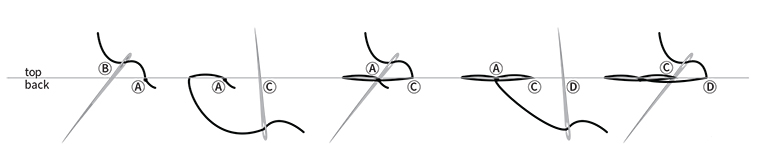
3. Satin Stitch
The Satin Stitch creates a smooth, solid surface, perfect for filling larger areas.

1. Knot your thread. From the back of the fabric, bring your needle up at point A.
2. Insert your needle at point B and pull the thread through to make your first stitch.
3. Bring your needle up through the fabric at point C, very close to point A.
4. Reinsert your needle at point D and pull the thread through.
5. Bring your needle up through the fabric at point E, very close to point C.
6. Reinsert your needle at point F and pull the thread through.
7. Repeat until the space is filled.
Ready to Dive In? Explore the Irresistible Insects Embroidery Kit Collection!
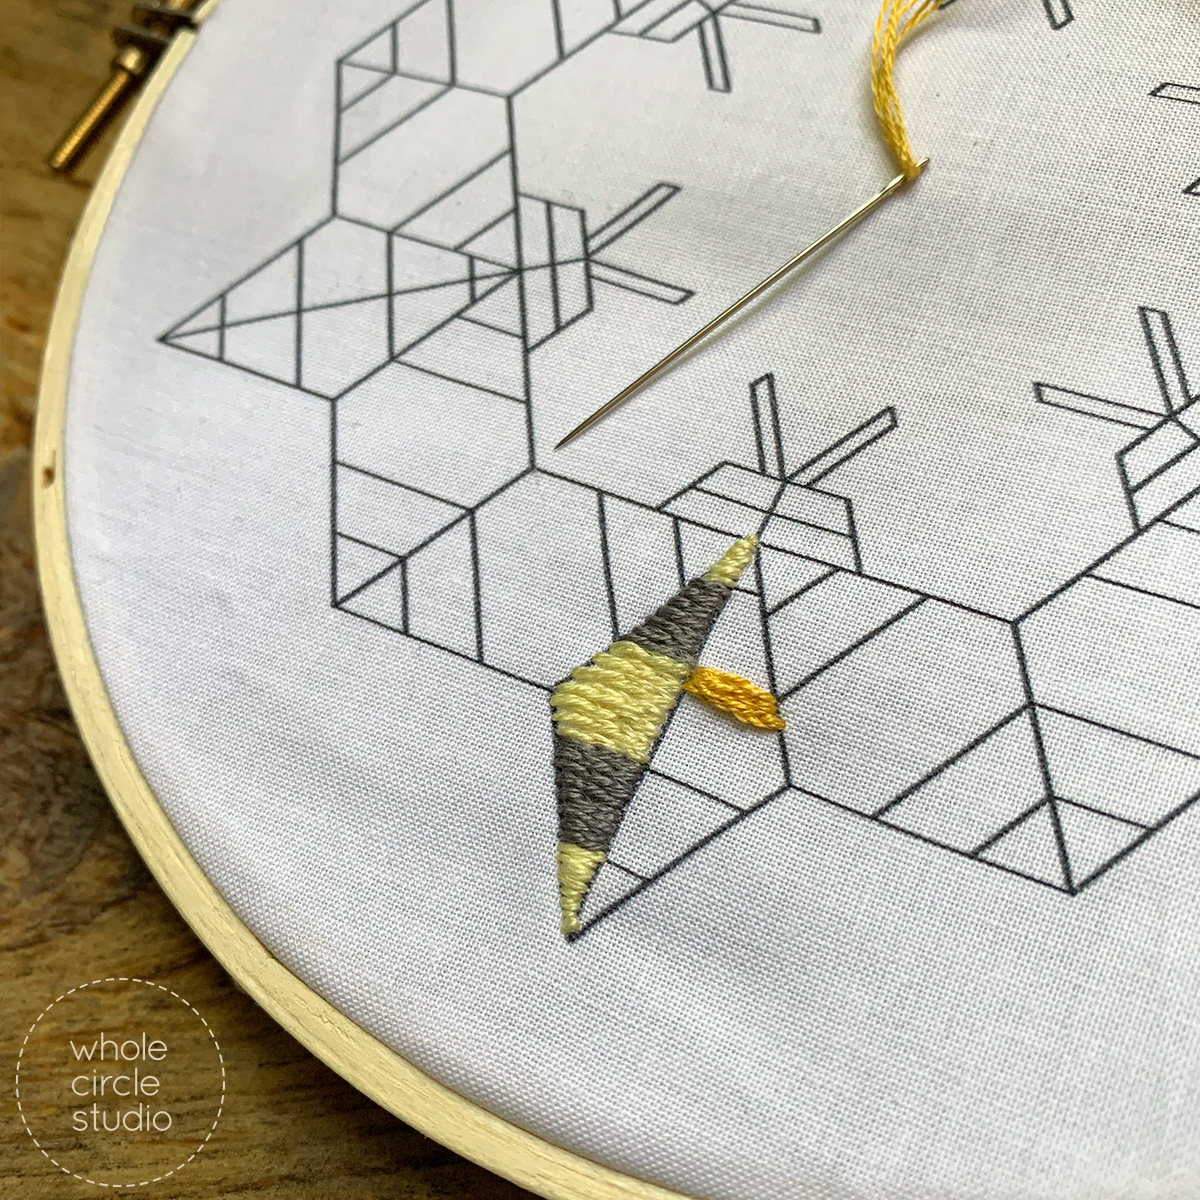
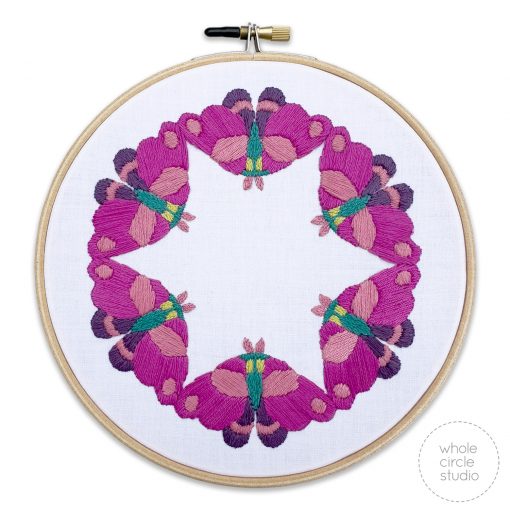
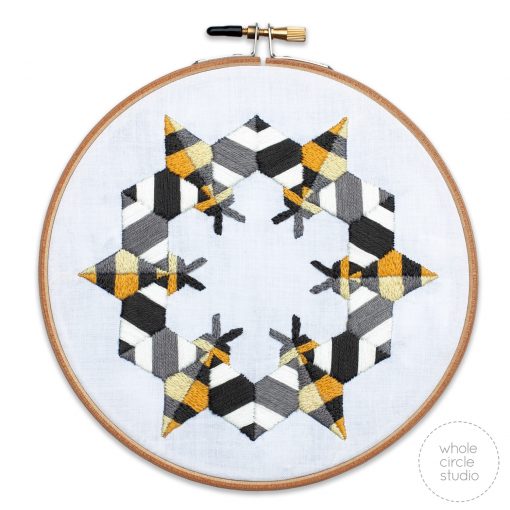
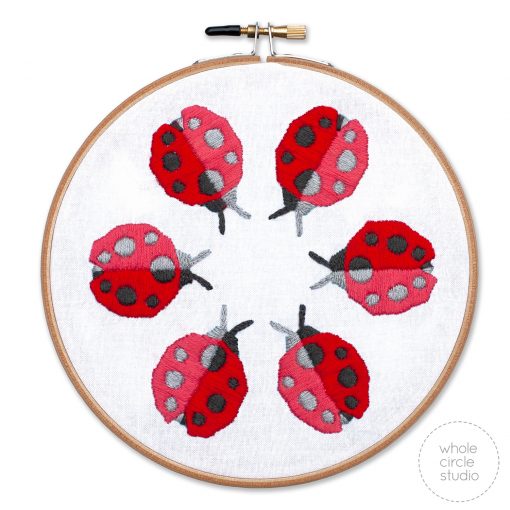
Want to give hand embroidery a try? I’m thrilled to introduce my new Irresistible Insects Embroidery Kits – the perfect projects to embark on your embroidery journey. The only stitches you need to know are the three stitches demonstrated above (Back Stitch, Split Stitch, and Satin Stitch). Each kit comes with EVERYTHING you need to create charming insect friends:
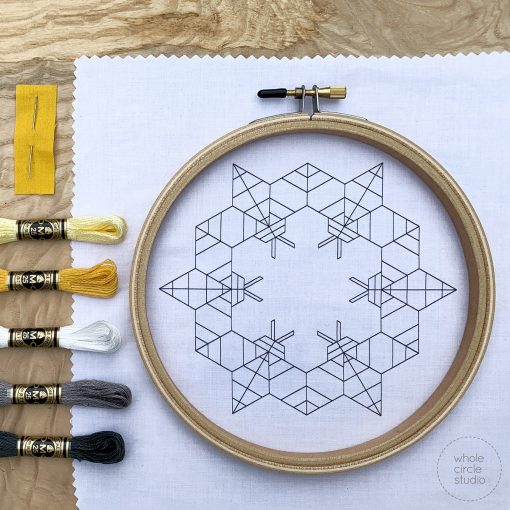
- one piece of premium pre-printed cotton fabric (stitch either detailed option OR minimalist option)
- one 6″ hardwood embroidery hoop
- Floss in a variety of colors
- one embroidery needle
- a detailed color booklet with tested instructions, illustrations, and tips

These kits are compact and portable, making them ideal for taking with you anywhere. Choose from the buzzing-cute Bzzzzzz bees, the delightful Ladybug Loop, or the captivating Modern Moths.
Expand your creative horizons and discover the calming joy of hand embroidery!
Grab an Irresistible Insects Embroidery Kit today and take your stitching with you this spring/summer.
Happy stitching,
Sheri


2 Comments
how do you start or end the threads. I don’t like the knots in the back. Is there an alternative
Hi Nicole, Great question! I have a few ways that I start/stop and it all depends on how I’m feeling when I’m stitching and what the end use will be. Sometimes I don’t mind seeing the knots in the back. I’ve been thinking of different ways to share embroidery content and what questions people have, so I’ll make a note of this! Happy stitching, Sheri