You’ve picked your fabrics, pieced your quilt top, made your quilt sandwich, and quilted it! Hooray! Now comes a task that as a quilter you either LOVE or DISLIKE… binding it! Not only does binding protect the edges of our quilt, but it can also make our quilt extra special. The fabrics and design we choose for our quilt bindings can help quilt top design shine or even add final details to our quilt.
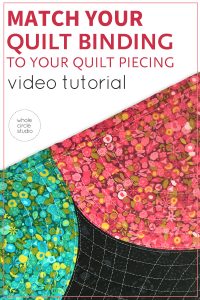
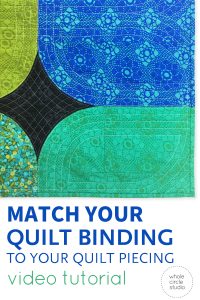
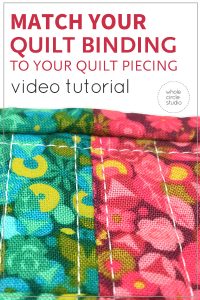
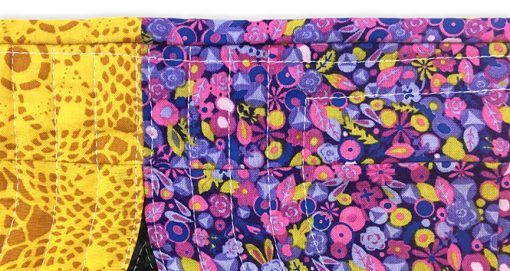
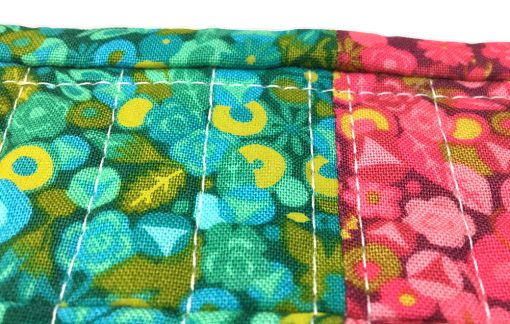
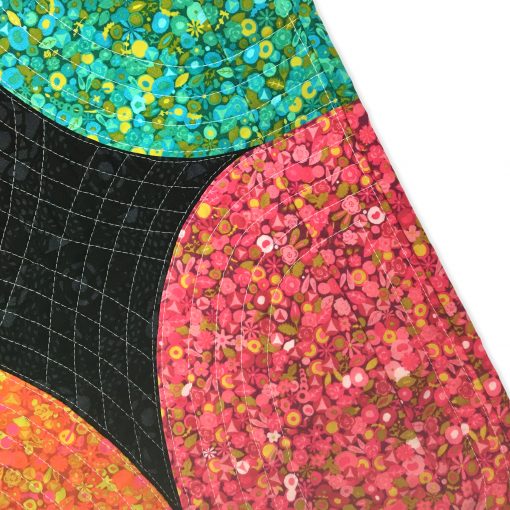
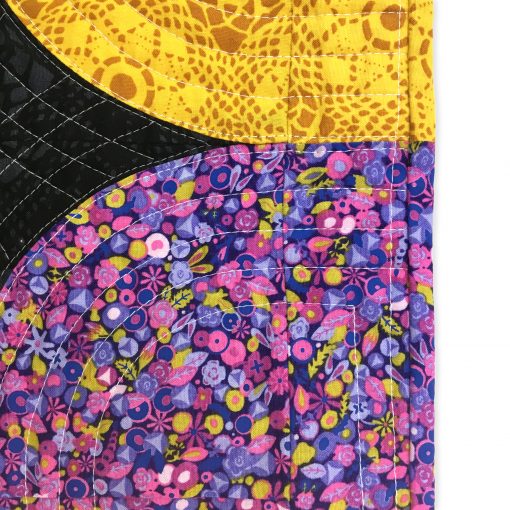
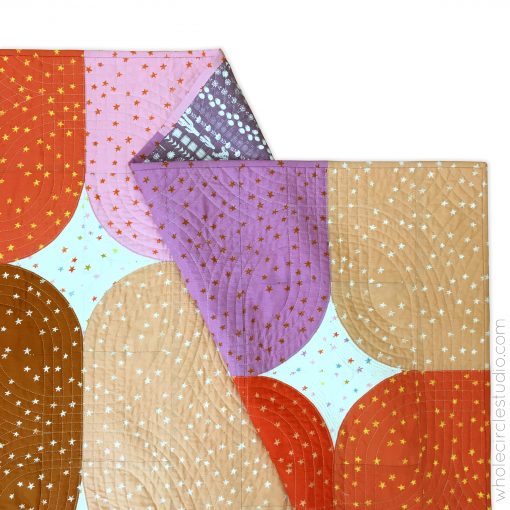
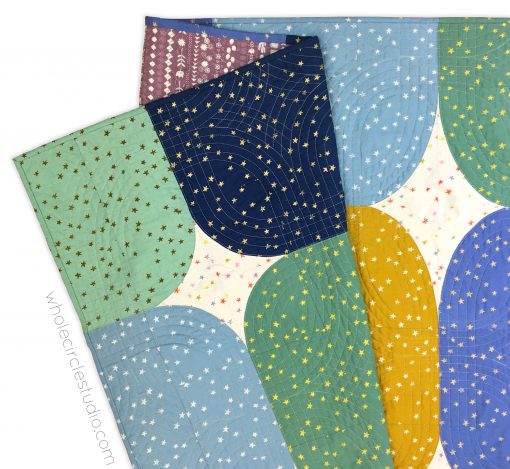
I love the look of matching and aligning the seams of my bindings to the fabrics in my quilt tops. This added feature looks beautiful and makes the design of quilt explode off the edges. Bindings also look clean and crisp on the back of the quilts. Matching seams between your quilt and and binding can look difficult to accomplish, but with some tips and patience, it is easy to achieve accurate alignments.
Check out the video tutorial / mini-class all about matching binding:
I demonstrate and walk you through all of the steps for how to match the seams in your binding to the seams in your quilt top:
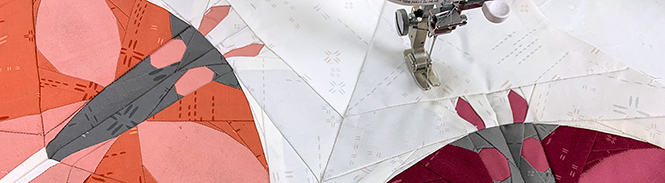
In the video, I’m applying the binding on my baby size quilt, made with the Big Island Stars & Stones quilt pattern (Stones option).

Here are my tips for how to accurately match the seams of your binding to your quilt top:
1. Start with a quilt that doesn’t have a lot of seams along the perimeter (or plan your binding design so you don’t match ALL of the seams).
It can be less overwhelming to start with matching less seams when trying this technique for the first time.
2. Schedule more time for binding than you normally would.
If you’re under a deadline for completing your binding and quilt, matching may not be be best strategy for your quilt. It does take a bit more time since you’ll be measuring and joining pieces of binding and then carefully aligning seams, but the results are well work the extra effort!
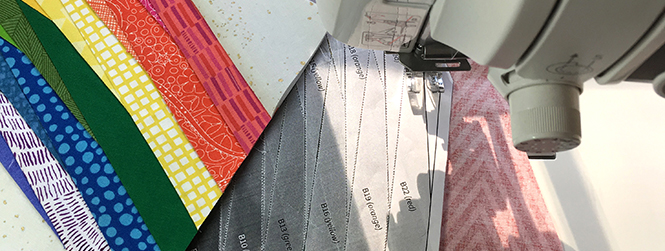
3. Make your binding using your preferred method and width.
I like to cut my strips from selvedge to selvedge, then fold and press in half along the long raw edges. My preferred width of strips to cut are 2½” for a quilt that is 32″ or larger and 2¼” for smaller mini quilts. Most binding types and width should work when matching your bindings.
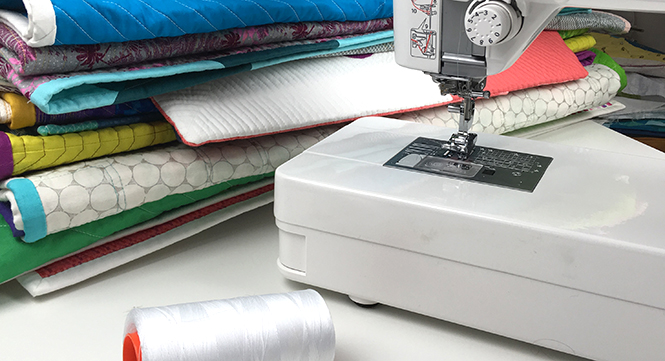
4. Have your tools and supplies close by.
You’ll need the following as you match your binding (what I use is in italics):
• Sewing Machine (Janome 6700p)
• Thread that matches your fabric or is neutral in color (Aurifil 50wt Cotton)
• Acrylic Ruler (Quilter’s Select Acrylic Ruler)
• Rotary Cutter (Olfa Rotary Cutter)
• Iron (Oliso Mini Pro Iron)
• Wool Pressing Mat (Precision Quilting Tools Pressing Mat)
• Thin Sharp Pins (Iris Superfine Pins)
• Fabric Marking Pen or Pencil (Sewline Fabric Pencil and Clover Water Soluble Pen)

Want some more supply recommendations for attaching your binding to the back of your quilt by hand? Check out 7 tools and products that make quilt binding easier.
Here are some additional quilts I have made with matching binding:
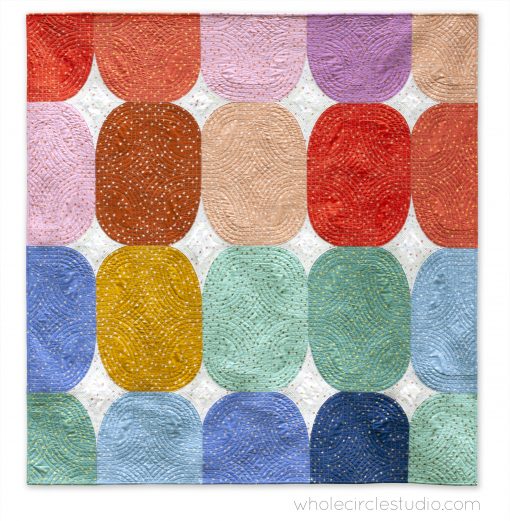
Big Island Stars & Stones quilt pattern (throw size shown)
GET THE PATTERN!
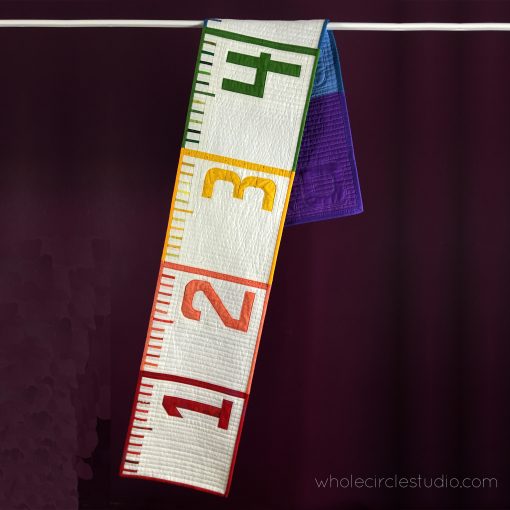
6 Foot Ruler quilt pattern
GET THE PATTERN!
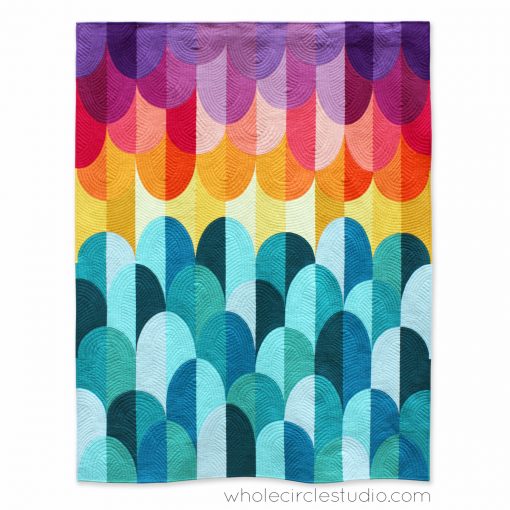
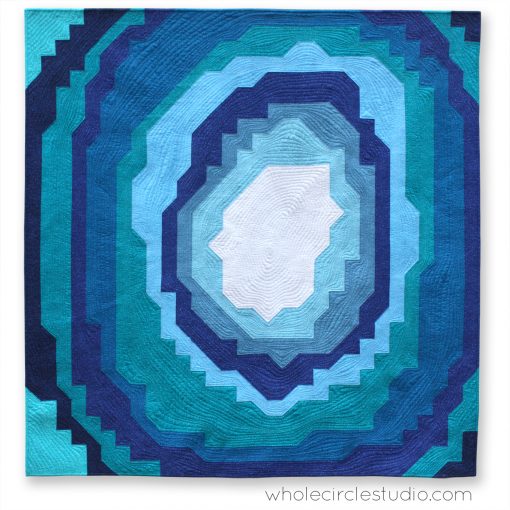
Big Island Sunset quilt pattern
GET THE PATTERN!
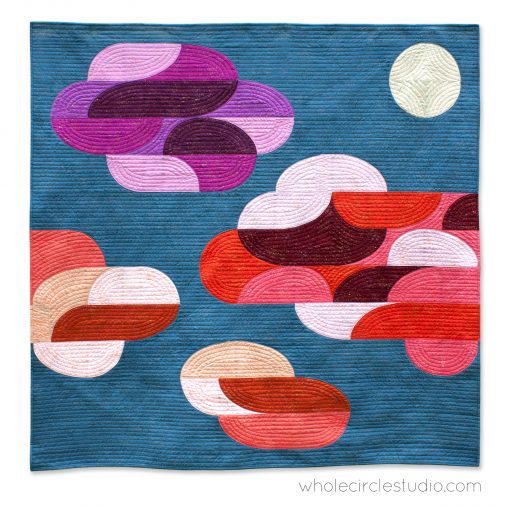
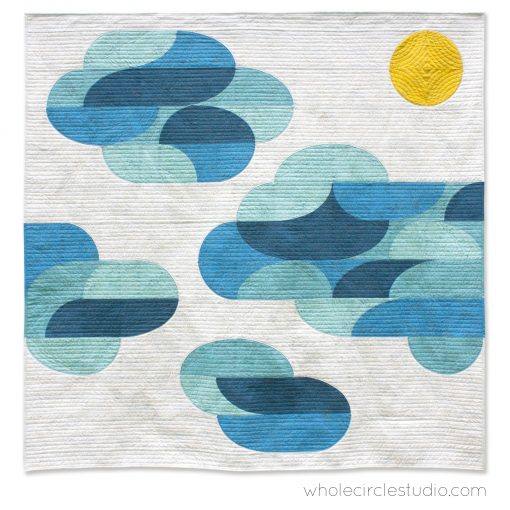
Big Island Sky quilt pattern
GET THE PATTERN!
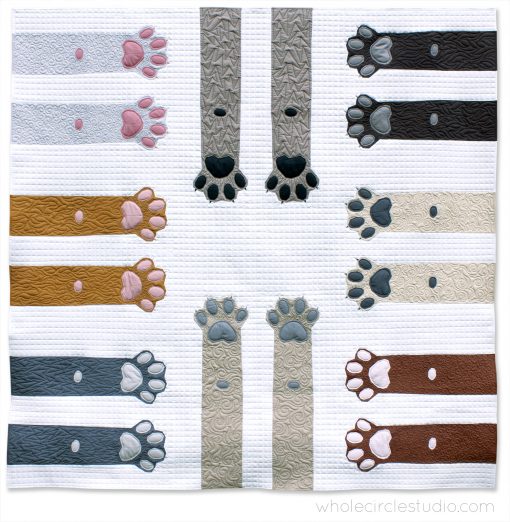
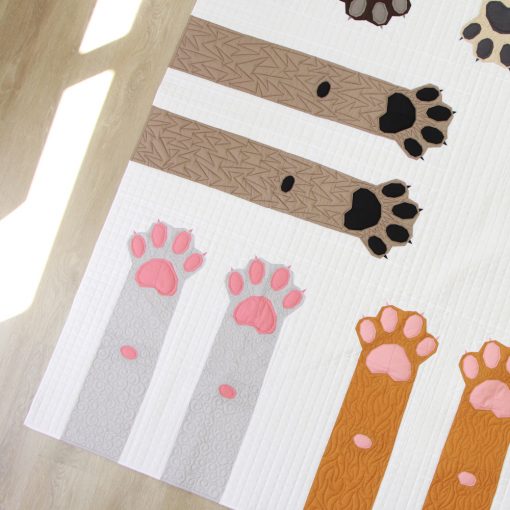
Paws Up! quilt pattern
GET THE PATTERN!
Stone Stone Slice quilt pattern
GET THE PATTERN!
Want more binding goodness?

Head over to here to get my strategies for selecting scrappy bindings.