Hello, fellow quilting enthusiasts! Sheri here from Whole Circle Studio, and I’m thrilled to welcome you to the Greenhouse Garden Block of the Month and Sew Along. I’m delighted that you’ve decided to join us on this exciting foundation paper piecing (FPP) journey!
If you haven’t signed up yet for the Greenhouse Garden BOM, it’s not too late! Jump in at any time and join the quilt making fun. Sign up here and you’ll immediately receive all of the patterns released to date.
Let’s get started!
In this first video, I share valuable tips that will be helpful as you get ready to piece your for first Greenhouse Garden blocks. That said, all of the info I review in the video will be helpful as you sew all of your blocks.
LINKS MENTIONED IN THE VIDEO:
If you need a little bit of extra help with foundation paper piecing, be sure to check out my FREE Foundation Paper Video Tutorial/Mini-Class below:
ADDITIONAL LINKS + PRODUCTS MENTIONED IN THE VIDEO:
• Foundation Paper Piecing with Freezer Paper Video Tutorial/Mini-Class
• newsprint paper by the ream: Pacon newsprint
• water soluble glue sticks: Fons & Porter or Sewline
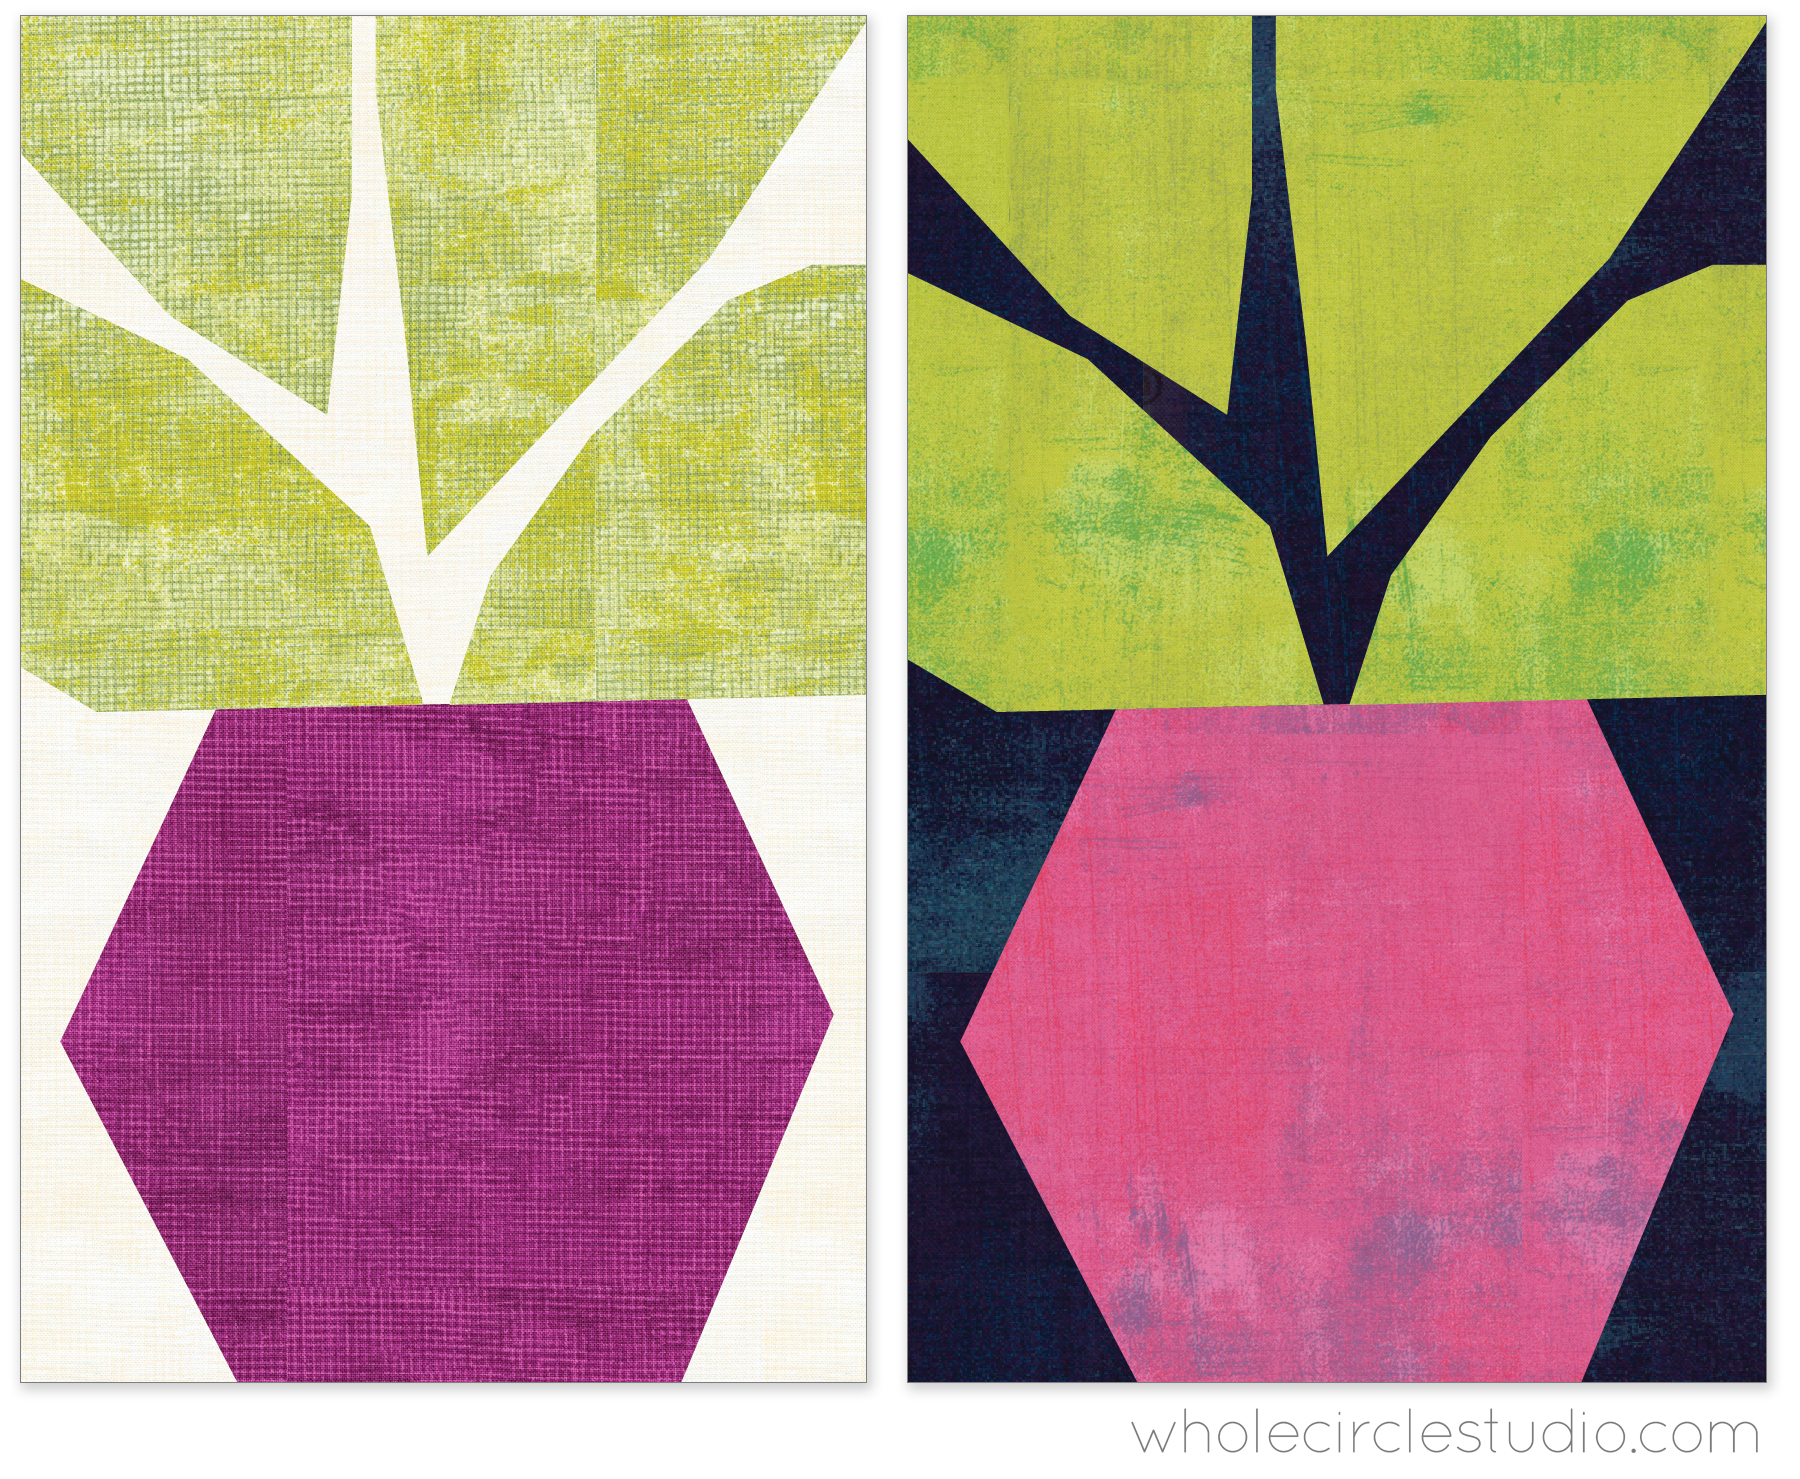
Here is a fun time-lapse video I took when I pieced my block (and I do not sew this fast in real life!).
Here’s an overview of what I discussed in the first Greenhouse Garden featured above.
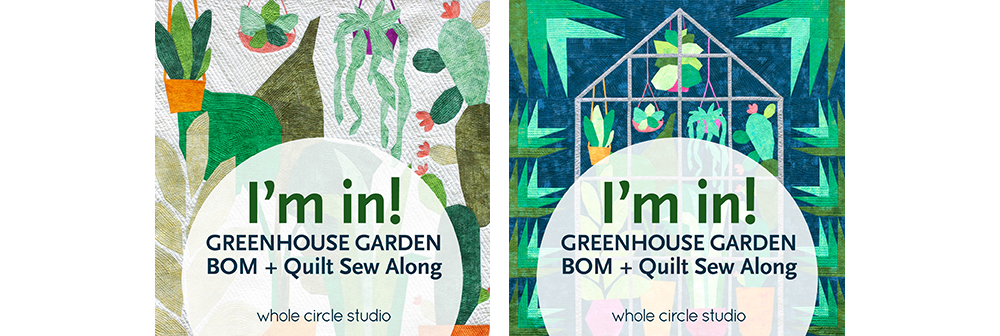
Choosing Your Quilt Layout
A few important notes that might help you decide which layout to pick:
• If you would like less seams to align, the quilt layouts with the Mullions/Sashing are great choices since you don’t need to align seams when joining the Blocks 1-12.
• The Throw with Mullions/Sashing and Borders (option B2), Twin, and Queen require additional fabric—the Welcome Packet for more details.
•The Twin and Queen sizes, require the purchase of the Greenhouse Garden add-on pack (Blocks 13–16 —includes roof section and cacti side borders)—sold separately here.
Printing Pattern Pages
Ensuring your pattern pages are printed accurately is crucial. Be sure you set your print settings to “100%” or “Actual Size” to avoid any sizing differences. After printing, make sure you measure the 1″ box on EVERY PAGE to make sure every page printed at exactly 100%. My paper preference is letter-sized Pacon newsprint.
Assembling Paper Pieces
It’s really important to me for quilt patterns to be accessible and easy for everyone to print. For that reason, all of my quilt patterns are set up on a standard US letter size paper, 8.5” x 11”. For this reason, a little bit of assembly of the paper templates is required for Greenhouse Garden. This process is similar to how you would if you were making a pattern for clothing. In the video above, I show you how I like to cut, line up, and tape the pieces to assemble the templates.
Staying Organized
Quilting is a breeze when you stay organized! In the video, I review my top tips for staying organized.
Tips for Fabric Cutting
To make fabric cutting hassle-free, I suggested cutting and labeling fabric according to the cutting diagrams. This not only streamlines the process but also eliminates guesswork when sewing.
Gluing Techniques
For efficient paper removal, I recommended using water-soluble fabric glue sticks for attaching fabric to the paper pieces. Though slightly pricier, these glue sticks ensure a smooth paper removal process without leaving residue on your fabric.
Symbols on the paper pieces
You will notice that there are some dots on the paper pieces that are used to help align seams. You can ignore these for now. There are no critical alignments in this block when joining your paper pieces.
If you are NOT adding mullions or sashing between your blocks later, you’ll use these symbols to help align seams with joining this block with other blocks. In a future video, I’ll be giving my tips and tricks for achieving precise alignments. For right now, this isn’t necessary.
I can’t wait to see your first block come together!
Thank you for embarking on this quilting adventure with us.
Happy sewing, and I can’t wait to see you next month with more tips and tricks!
Sheri