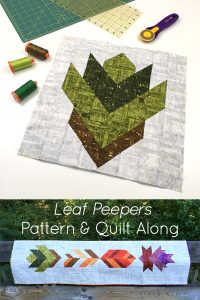
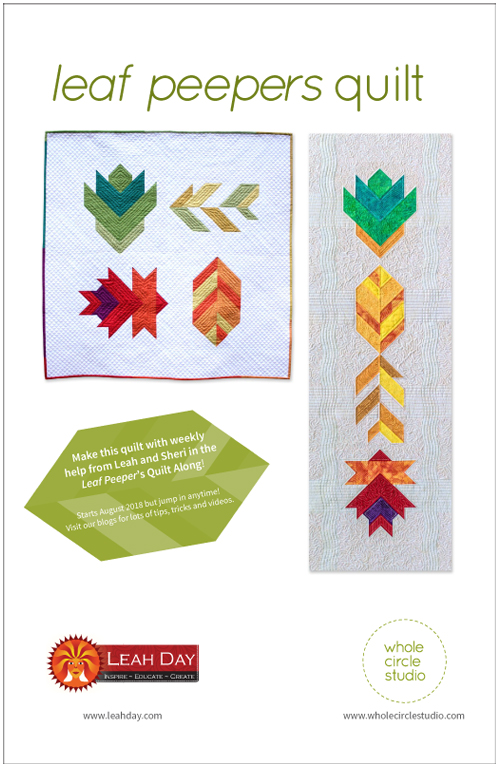
Our Leaf Peepers is pieced and we’re now ready to get quilting! If you haven’t already, be sure to check out the introduction of the Leaf Peepers quilt pattern and Quilt Along here.
Are you quilting along with Leah Day and me? It’s not too late.
Get your Leaf Peepers pattern here and join in on the fun!
Let’s pick our thread!
I like to match my thread colors to my fabrics. By doing this, my quilting compliments rather than competes with my quilt top design. Here’s another tip: sometimes a thread color won’t look like a good match when it’s on the spool. Many times if I unwind a strand of thread and place it over the area I want to quilt, it’ll be a much better match.
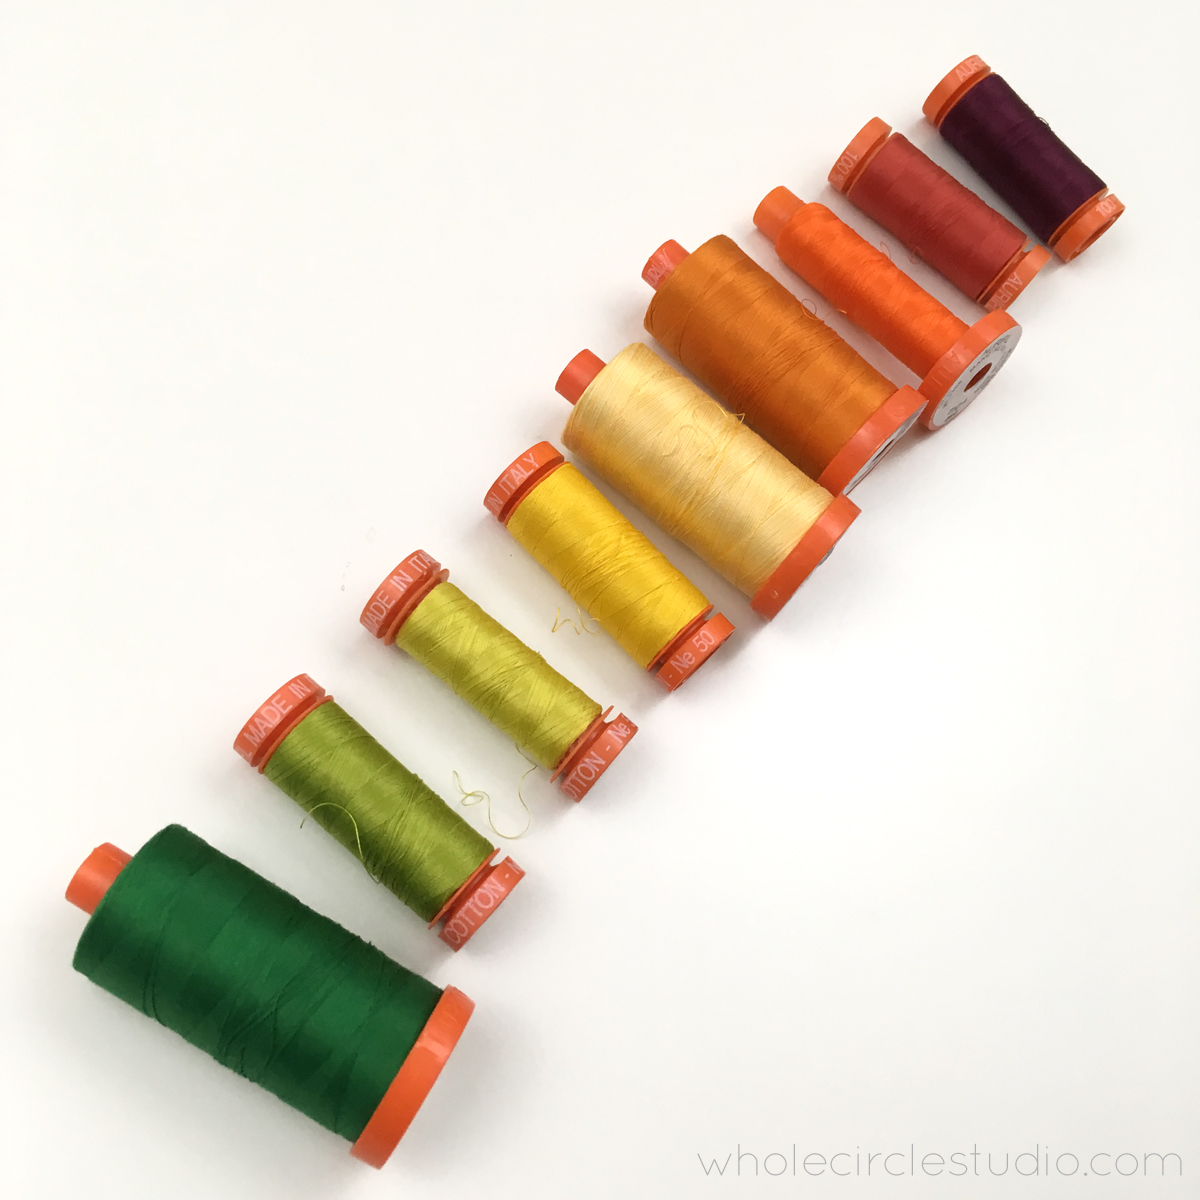
For both versions of my Leaf Peepers, I used Aurifil 50wt cotton thread colors in the following colors:
• 2024 (White)
• 2870 (Green)
• 1147 (Light Leaf Green)
• 5015 (Gold Yellow)
• 2135 (Yellow)
• 3920 (Golden Glow)
• 2150 (Pumpkin)
• 1104 (Neon Orange)
• 2255 (Dark Red Orange)
• 4030 (Plum)
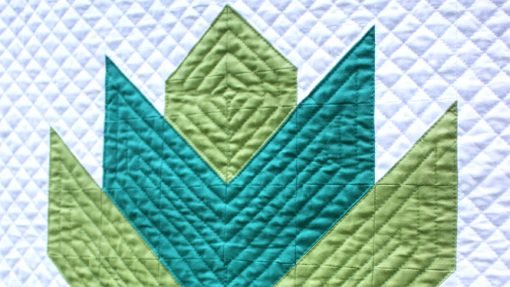
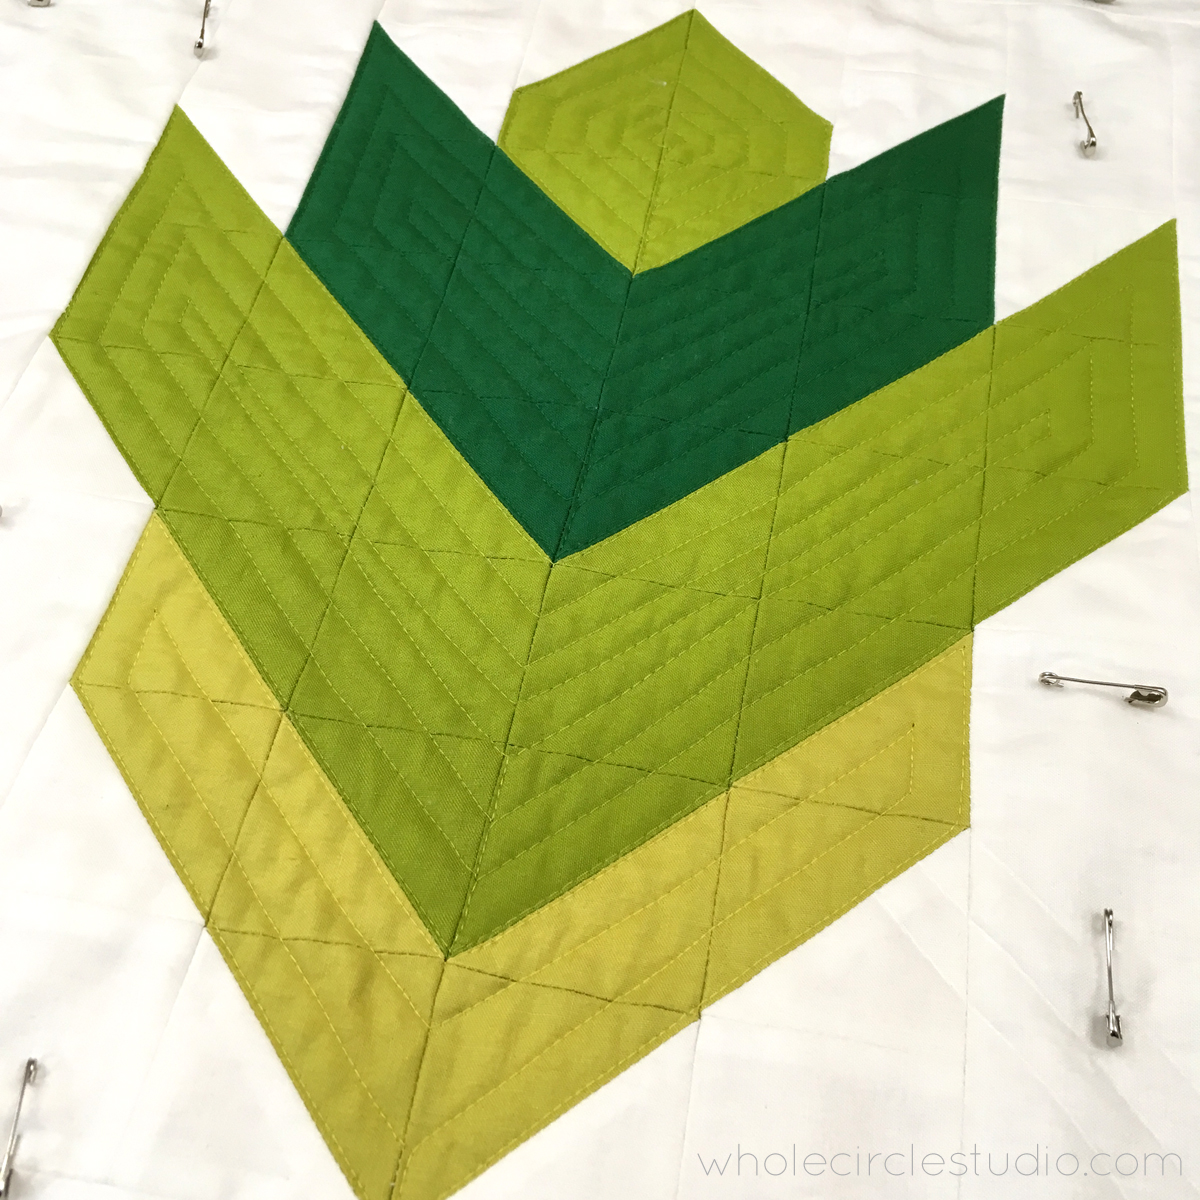
Let’s quilt Block 1!
When deciding on a quilting strategy, I often study the seams in my quilt top and use them as a guide to quilt with my walking foot. By using this strategy, I emphasize the design of the pieced top and make it the star of the quilt.
Learn how I quilted Block 1 in my video tutorial:
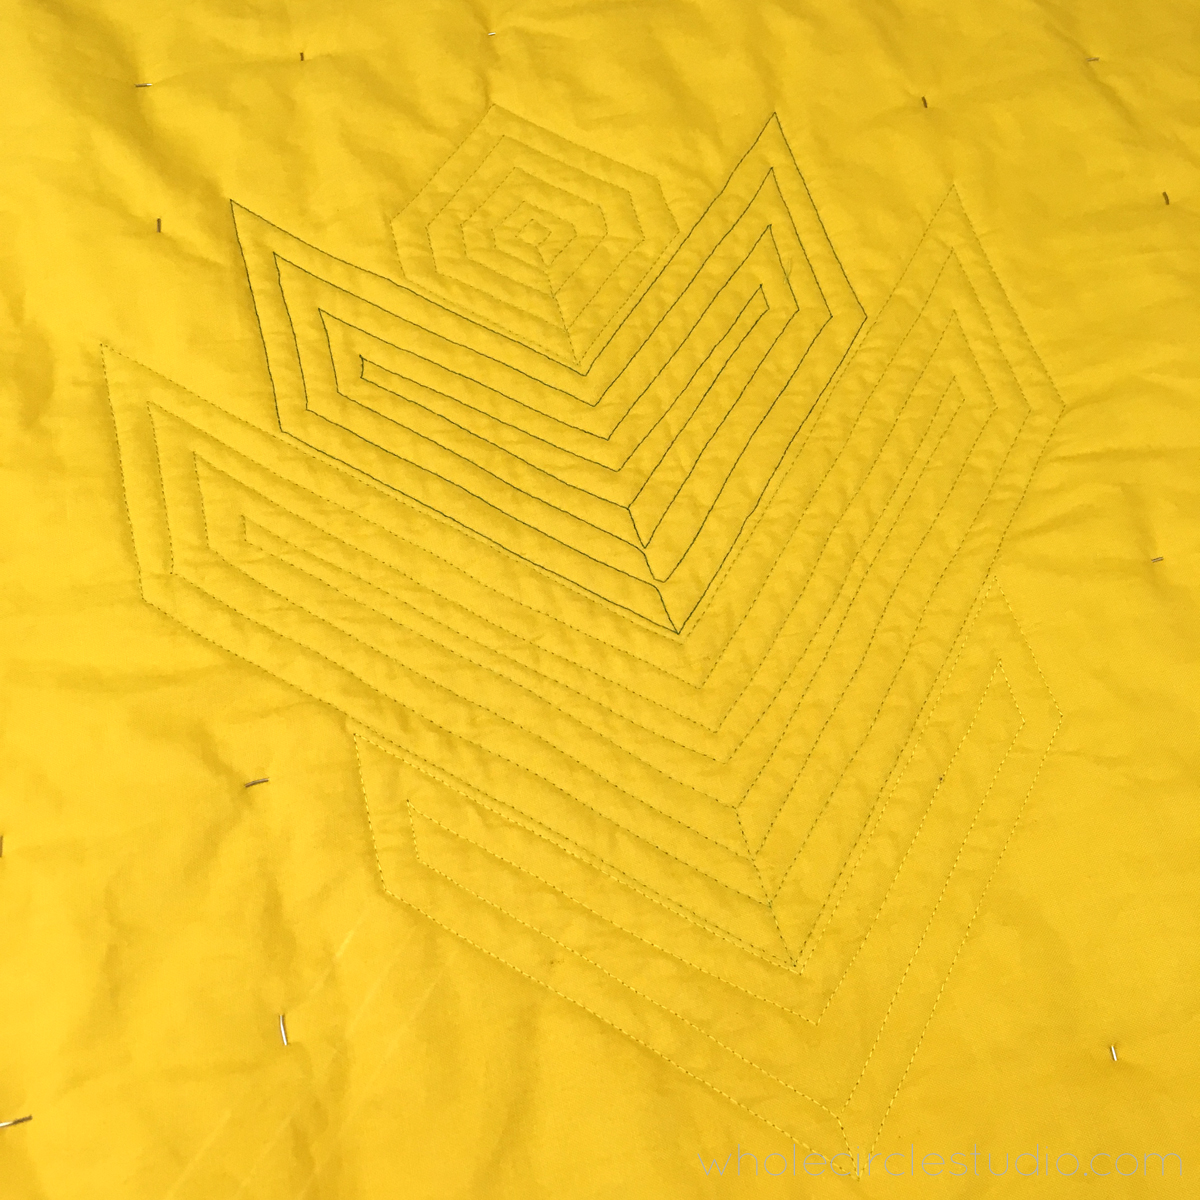
I began by quilting each of the leaves. I first outlined each color shape, using matching Aurifil 50wt cotton thread (see list above—I used 2970, 1147 and 5015 for quilting Block 1), stitching just to the side of the seam. At my quilting starts and stops, I pulled my bobbin thread to the top, knotted it with my upper thread to hide, or bury, the thread tails in between my quilt top and batting.
When I returned back to the point where I started, I “traveled” or quilted to position my needle where it would be in place that I could then use the toe of my walking foot as a guide against the line I just quilted. This enabled me to quilt parallel to the lines I previously quilted in the color shape. I then continued with this method to quilt the next lines if there was still space to quilt. My quilted lines are ⅜” apart because that is the distance between my needle and the outer edge of my walking foot toe. You can adjust the spacing to your taste or the distance between your needle and walking foot toe.
Want to find some of my favorite quilting tools I feature in the video? You can find them all here:
• Tracing Paper (Great for testing out quilting designs!)
• Juki 2010Q (I piece and quilt everything I do on this powerhouse machine!)
• Janome Walking Foot (it fits on my Juki 2010 and provides a lot more visibility when quilting!)
• Kwik Klip (makes closing and opening basting pins easier!)
• Clover Soft Touch Thread Pic (makes pulling threads easy—I even use it instead of a seam ripper!)
• Tulip Easy Threading Needles (perfect for quick stitching, no needle head to thread!)

Be sure to check out Leah’s blog for a tutorial for how she quilted her block with Echo Ditching. It’s amazing how different the same quilt looks with different fabric choices and quilting techniques!
Next week, we’ll quilt Block 2.
Let’s make something awesome together,


Let’s inspire and encourage each other!
We’d love to see what you made!
Please share your quilt on Instagram using the hashtags: #leafpeepersquilt #wholecirclestudio #leahdayquilting
and tag us @wholecirclestudio @leahdayquilting
Links to specific products are selected by me and are only products that I use, love and endorse. This post contains affiliate links.